What Is Eye Relief on a Scope? A Complete Guide
A lot of shooters look up what is eye relief on a scope after something already went wrong. Sometimes it is a crescent-shaped scope shadow when they shoulder the rifle fast. Sometimes it is a bruised brow after a hard-recoiling shot. Sometimes it is a more advanced problem, where the rifle works fine on a flat range but falls apart the moment a helmet, gas mask, goggles, or night vision setup changes head position.
Eye relief sounds like a small optical spec. In practice, it is one of the main points where the shooter and the rifle either work together or fight each other. If that distance is wrong, your sight picture breaks down, your cheek weld gets inconsistent, and your speed under pressure drops. If it is right, the optic feels natural and the rifle comes up the same way every time.
The Critical Moment Eye Relief Defines
The problem usually shows up at the worst possible time.
A hunter settles in after a long wait, presses the trigger on a magnum rifle, and the scope comes back hard enough to cut the brow. That injury has a name shooters know well: scope bite. A patrol officer snaps a rifle to the shoulder with body armor on and gets a dark tunnel instead of a full sight picture. A night hunter wearing helmet-mounted gear cannot move the head far enough into position, so the optic that seemed fine at the bench suddenly feels unusable.
Those are different situations, but they point to the same issue. The optic is not meeting the shooter at the right distance.
Eye relief is the distance between your eye and the scope’s ocular lens where the full image appears. If you are too close, too far, or out of line, the scope tells on you immediately. You see shadow, blackout, blur, or a clipped field of view. Under recoil, a bad setup adds a safety problem on top of a performance problem.
The reason this matters so much is that rifles are now part of larger systems. The stock, mount height, optic length, body armor, helmet setup, and shooting position all affect where your eye ends up. Many shooters discover this only after adding a magnified optic to a rifle that already carries other sighting gear. If you run a piggybacked or offset setup, it helps to understand how the scope fits into that larger package, especially when comparing a red dot and scope combo.
What failure looks like in the field
A bad eye relief setup usually shows itself in one of three ways:
- Safety failure: The scope sits too close on a rifle with substantial recoil, and the shooter gets hit during recoil.
- Speed failure: The rifle mounts quickly, but the image appears with shadow or blackout, so the shooter wastes time searching for the picture.
- Consistency failure: The shooter changes position, gear, or magnification and loses the same cheek weld that worked on the bench.
A scope can have good glass, a solid reticle, and dependable adjustments, yet still perform poorly if eye relief is wrong for the rifle and the shooter.
Understanding the Core Concepts of Sighting Systems
Eye relief makes more sense when you stop treating it as a number on a spec sheet and start treating it as part of an optical system.
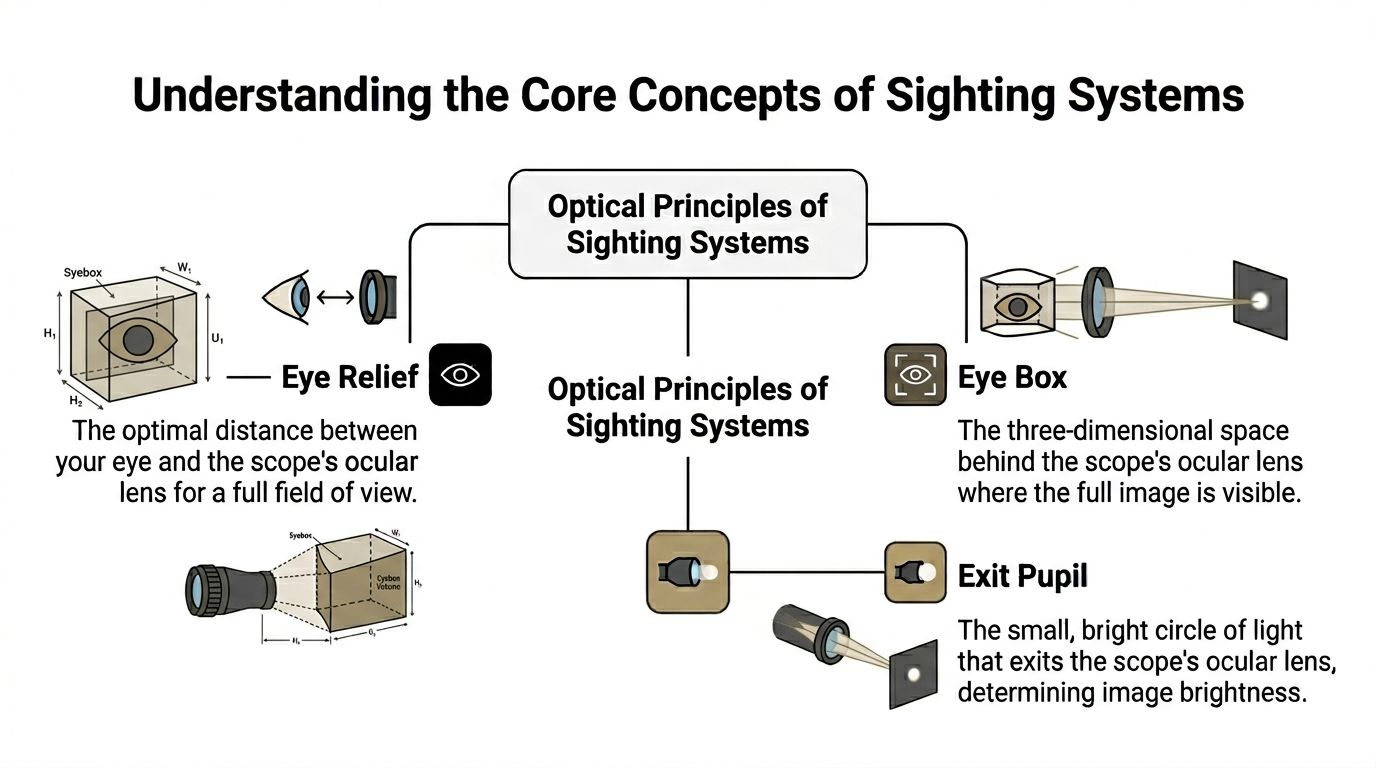
Eye relief, eye box, and exit pupil
Eye relief is the distance from the ocular lens to your eye where you get the full image. Bushnell notes that standard eye relief for conventional rifle scopes typically ranges from 3 to 4 inches, with many modern scopes offering 3 to 5 inches, and extended eye relief models often running 9 to 15 inches for specialized uses like scout rifles and handguns (Bushnell on scope eye relief).
That distance exists for two reasons. One is safety under recoil. The other is image quality. The scope is designed to project a usable image at a certain distance behind the eyepiece. If your eye is outside that zone, the image degrades.
Eye box is the practical space around that ideal point where the image still looks usable. Shooters care about eye box because rifles are not fired from a machine rest. You move. You breathe. You shoot around barricades, uphill, downhill, from a vehicle, under a timer, or while carrying gear. A generous eye box forgives small errors. A tight eye box punishes them.
Exit pupil is the circle of light coming out of the eyepiece. Think of it as the beam your eye has to intercept. Bushnell explains that the average human pupil measures about 4 millimeters in daylight and opens to roughly 8 millimeters in dark conditions. If the exit pupil delivers less light than your eye can use, you do not get full image transmission through the eyepiece (Bushnell on scope eye relief).
A simple way to picture it
The easiest analogy is a room seen through an opening.
- Small opening: Like looking through a keyhole. Your head has to be positioned precisely or you lose the view.
- Large opening: Like looking through a window. You still need alignment, but you have much more freedom to move without losing the image.
Scopes with forgiving eye relief and a broad eye box feel more like that second example. Compact optics with short relief and a tighter eye box feel more like the first.
Why magnification changes the feel
Magnification changes how demanding the system becomes. Higher power usually means less forgiveness. As power goes up, the usable position behind the scope gets more exact. That is why a scope can feel easy at low power and suddenly demanding at the top end.
If you want a better grasp of the numbers printed on the tube, zoom range, and objective size, this guide on scope numbers meaning helps connect those specs to what you see behind the rifle.
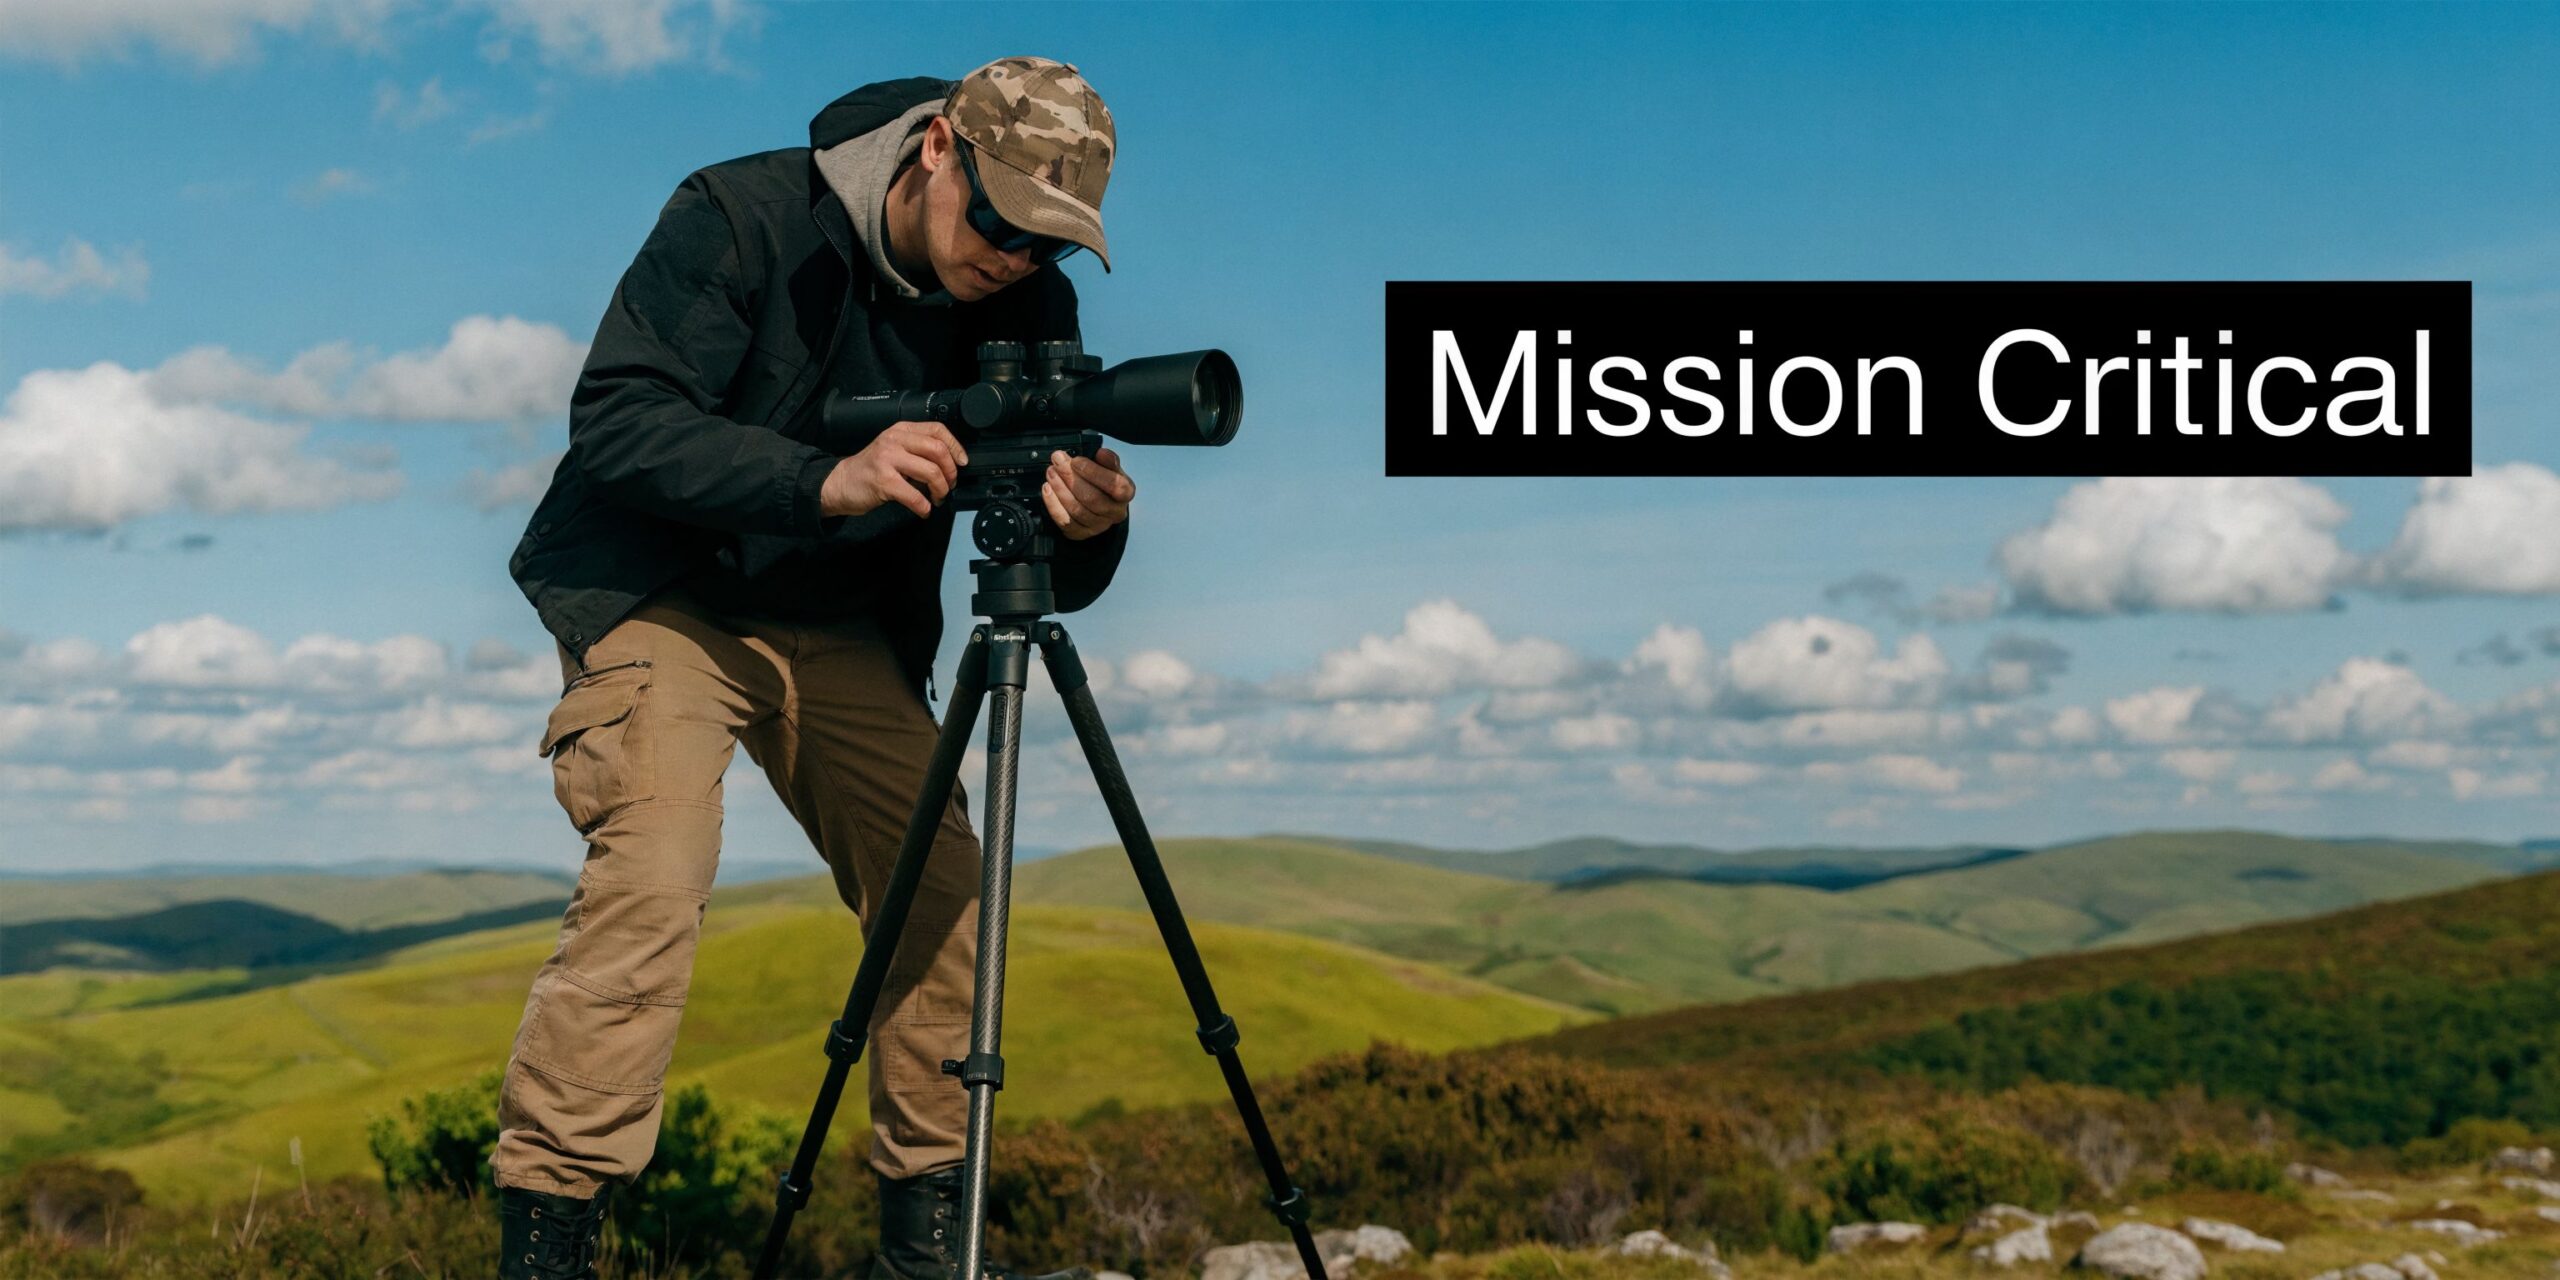
Why Eye Relief Matters for Your Mission
A scope setup that works for one shooter can be wrong for another because the mission drives the requirement.
Hunters need safety margin under recoil
Hunters often learn eye relief the hard way because hunting rifles are frequently chambered for cartridges that produce serious recoil. On those rifles, generous eye relief is not a luxury. It is a buffer between your face and the eyepiece.
A bolt gun that feels comfortable in a T-shirt at the bench may not feel the same from a hasty field position in heavy clothing. Add a steep downhill angle or an awkward rest over a pack, and your head position changes just enough to matter.
For this user, the right answer is usually simple. Favor enough clearance that the rifle can recoil without threatening the shooter, and verify it in realistic positions instead of only from a square range bench.
Patrol rifles and LPVOs need speed first
Law enforcement and defensive rifle setups put a different demand on the optic. The shooter still needs safety, but the immediate issue is usually how fast the rifle presents a complete image.
Warne notes that the full, un-vignetted image often lives within a sweet spot of about one inch, and that this gets tighter as magnification increases. At 1x, the eye box can feel extremely forgiving. At 8x or 10x, head placement becomes much more exact (Warne on proper eye relief).
That matters on a patrol rifle with an LPVO. At close range, the shooter may be moving fast and shooting both eyes open. The optic needs to present an image quickly at low power. At distance, the same shooter may dial up magnification and suddenly discover that poor mounting shows up as shadow, vignetting, or inconsistent cheek weld.
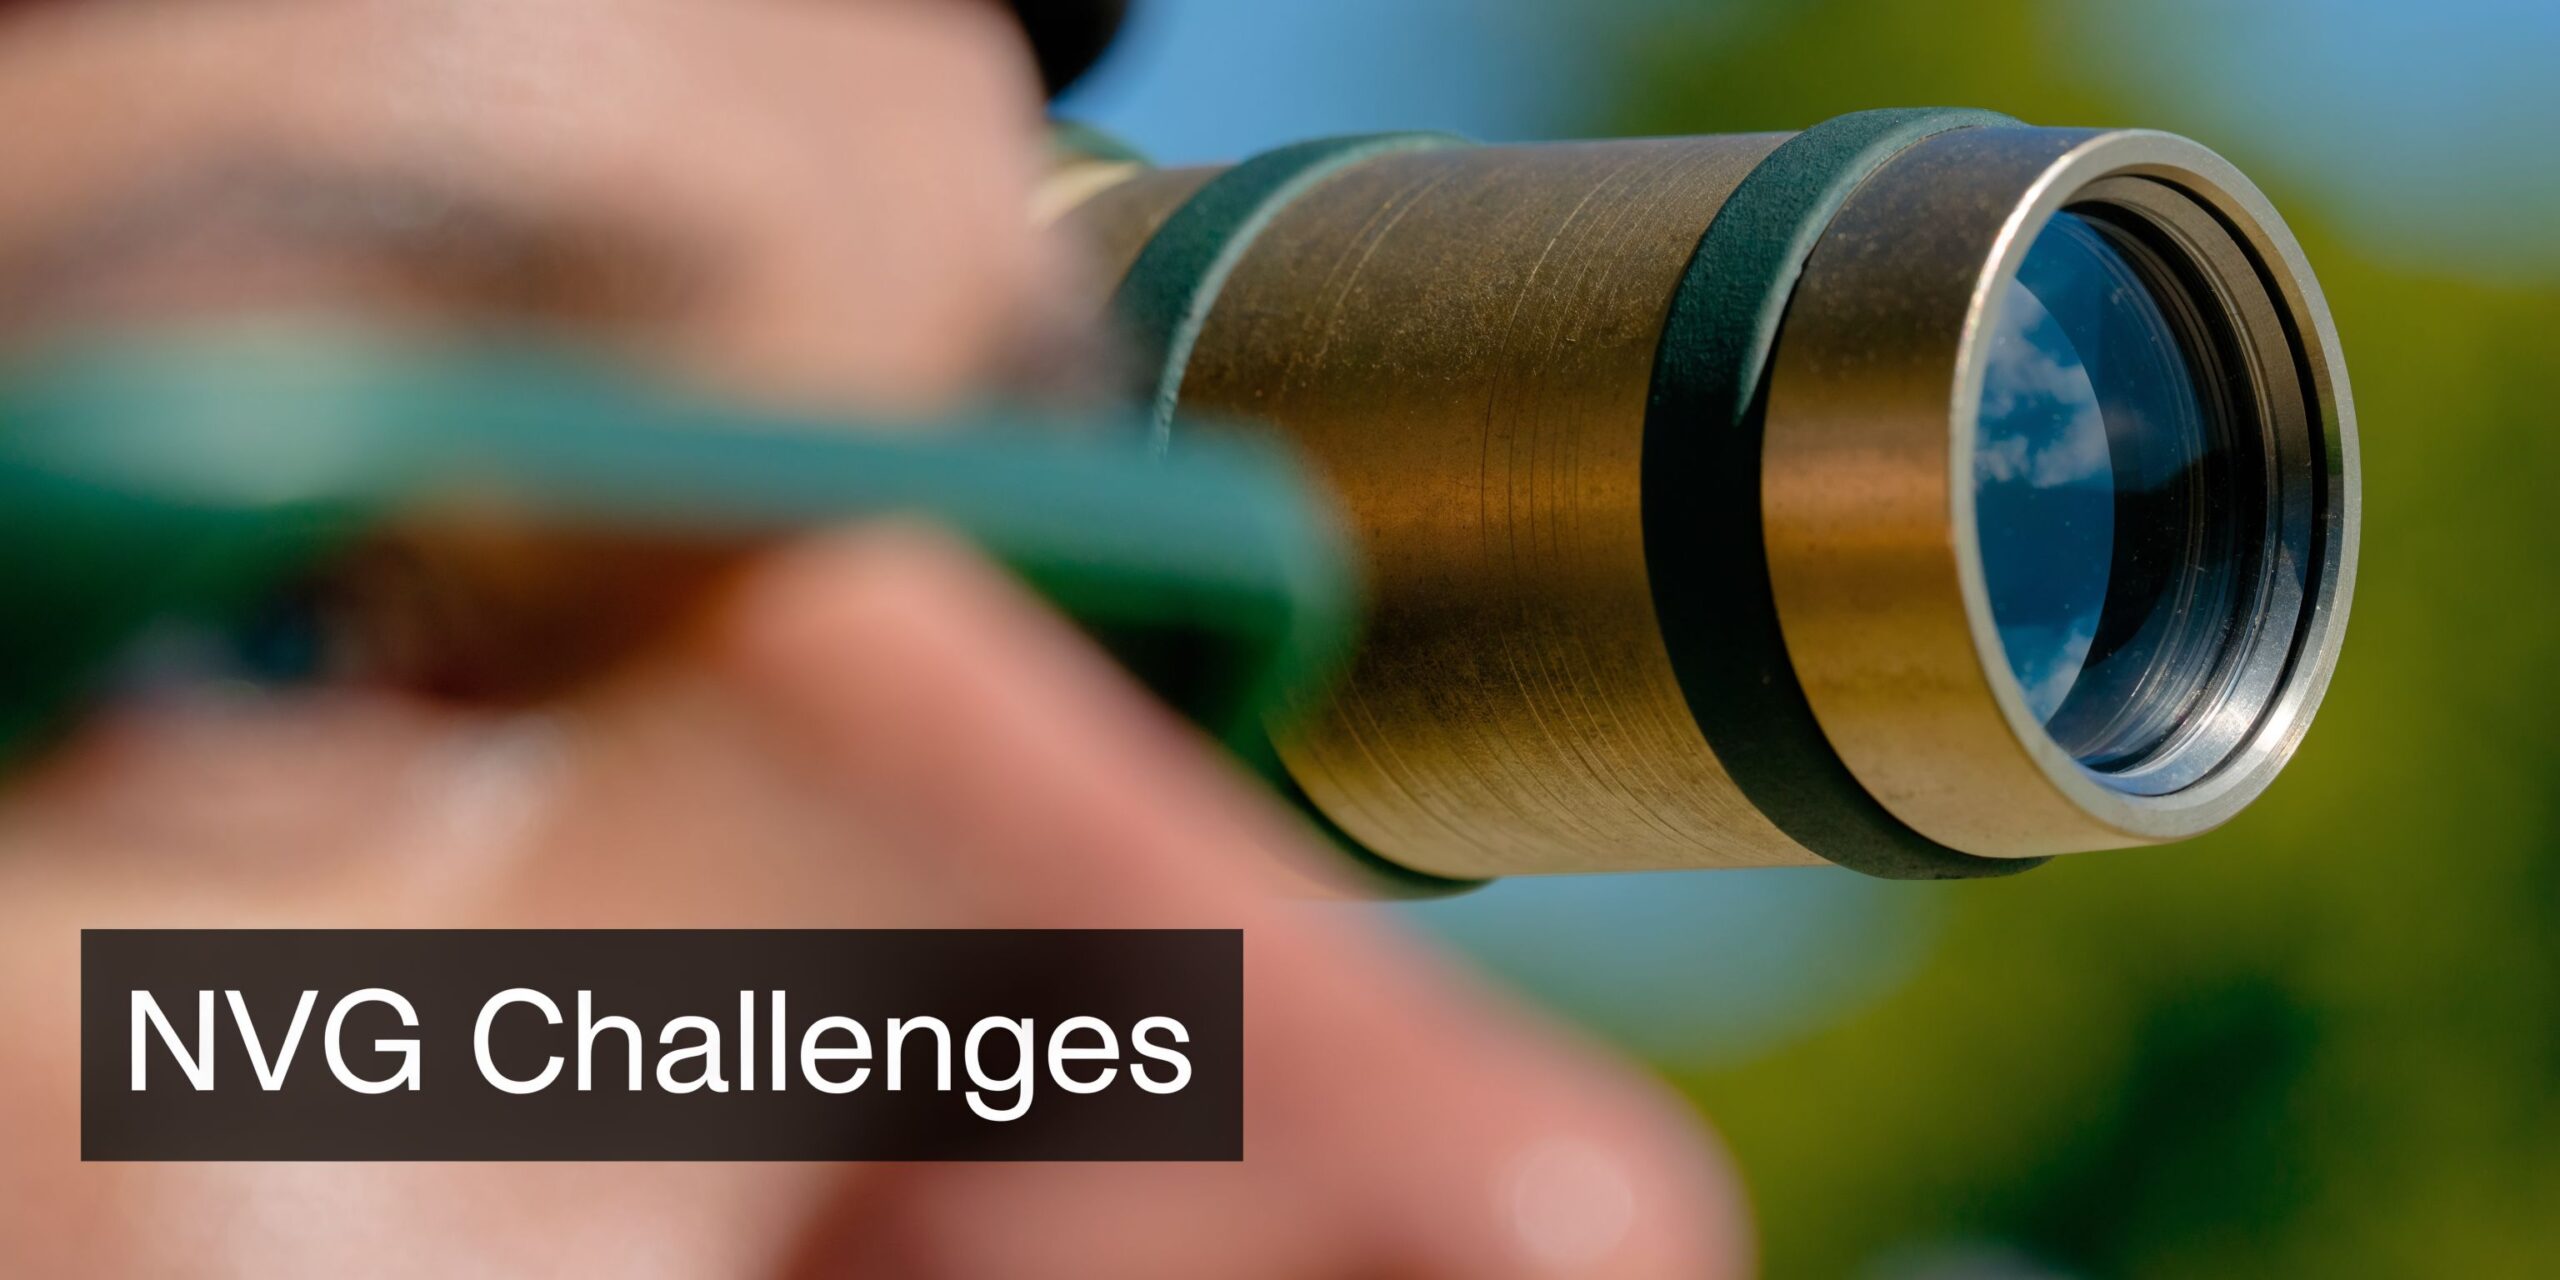
NVG users deal with a system problem, not just an optic problem
Night vision changes the entire equation.
A shooter wearing helmet-mounted night vision or bulky eye protection cannot slide the head forward until the image appears. The helmet, mount, goggle housing, and stock geometry all limit movement. The optic now has to fit a pre-defined human position.
That is why a scope that feels acceptable in daylight can become awkward during passive aiming or other low-light work. The shooter is no longer a free-moving variable. The system has fixed geometry.
What changes with gear on your head
- Helmet bulk: The rear of the helmet can affect head tilt and stock placement.
- Mount position: The NVG arm and shroud lock your facial position into a narrower lane.
- Protective eyewear: Lenses create more distance between your eye and the optic.
- Body armor: Armor can push the rifle into a slightly different shoulder pocket.
The best eye relief is not the longest or shortest option. It is the one that gives you a repeatable sight picture in the position you use.
Recommended Eye Relief for Common Setups
A deer rifle on a cold morning, a patrol carbine with an LPVO, and a rifle set up for passive aiming under night vision do not need the same eye relief. The safe, usable range depends on recoil, stock position, optic type, and how much gear sits between your eye and the scope.
Use the spec sheet as a starting point. Set the rifle up around the position you shoot from.
Recommended Eye Relief by Firearm and Use Case
| Platform / Use Case | Recoil Level | Recommended Eye Relief |
|---|---|---|
| Standard bolt-action hunting rifle | Moderate to heavy | A comfortable range, often between three and four inches. |
| Magnum hunting rifle | Heavy | Often at the longer end of typical rifle scope eye relief, providing extra safety. |
| AR-15 with LPVO | Light to moderate | A range suitable for tactical or AR scopes and LPVOs, typically a few inches. |
| Compact prism scope on AR platform | Light to moderate | Often shorter, with more exact head placement required |
| Scout rifle | Moderate | Extended eye relief, designed for forward mounting. |
| Handgun with optic designed for forward mounting | Heavy for platform | Extended eye relief, necessary for proper function. |
How to apply those ranges
For a conventional hunting rifle, the goal is simple. Keep enough distance to avoid scope bite under recoil while still getting a full image from a natural cheek weld. On hard-kicking rifles, I want extra margin because field positions are rarely as clean as a bench setup.
AR-pattern rifles change the problem. Recoil is mild, but the optic often has to work from awkward positions, around cover, and at multiple magnifications. A forgiving eye box matters, but eye relief still has to match the shooter's stock position and mount placement.
That gets more important once head-borne gear enters the system.
A shooter wearing eye protection, a gas mask, or helmet-mounted night vision usually sits farther back from the optic than a shooter on a flat range in a baseball cap. That is why an LPVO that feels fine in daylight can feel cramped during passive aiming. Scope height affects that geometry too, especially on ARs. If you are still sorting out mount setup, this guide on how to measure scope height correctly helps you match optic position to your head position.
Scout scopes and handgun optics belong in a separate category because they are designed around forward mounting. Long eye relief works there because the firearm and the shooting method were built for it. Put that same long-relief optic on a standard rifle, and the sight picture usually becomes slower and less natural.
The trade-off shooters miss
Longer eye relief is not automatically better.
On a magnum hunting rifle, extra distance buys safety and flexibility under recoil. On a general-purpose carbine, too much distance can make the optic feel remote and force the shooter to chase the image. For NVG users, the best answer is usually the setup that gives a full sight picture with the least head movement, not the one with the biggest number on the box.
How to Mount Your Scope for Perfect Eye Relief
A scope that looks perfect on the bench can fail the first time you snap the rifle up in the field. The usual problem is simple. The optic was mounted while the shooter was relaxed, square to the gun, and wearing none of the gear they use.
Set the rifle up for the shot you expect to take.
A hunter in bulky late-season clothing, a patrol officer working around armor, and a carbine shooter trying to passive aim around helmet-mounted gear all present the rifle differently. Eye relief has to be set around that real position, or the scope will punish you with scope shadow, a slow sight picture, or a head position you cannot repeat under pressure.
Start with your actual shooting setup
Wear the equipment you will use before you move the scope in the rings. That includes armor, chest rig, helmet, eye protection, cold-weather layers, and anything else that changes how the stock meets your face.
Small changes matter here. A thicker shoulder pocket or a helmet that keeps your head more upright can move your eye enough to turn a clean image into a dark crescent.
Use a mounting process that holds up outside the shop
Skip the benchrest posture. Set eye relief from a natural mount.
Use this sequence:
Loosely mount the scope
Tighten the rings just enough to hold the optic while still letting it slide with firm hand pressure.Set the optic to maximum magnification
Maximum power gives you the least forgiving view. If eye relief works there, it usually improves as magnification comes down.Mount the rifle with your normal cheek weld
Close your eyes, shoulder the rifle as you naturally would, then open your eyes. Slide the scope forward or rearward until you get a full image immediately, without stretching your neck or crawling the stock.Level the reticle and torque to the manufacturer’s spec
Do the final tightening only after the eye relief is right. If you lock the rings down too early, you end up chasing position and doing the job twice.
Confirm it in more than one shooting position
One clean view from standing is not enough. Check the rifle where people miss problems.
- Standing: Shows whether the optic comes into view during a fast presentation.
- Prone: Exposes setups that force you too far forward on the stock.
- Kneeling or supported: Reveals changes in head position around barricades, packs, and improvised rests.
- With full gear: Required if the rifle will be used with armor, helmets, goggles, or heavy outerwear.
AR shooters should also pay attention to mount height while doing this. Eye relief and scope height work together. If the optic sits too low or too high for your posture, you may blame eye relief for a fit problem that starts elsewhere. This guide on measuring scope height correctly helps sort that out.
A good mount job is repeatable. Bring the rifle up with your eyes closed, open them, and the image should already be there.
Special Considerations for NVG and Goggle Users
A shooter can have a rifle that feels perfect on the square range, then lose the image the moment a helmet, eye protection, and night vision go on. Eye relief becomes a system problem at that point, not just an optic spec.
Head-mounted gear changes where your eye sits behind the rifle. A helmet can stop the stock from settling where it does in daylight. Goggles push your face slightly rearward. Night vision adds one more constraint because the device, mount, and housing limit how far down and forward you can drive your head. Under those conditions, bad eye relief is no longer annoying. It slows target acquisition and encourages sloppy body mechanics.
Why standard setups start to fail
A conventional daytime scope setup often assumes a clean cheek weld and an unobstructed face. That assumption breaks fast once the rifle has to work with armor, a helmet, and goggles.
The usual failure points are easy to spot in training:
- The ocular lens sits too close to the shooter’s face for helmeted use, forcing the head into an awkward angle.
- The stock contact changes because hard gear prevents the same cheek pressure and jaw position.
- Passive aiming gets inconsistent because the image appears only when the shooter hunts for a narrow head position.
That last point matters more than many shooters expect. Under NODs, the rifle has to come up and present a usable sight picture without extra searching. Law enforcement entry teams, hunters managing hogs at night, and anyone running a carbine around vehicles or structures do not have much time to adjust their face behind the optic.
Mount placement and optic design matter more with head-mounted gear
Eye relief on paper does not tell the whole story. Usable eye relief with equipment on is what matters.
On carbines, a forward-offset mount often helps because it moves the LPVO to meet the shooter’s head position instead of forcing the shooter to collapse behind the gun. Mount height also plays a larger role here than many new shooters realize. If the optic is too low, the shooter drives the helmet into the stock and loses alignment. If it is too high, the rifle may feel unstable or slow in unsupported positions.
Eye box forgiveness becomes a real performance issue with NVG use. Some scopes tolerate small errors in head placement and still give a full image. Others demand near-perfect alignment. The stricter the eye box, the more likely the setup will fall apart once goggles, helmet rails, ear pro, and a chin strap are added.
Superior Tactical LLC carries night vision optics, mounts, lasers, red dots, and magnifiers for shooters building around that kind of complete setup.
Optic choices that usually work better
Mission drives the answer.
A few patterns hold up across training guns, patrol rifles, and hunting carbines:
- LPVOs with forgiving eye relief and eye box: Easier to run passively than models that require a very exact head position.
- Compact prism optics: Durable and useful, but often less forgiving once goggles or NODs limit head movement.
- Red dots and holographic sights: Usually the easiest choice for passive aiming because they demand less eye relief discipline than magnified optics.
- Magnifier setups: Useful if the mount positions cleanly and the shooter confirms the added eye relief demand under full gear.
The right test is simple. Put on the equipment you will use, then mount the rifle from realistic positions and at realistic speed. If the sight picture only appears when you crane your neck, lift your chin, or crawl the stock, the setup is wrong for night work. A rifle that works with bare eyes but fails with head-mounted gear is not ready for serious use.
Common Eye Relief Mistakes and How to Avoid Them
Most eye relief problems are not mysterious. The shooter is usually seeing clear symptoms and just needs to interpret them correctly.
Mistaking scope shadow for a glass problem
If you see a dark ring, crescent, or partial blackout, the first assumption should not be “this optic has bad glass.” The more common cause is shooter position.
Scope shadow usually means one of three things:
- Too far back: The image appears small or tunneled.
- Too close: The edges clip or black out as your eye crowds the eyepiece.
- Off-axis: Your eye is left, right, high, or low relative to the eye box.
The fix is not to hunt around with your neck every time. The fix is to correct the mount position or improve stock fit so the rifle brings your eye to the image naturally.
Chasing the eye box with your head
This is one of the most damaging habits a shooter can build.
When the optic is mounted poorly, shooters start moving their face around to search for the picture. That destroys consistency. The cheek weld changes, the reticle appears from slightly different angles, and the rifle never presents the same way twice.
A sound setup does the opposite. It rewards the same mount every time.
Believing more eye relief is always better
This idea sounds reasonable until you try it on the wrong rifle.
Extra distance can help on hard-recoiling guns or on platforms designed for forward-mounted optics. On a standard rifle, too much eye relief can make the scope feel far away and disconnected. Some shooters describe it as looking through a narrow tunnel because the image never feels centered and immediate.
A practical way to judge your setup
Ask three questions:
- Do I get a full image the moment the rifle mounts?
- Can I hold the same cheek weld across common shooting positions?
- Does the optic still work when I wear the gear I use?
If the answer to any of those is no, the problem is probably not your skill alone. It is likely the fit between the shooter and the optic.
Frequently Asked Questions About Scope Eye Relief
What is eye relief on a scope in simple terms
It is the distance between your eye and the eyepiece where the full image appears without shadow or blackout. If you are outside that distance, the sight picture degrades.
Does eye relief change with magnification
The feel of the system changes as magnification increases. Higher power usually demands more precise head placement because the eye box becomes less forgiving. That is why a scope can seem easy to use at low power and much pickier at the top end.
Is eye relief the same as eye box
No. Eye relief is the distance to the image. Eye box is the usable three-dimensional space around that distance where your eye can still see the full picture.
Why do prism scopes feel less forgiving
Compact prism scopes often have shorter eye relief and a tighter eye box. That means they can reward precise mounting, but they usually demand more exact head placement than more forgiving optics.
Do red dots have eye relief
In practical use, red dots feel very different from scopes because they do not demand the same precise eye position behind an ocular lens. Add a magnifier, though, and eye relief becomes relevant again because now you are looking through a magnified optical system.
How do I know if my scope is too close
You may feel crowded behind the optic, and under recoil the scope may threaten your brow. On the range, you may also notice unstable blackout when your head moves slightly forward.
How do I know if my scope is too far away
The image often looks small or tunneled, and you may find yourself creeping up the stock to recover the full picture.
Should I set eye relief while sitting at a bench
Only as a rough starting point. Final setup should happen in your real shooting position, with the clothing and gear you use.
Superior Tactical LLC supports shooters building low-light and tactical rifle setups with night vision optics, thermal gear, mounts, lasers, magnifiers, and related accessories. If your rifle has to work with helmets, goggles, or passive aiming requirements, their catalog at Superior Tactical LLC is a practical place to compare components that affect eye relief and overall optic fit.