Your Guide to a Helmet With Flashlight
A helmet with a flashlight isn't just another accessory—it’s a fundamental piece of gear for anyone working in the dark. We've come a long way from simply duct-taping a Maglite to a helmet; today’s systems are sophisticated tools designed for professionals and serious users.
Why a Helmet Flashlight Is a Critical Tool
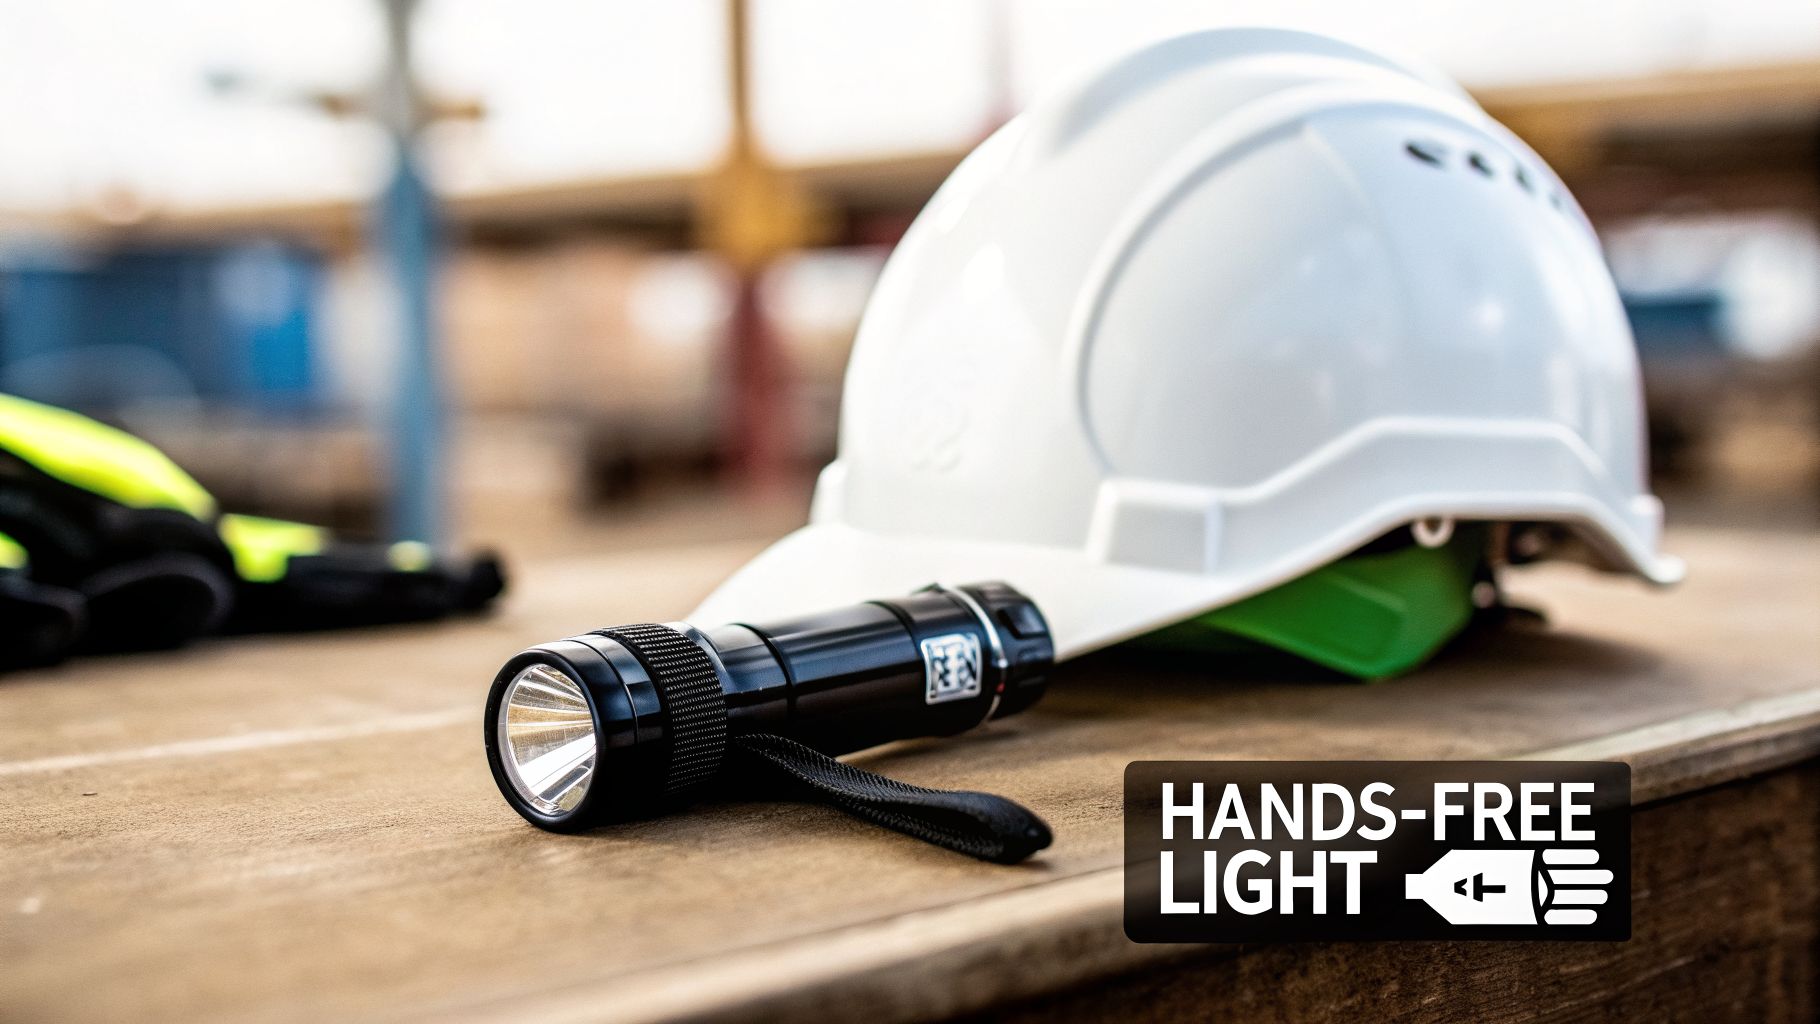
Picture this: you're a law enforcement officer clearing a dark building, a hunter tracking an animal after sunset, or a contractor trying to inspect a crawlspace. What's the one thing all these scenarios have in common? You need your hands for the job. A helmet-mounted light frees them up.
This hands-free capability is the single biggest advantage. It lets you work, navigate, or defend yourself without ever having to fumble for a separate light. Your illumination follows your gaze perfectly, creating a natural and intuitive experience that a handheld light just can’t replicate.
Enhancing Situational Awareness
But it's about more than just lighting up what's right in front of you. A good helmet light dramatically improves your peripheral vision and overall situational awareness, which is a massive safety benefit in unpredictable environments.
Instead of punching a narrow tunnel of light through the darkness, a well-chosen helmet light casts a broader, more useful beam. This helps you process your surroundings more quickly and spot potential hazards you might otherwise miss. It's like upgrading your view of the world from a keyhole to a panoramic window.
The real job of a helmet light is to put illumination exactly where your eyes are looking, so you can keep your hands on your tools, weapon, or equipment. In any low-light situation, it’s a powerful efficiency multiplier.
This guide will treat your helmet and light as a complete system, not just separate parts. We'll dig into the key details that elevate a simple light into a mission-critical tool, covering:
- System Types: Looking at the pros and cons of lights built into the helmet versus ones you attach yourself.
- Performance Metrics: Learning to make sense of specs like lumens, candela, and runtime so you can choose wisely.
- Mission-Specific Setups: We'll explore proven configurations for law enforcement, hunting, and industrial work.
By the time you're done, you won't just know what these systems are—you'll understand exactly how to pick the right one for what you do.
The Evolution of Hands-Free Illumination
The idea of strapping a light to your head wasn't born on a modern battlefield or during a SWAT raid. Its roots go much deeper and much darker, starting in the coal mines of the early 20th century, where a reliable light source was the only thing standing between a worker and a tomb.
Back then, miners went underground with open-flame lamps—candles or oil-wick lights—fastened to their caps. These were primitive, inconsistent, and terrifyingly dangerous. The slightest spark could ignite a pocket of methane gas, with catastrophic results.
From Open Flames to Electric Safety
This wasn't just a theoretical risk; it was a grim reality. The 1907 Monongah Mine explosion in West Virginia killed 362 people, still the deadliest mining disaster in U.S. history. Two years later, a fire in Illinois' Cherry Mine took another 259 lives. It became painfully clear that open flames underground were a death sentence.
The industry was desperate for a safer way to light the darkness. The breakthrough came in 1915 with the MSA Edison Flameless Electric Miners Cap Lamp. Developed by Thomas Edison himself and green-lit by the newly formed U.S. Bureau of Mines, this battery-powered headlamp changed everything. Early models were clunky and heavy, but they offered something priceless: a self-contained, spark-free light. For the first time, miners had a safe, hands-free light source.
The electric miner's lamp was a critical turning point. It was the first time technology was systematically used to solve the problem of safe, hands-free lighting in a hazardous job. This directly saved lives and created the blueprint for every helmet-mounted light we use today.
By the 1920s, these electric lamps were standard issue, getting lighter and more efficient over time. That lineage—born from a need for safety and practicality—is in the DNA of every modern helmet light, whether it's on an industrial hard hat or a tactical operator's helmet. You can see more on how this early safety gear evolved at the Smithsonian Magazine.
Military Adoption and Tactical Innovation
That same core idea—a helmet as more than just head protection—found its way onto the battlefield. While soldiers have worn helmets for centuries, it wasn't until after the Vietnam War that we really started thinking of them as platforms for technology.
The introduction of the Personal Armor System for Ground Troops (PASGT) helmet in the 1980s was a huge step. Not only was it made of Kevlar for better ballistic protection, but its design was the first to be built from the ground up to accommodate accessories.
Specifically, the PASGT helmet included a mount for Night Vision Goggles (NVGs), a vital tool for night operations. This cemented the helmet's new role as a modular base for mission-critical gear. The logic was simple and powerful: if you can mount NVGs, why not a flashlight?
This thinking laid the foundation for the modern tactical helmet, where the ability to attach lights, comms, and other equipment is non-negotiable. Elite military units proved that a helmet-mounted light provides far better situational awareness and target identification in the dark, all while keeping an operator's hands on their weapon.
Today’s setups, like a high-output Nitecore flashlight paired with a night vision mount, are the direct descendants of that evolution. They combine the miner's need for safe, hands-free illumination with the soldier's demand for tactical advantage. This journey, from the coal pits to the front lines, shows that a helmet with a flashlight isn't just a gadget—it's an essential tool, perfected over a century of hard-won lessons.
Integrated Systems vs. Attachable Mounts
When it comes to putting a light on your helmet, you’re at a fork in the road. The choice boils down to two distinct approaches: a helmet with a light built right in, or a separate flashlight that you attach with a mount. This decision really shapes your entire setup—its flexibility, its profile, and how useful it will be down the line.
Think of it like buying a car. An integrated system is like the factory-installed navigation: it’s seamless and clean. An attachable mount is more like using a bracket for your smartphone; it's endlessly adaptable and you can upgrade your phone whenever a new one comes out.
Integrated lights are designed directly into the helmet's shell or shroud. The biggest selling point here is the sleek, low-profile design. There are no external wires or bulky mounts to get hung up on branches, gear, or the inside of a vehicle. It’s a clean, incredibly stable setup that feels like one solid piece of equipment.
But that seamless design has a major downside: you’re locked in. If the light gets damaged or, more likely, becomes obsolete, you're pretty much stuck. Upgrading usually means buying a whole new helmet, which is a serious investment. You’re committed to that one light’s performance, for better or worse.
The Power of Attachable Mounts
Now, let's talk about the other side of the coin: attachable mounts. These are the versatile workhorses of the helmet lighting world, and for good reason. These systems use standard interfaces—most often Accessory Rail Connectors (ARC) or M-LOK slots—to clamp a separate flashlight right onto your helmet. This gives you total freedom to customize.
This whole idea of a modular helmet platform has deep military roots. The drive for accessory compatibility really took off with the introduction of the PASGT helmet in the 1980s, one of the first systems designed to easily accommodate gear like night vision goggles. This set the stage for the hyper-modular helmets we use today, where adding a light is as simple as sliding it onto a rail.
Using an attachable mount means you can pick the exact light you need for the mission, whether you’re prioritizing raw power, a long-throw beam, or infrared capability. As lighting tech improves every year, you can just swap out your old torch for the latest and greatest without touching your helmet itself.
To put it simply, integrated lights give you a snag-free, bomber-proof setup, but you sacrifice future flexibility. Attachable mounts give you complete control to adapt, upgrade, and fine-tune your light as your needs change and technology gets better.
The image below shows just how far head-mounted lighting has come, from simple flames to the first electrical units.
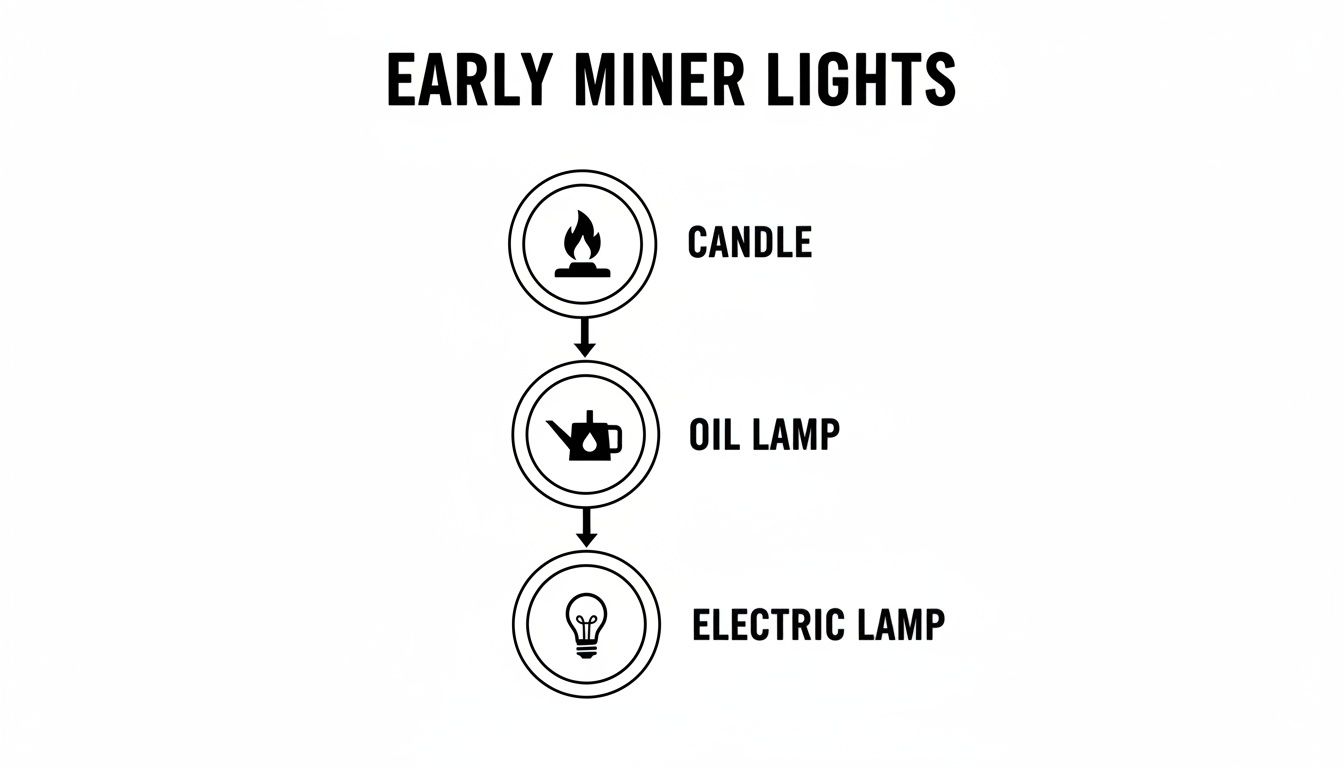
This constant push for better, safer, and more functional gear is exactly what drives the development of modern helmet lighting solutions.
A Head-to-Head Comparison
To help you make the right call, it’s useful to see how these two systems stack up directly. Your mission, budget, and what you personally value in your gear will determine which column makes more sense for you.
Here's a straightforward breakdown:
| Feature | Integrated Light Systems | Attachable Mounts |
|---|---|---|
| Modularity | Low. Upgrades are tough or impossible without replacing the whole helmet. | High. Easily swap lights, mounts, and accessories whenever you want. |
| Durability | High. With fewer moving parts, they are often exceptionally tough. | Variable. Durability hinges on the quality of both the mount and the light. |
| Profile | Low. Sleek and snag-free, perfect for working in tight spaces. | Higher. Mounts and lights stick out, creating potential snag hazards. |
| Cost | Higher Initial Cost. Typically sold as a premium, all-in-one helmet system. | Flexible. You can spread out costs, starting with a basic setup and upgrading later. |
For operators who need to run specific lights—like the SureFire Vampire series for its dual white/IR output—a modular mount isn't just an option; it's a necessity.
Ultimately, the vast majority of professionals today lean heavily toward attachable systems. The ability to use specialized mounts to position a light perfectly for use with night vision or to clear other gear is a massive advantage that integrated systems just can't offer. This adaptability is precisely why you’ll find a huge range of top-tier options in our collection of helmet light mounts built for today’s best tactical helmets.
How to Read Flashlight Specifications
Choosing the right helmet flashlight can feel like trying to decipher a secret code. Spec sheets are a minefield of numbers and jargon, and it's easy to get bogged down. But understanding what those numbers actually mean out in the real world is the difference between buying a mission-critical tool and a fancy paperweight.
Let’s break down what actually matters so you know exactly what you’re getting.
Lumens vs. Candela: The Firehose Analogy
The two numbers you’ll see thrown around most are lumens and candela. They’re often confused, but they measure two totally different things. The easiest way to think about it is to picture a firehose.
Lumens (lm) are the total amount of light that comes out of the flashlight. This is the total volume of water gushing from the hose. A light with 1,000 lumens is putting out a serious amount of raw light.
Candela (cd) measures the beam’s peak intensity. Think of this as the water pressure behind the hose. High candela gives you a tight, focused beam that can punch through the darkness and reach incredible distances.
A light can have high lumens but low candela, which gives you a massive wall of bright light that doesn't go very far—like a firehose spraying a wide, gentle mist. On the flip side, a high-candela light might have fewer lumens but can send a laser-like beam hundreds of yards away, similar to a high-pressure water jet.
You can't just chase one number. A police officer clearing a small room needs a good balance, with enough flood (lumens) to see corners without turning their head. A search-and-rescue team member on a mountainside, however, needs all the throw (candela) they can get to spot a target from a huge distance.
Understanding Beam Pattern and Runtime
Raw power is one thing, but where that light actually goes is just as important. Every flashlight’s beam pattern is made up of a "hotspot" (the intense center) and "spill" (the dimmer light around it). A light built for long-range identification will have a piercingly bright hotspot with very little spill. One designed for close-quarters work will have a softer, broader hotspot and tons of spill to light up your peripheral vision.
Then there’s runtime, which tells you how long the light will last. Be careful here—this is where marketing can get you. Manufacturers love to advertise the runtime on the lowest possible setting. You need to look for the runtime on the high-power modes you’ll actually be using. To see how these specs fit into a full setup, our guide to helmet mounted lights provides a broader look at building out your gear.
Power Source and Durability Ratings
What powers your light is a huge logistical consideration. It really comes down to two main options:
- CR123A: These are the workhorse disposable batteries. They have an incredible shelf life (up to 10 years) and work great in extreme hot or cold weather. If your light might sit in a go-bag for months, these are your most reliable bet.
- Rechargeable (18650/18350): If you use your light all the time, rechargeables are the way to go. The initial cost is higher, but you’ll save a lot of money in the long run. The trade-off is that they slowly drain when not in use and don't perform as well in freezing temperatures.
Finally, always check the IP Rating (Ingress Protection). This two-digit code tells you exactly how tough the light is against dust and water. For any serious helmet flashlight, you shouldn't accept anything less than IPX7, which means it can be submerged in one meter of water for 30 minutes and still function. An IPX8 rating is even better. This isn't just a nice-to-have feature; it's what ensures your light survives a sudden downpour or an accidental drop in a puddle.
Building Your Ideal Helmet Light Setup
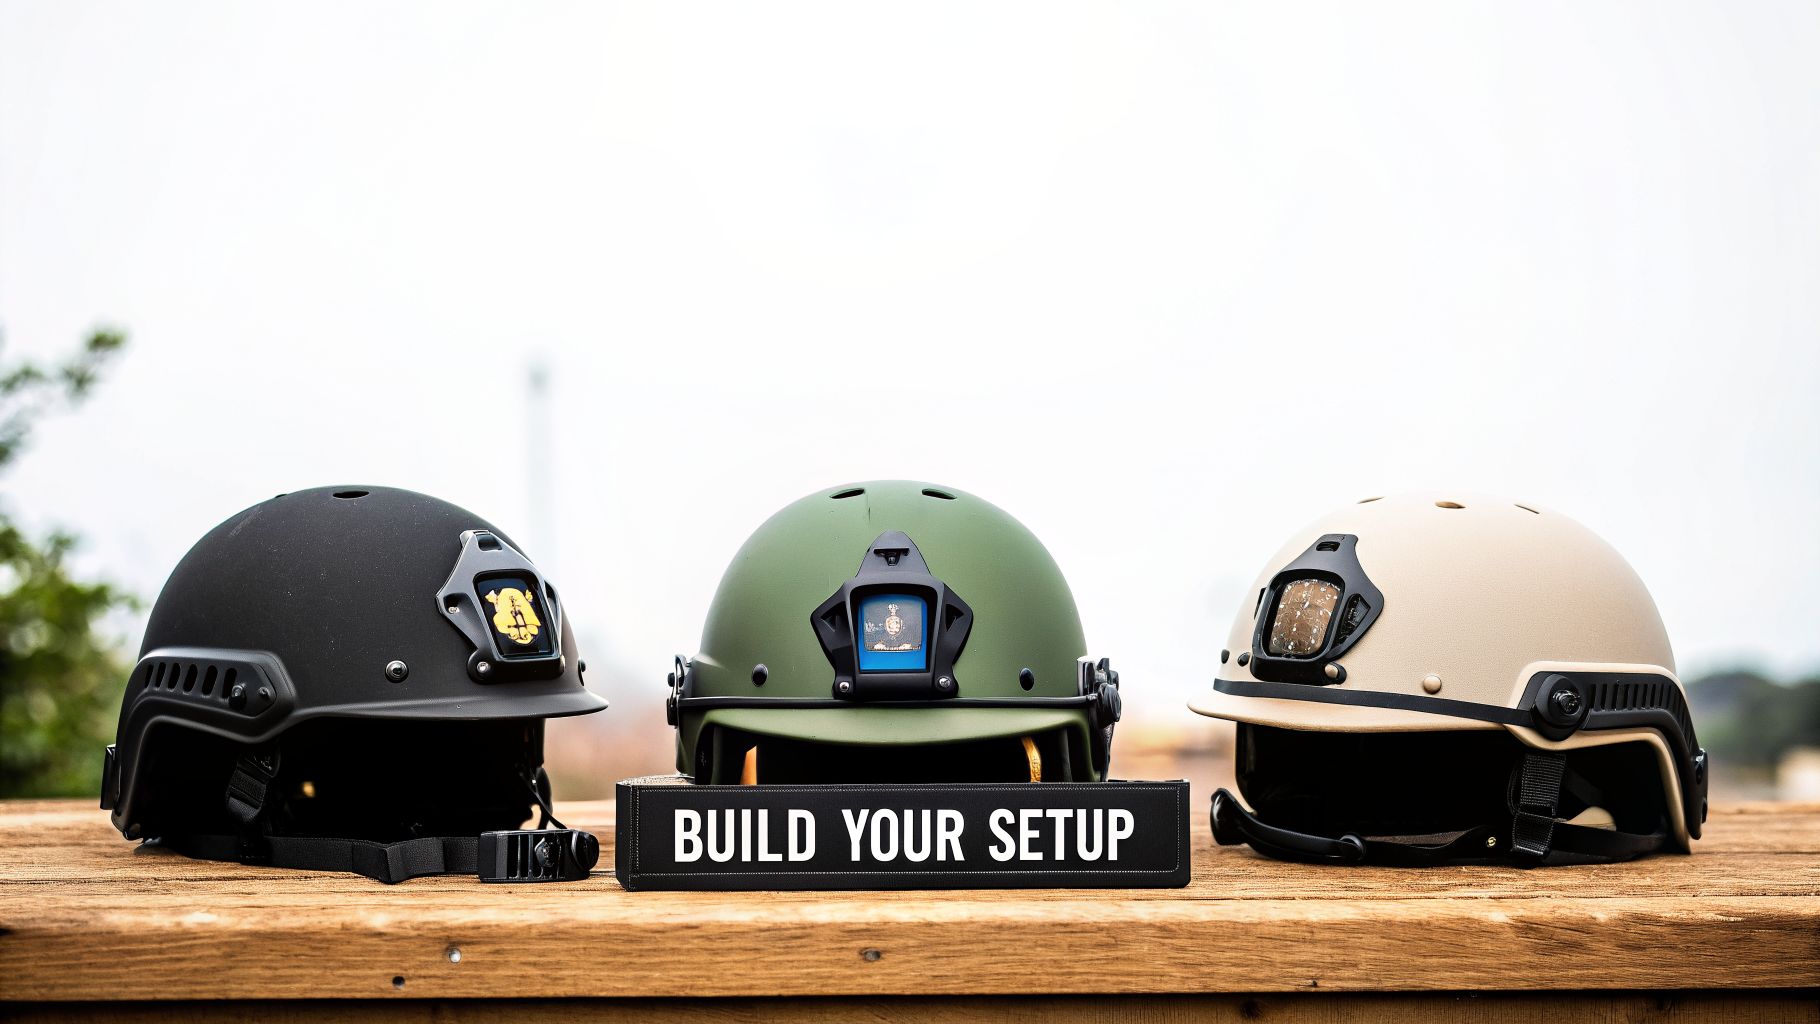
Knowing the specs is half the battle. The other half is building a system that actually works for you and your mission. The perfect helmet with flashlight setup is never a one-size-fits-all product off the shelf; it’s a carefully assembled system where every piece has a purpose.
So, let's get practical. Below, we've outlined three field-tested configurations tailored for different end-users: law enforcement, hunters, and private security contractors. Think of these as proven starting points to help you build a setup you can bet your life on.
For Law Enforcement: The Night Vision Integrator
For any officer working low-light details, the helmet setup is all about seamless integration with night vision and absolute control over your light output. Light discipline is everything. One accidental blast of white light—a "white light AD"—can compromise your team and give away your position in an instant. This build is built around that principle, focusing on IR capability and deliberate, momentary activation.
The heart of this system is a dual-spectrum light, like a SureFire Vampire, which gives you both potent white light and an infrared (IR) illuminator. This lets you switch instantly from navigating with the naked eye to operating under NVGs, like a PVS-14 monocular. Considering the FBI has noted that roughly 25% of officer-involved shootings occur in low-light, having a tool that shaves seconds off your response time is critical.
- Primary Light: A dual-output (White/IR) light mounted on an ARC or M-LOK rail.
- Activation: A momentary-only pressure switch is non-negotiable. It ensures you only have light when you intend to, preventing accidental full activation.
- Mounting: An offset mount is key. It pushes the light forward and away from the helmet, reducing the annoying "helmet shadow" and clearing your sight picture of lasers or other devices.
- Balance: Don't forget a counterweight. Running NVGs and a light makes your helmet front-heavy, and a good pouch with weights or even spare batteries is essential for comfort and stability.
A crucial capability for law enforcement is the ability to "punch" through photonic barriers—think overpowering streetlights, porch lights, or a suspect's blindingly bright headlights. A light with high candela and a tightly focused beam lets an officer see into a dark car or down a dim alley without the beam getting washed out by surrounding light sources.
For Hunters: The Long-Range Spotter
Hunters operate under a completely different set of rules. Here, the mission is long-distance spotting and tracking, all while remaining completely undetected. Your setup has to be lightweight, with a beam that can reach out and touch something, and it absolutely needs alternate color modes to avoid spooking game.
For spotting across a dark field or identifying a shape on a distant ridgeline, a high-candela, lightweight light is your best friend. Even more important are colored LEDs. Many game animals don't register red or green light the same way they do white light, making these modes invaluable for getting to your stand or tracking a blood trail without sending every animal in the county running. In fact, a 2021 study found that hunters using headlamps were 40% more effective at tracking wounded game over 500 yards.
This need for specialized lighting is part of why helmet lights have exploded in popularity among outdoor enthusiasts. The technology has come a long way, as you can see in the historical overview of how headlamp technology has evolved for recreational use on Wikipedia).
- Primary Light: A lightweight, high-candela light with a focused beam to maximize throw distance.
- Color Modes: Red or green light settings aren't just a feature; they're essential for preserving your own night vision and staying invisible to wildlife.
- Power: Stick with CR123A batteries. They are famously reliable in cold weather and hold a charge for years, so they won't die on you after sitting in your pack all season.
- Mounting: Keep it simple. A direct side-mount on the helmet gets the job done without adding unnecessary weight or complexity.
For Security Contractors: The Urban Navigator
Private security contractors need a jack-of-all-trades setup. One night you might be clearing a dark urban alley, the next you're patrolling a massive, unlit industrial complex. Your gear has to be brutally durable, incredibly powerful, and versatile enough to handle it all. This build is all about high lumens and a balanced beam.
For this kind of work, you want a powerful light—something north of 1,000 lumens—with a beam that gives you a good mix of throw and spill. This gives you the reach to scan a perimeter fence 100 yards away, but also enough peripheral light to check corners and doorways without having to constantly whip your head around. Durability is paramount, so a light with a tough build and an IPX8 waterproof rating is a must-have.
- Primary Light: A rugged, high-lumen light that offers a general-purpose beam, not just a pinpoint spot.
- Battery: A rechargeable system using 18650s makes the most sense. For a light that sees frequent, nightly use, it's far more economical than burning through disposable batteries.
- Activation: A simple, reliable clicky tailcap provides definitive on/off activation that's easy to use under stress.
- Secondary Light: Seriously consider adding a small, low-output admin light to your helmet. It's perfect for reading a map, checking your gear, or writing a report without blowing out your night vision.
Installation and Essential Accessories
A top-tier helmet light is only as good as its setup. Simply owning the gear isn't enough; you need to assemble it into a cohesive system that you can trust in the field. Proper installation and smart accessory choices are what separate a professional's rig from a pile of expensive parts.
Mounting the light is your first step. Most modern helmets use one of two main rail systems: Accessory Rail Connectors (ARC) or M-LOK. If your helmet has ARC rails—common on Ops-Core or Crye Precision models—the process is straightforward. Just loosen the screw on your light's mount, slide it into the rail channel, and tighten it down firmly.
M-LOK rails, which you'll find on helmets from brands like Team Wendy, work a bit differently. You'll align the mount's T-nuts with the M-LOK slots, push it in, and then tighten the screws. This rotates the nuts and locks them into place behind the rail. Whichever system you have, give the light a solid wiggle test. There should be absolutely no play or wobble.
Mastering Cable Management
Once your light is secure, it's time to deal with the wires. Loose cables are more than just ugly—they're a serious snag hazard that can get caught on everything from tree branches to vehicle doors. A clean helmet is a safe and effective helmet.
Use zip ties, ranger bands, or purpose-built clips to route any pressure switch wires tightly against the shell. Follow the helmet's natural contours and keep them clear of other gear. This simple step prevents snags and protects your cables from damage, ensuring your light will work without fail.
A well-managed helmet is the hallmark of a professional. Think of your helmet's surface like a workspace—keeping it clean and organized minimizes failure points and lets you focus on the task at hand.
Essential Maintenance and Upkeep
Your helmet light is a piece of precision equipment, and it needs some basic care. Make a habit of wiping the lens with a soft, clean cloth. A grimy lens can easily cut your light's output by 10-15% or more, which is a massive performance hit when you can least afford it.
Every so often, take a look at the rubber O-rings around the tailcap and bezel. These little seals are what guarantee the light’s water and dust resistance. Check that they aren't cracked or dirty, and apply a tiny amount of silicone grease to keep them pliable and effective.
Battery care is also critical. If you're storing the light for a while, just pop the batteries out. This prevents them from slowly draining or, worse, corroding inside the housing. For rechargeables, try not to let them sit completely dead for long periods, as it can permanently reduce their capacity.
Completing Your Setup with Key Accessories
A few other pieces of gear can truly round out your setup. If you're running a light and night vision on the front of your helmet, a counterweight is an absolute must. It balances the load, dramatically reducing neck fatigue and keeping the helmet stable when you're moving quickly.
For extended missions, an external battery pack is a game-changer, giving you a massive boost in runtime. Finally, consider a helmet cover. It adds camouflage, protects your helmet's finish from bumps and scrapes, and gives you more tie-down points for cables or strobes. To see what’s available, exploring the full range of ballistic helmet accessories is a great way to complete your loadout.
Common Questions About Helmet Flashlights
Even with all the specs laid out, a few key questions pop up again and again when someone is putting together their first helmet light system. Let's tackle those head-on so you can finalize your build with total confidence.
What's More Important: Lumens or Candela?
I get this question all the time, and the truth is, one isn't "more important" than the other. They simply have different jobs, and the right choice boils down to your primary mission.
Think of it like water from a hose. Lumens are the total volume of water coming out—the sheer amount of light. Candela is the water pressure—how far and tight that stream of light can be thrown.
A high-candela light gives you a tight, focused beam that’s perfect for spotting something way out in the distance. This is what you want if you’re a hunter scanning a field or trying to positively identify a threat from 100 yards away. On the other hand, a high-lumen light with a wide, floody beam is better for close-quarters work. It lights up your entire peripheral vision, which is exactly what an officer needs when clearing a room.
Can I Mount Any Flashlight to My Helmet?
You might be able to rig something up with zip ties and duct tape, but you absolutely shouldn’t. A standard EDC flashlight you carry in your pocket isn't built for the job.
Purpose-built helmet lights are designed and tested to handle the constant shock, vibration, and abuse of being mounted to your headgear. More importantly, they’re made to integrate flawlessly with standard mounting systems like ARC rails, M-LOK, and various Picatinny adapters. This ensures a rock-solid fit that won't wobble or fall off when you’re on the move. Sticking with a dedicated system guarantees reliability when it matters most.
How Do I Balance the Weight on My Helmet?
An unbalanced helmet is a fast track to neck strain and headaches. If you’re mounting a light on the front—and especially if you’re adding a night vision device—a counterweight system on the back of your helmet is non-negotiable.
Properly balancing your helmet isn’t a luxury; it’s a necessity for comfort and stability. It turns a front-heavy setup that causes fatigue into a stable platform that feels much lighter than it actually is.
You can use a dedicated pouch filled with lead weights, or you can get clever and use the pouch to store spare batteries for your electronics. This approach pulls double duty: it perfectly balances the helmet while keeping essential power right where you need it.
What Is the Difference Between White Light and an IR Illuminator?
This is a simple but critical distinction. White light is the normal, visible light your eyes see every day. An IR (infrared) illuminator produces light in a spectrum that is completely invisible to the naked human eye.
However, through night vision goggles (NVGs), that invisible IR light shows up as a bright, powerful beam. This is the key to operating effectively in the dark. An IR illuminator lets you see everything—navigate terrain, identify objects, and read maps—without giving away your position to anyone who isn't wearing night vision. It’s all about seeing without being seen.