The Ultimate Night Vision Monocular Review Guide
Picking the right night vision monocular isn't just another gear purchase. It's a serious investment in your safety and ability to get the job done when the lights go out. A real night vision monocular review has to go deeper than just looking at the brand or the price tag—it’s about understanding the guts of the technology that actually turns night into day.
Think of this guide as your roadmap to evaluating these devices like a seasoned pro.
Why a Proper Night Vision Monocular Review Matters
Let's be honest, diving into the world of night vision can feel like you're trying to learn a new language. You're hit with terms like "FOM," "autogating," and "Gen 3 white phosphor," and it's easy to get bogged down in the technical weeds. A good review doesn't just list specs; it translates them into what you'll actually see and experience in the field.
It all boils down to one simple question: "Will this thing work for me when it absolutely has to?" This guide will walk you through that process. We'll break down the complex science of how these devices amplify tiny amounts of light thousands of times over, helping you sidestep common myths and expensive mistakes. If you want to get a jump start, check out our guide on the top 5 night vision myths debunked.
Setting the Stage for an Informed Decision
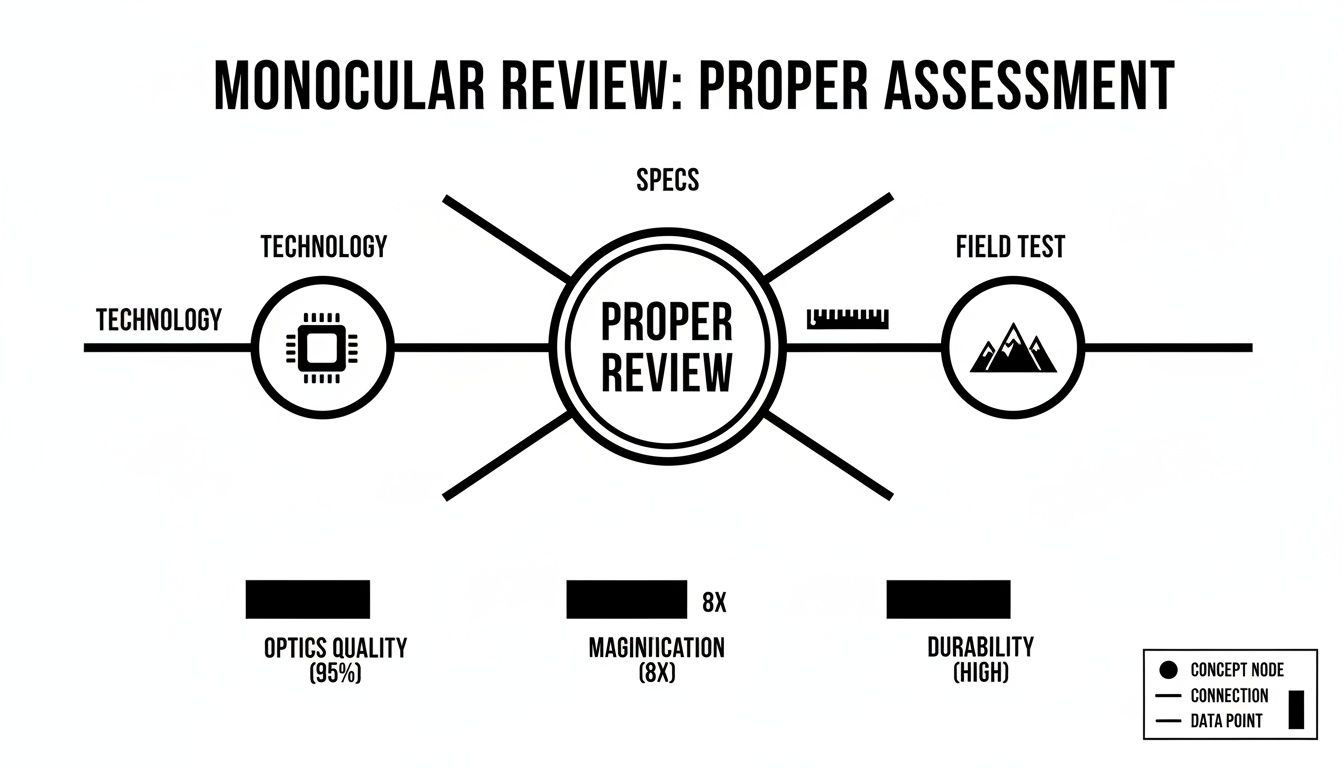
A truly useful review gives you the power to judge a monocular based on your own specific needs, whether you're running tactical operations, stalking game, or just exploring the backcountry after dark. We’re going to cover the cornerstones of a solid evaluation:
- Decoding the Technology: We'll get into the real differences between night vision generations and explain exactly why the pros almost always choose Gen 3 white phosphor tubes for their incredible clarity and how much easier they are on the eyes.
- Interpreting Performance Specs: You’ll learn to read a spec sheet like an expert, seeing how numbers like resolution and Signal-to-Noise Ratio (SNR) directly translate to your ability to spot and identify a target from a distance.
- Conducting Field Tests: We’ll give you a practical, no-nonsense checklist for putting a monocular through its paces in different light conditions, so you can be sure the unit you pick will perform where you actually plan to use it.
In the end, our goal is to give you the confidence and know-how to choose a night vision monocular that you can trust completely—one that's backed by expert support and a solid warranty. Your safety and success hang in the balance.
Decoding the Science Behind Night Vision Technology
Before you can properly review a night vision monocular, you have to get a handle on the incredible science packed inside. It’s a common misconception that these devices create light. The reality is far more impressive: they are masters of amplification, taking the faintest traces of existing light—from the moon, stars, or even distant city glow—and multiplying it thousands of times. This process is called image intensification.
Think of the jump from a Generation 1 (Gen 1) to a modern Generation 3 (Gen 3) unit like going from an old flip phone camera to a new professional DSLR. The early stuff was revolutionary for its time, but the images were often grainy and distorted with that classic "fish-eye" look. Today’s Gen 3 tech, by contrast, delivers a level of clarity and performance that’s in a completely different league.
The Heart of the Monocular: The Image Intensifier Tube
The real magic happens inside a component called the image intensifier tube (IIT). This is the engine of your monocular. It’s a highly sophisticated, vacuum-sealed tube that takes a nearly invisible scene and, in a flash, turns it into a bright, usable image.
The process is a rapid-fire, three-step relay:
- Catching Photons: First, particles of ambient light, known as photons, fly through the objective lens and hit a specialized plate called the photocathode.
- Converting to Electrons: The photocathode’s sole job is to convert these incoming photons into electrons. It’s like a currency exchange, trading light for electrical energy.
- Massive Amplification: These new electrons are then fired into a microchannel plate (MCP)—a wafer-thin disc packed with millions of microscopic channels. As a single electron zips into a channel, it ricochets off the walls, knocking loose thousands of other electrons in a massive chain reaction.
This avalanche of amplified electrons then slams into a phosphor screen, which instantly converts them back into visible light. That’s the image you see through the eyepiece. The whole sequence happens so fast it’s instantaneous, amplifying the available light by 30,000 to 70,000 times or more.
Understanding how this core technology works is the foundation for any good evaluation, connecting the science to the specs and, ultimately, to real-world performance.
As the flowchart shows, a solid review always ties the underlying tech to the on-paper specs and what you actually experience in the field.
Why White Phosphor Is the New Professional Standard
For decades, that iconic green glow was the signature of night vision. But if you look at modern, high-end Gen 3 devices, you’ll notice they almost exclusively use white phosphor. This isn’t just a stylistic choice; it’s a significant performance upgrade.
White phosphor tubes produce a crisp, black-and-white image that’s much more natural for the human brain to interpret.
Users consistently report that white phosphor offers better perceived contrast, making it far easier to pick out details, shapes, and textures in the dark. Crucially, it also causes less eye strain over long periods—a massive benefit for tactical operators, law enforcement, and serious hunters who might spend hours behind the glass.
This move to white phosphor is one of the key reasons why modern units feel so much more capable than older green-screen models. For a deeper dive into how this all stacks up, you can check out our guide comparing thermal, digital, and analog night vision.
The Role of the Infrared Illuminator
So, what happens when you’re in a place with zero ambient light, like a windowless basement or a deep cave? That’s when the onboard Infrared (IR) illuminator becomes your best friend.
Think of it as a stealth flashlight. It throws a beam of infrared light that’s completely invisible to the naked eye but shows up bright and clear through your monocular.
It’s a powerful tool, but one you need to use strategically. While an IR illuminator lets you see in total blackness, it also acts like a beacon to anyone else using night vision. For that reason, it’s best to use it sparingly for quick tasks like checking a map or navigating a tricky spot, then switch it off.
How to Read the Specs That Define Performance
Diving into a night vision spec sheet for the first time can feel like trying to read a foreign language. It's just a wall of acronyms and numbers. But those figures are the absolute best predictors of how a monocular will actually perform when you're out in the dark.
Think of it less like a technical manual and more like a scouting report on an athlete. Each number tells you a story about the device’s strengths, weaknesses, and what it’s truly capable of. Once you know what to look for, you can cut through the marketing noise and understand exactly what your money is buying.
Resolution: The Foundation of Image Detail
The first spec you’ll likely run into is Resolution, which is measured in line pairs per millimeter (lp/mm). This is probably the easiest one to wrap your head around—it’s a direct measure of the raw sharpness of the image intensifier tube. A higher lp/mm number means the tube can resolve finer details.
It’s just like the difference between an old standard-definition TV and a modern 4K screen. On the old TV, a face from a distance is just a blurry shape. On the 4K screen, you can see every whisker. A tube with 36 lp/mm might let you see a human-sized figure at 200 yards, but a premium Gen 3 tube pushing 64 lp/mm or more will let you see what that person is holding.
In the field, that’s the difference between simple detection and positive identification—a critical distinction whether you’re a hunter or a law enforcement officer.
SNR: The Key to a Clean Image in Darkness
While resolution tells you how sharp the image is, the Signal-to-Noise Ratio (SNR) tells you how clean it is. I always tell people to think of it like the reception on an old analog radio. When the signal is strong, the music comes through crystal clear. When it’s weak, you get that annoying static and hiss that drowns everything out.
In night vision, the "signal" is the good light information that forms the image you want to see. The "noise" is that grainy, sparkling effect you sometimes see, which we call scintillation or "snow."
A high SNR is your ticket to a clean, crisp image, especially when the lights are really out. An SNR of 25 is solid, but the top-tier tubes we see often push past 30, giving you a stunningly clear view on even the darkest, moonless nights.
Honestly, this is probably the most important spec for real-world performance. A unit with sky-high resolution but a low SNR will give you a sharp but snowy picture, making it tough to pick out details in deep shadows. A high SNR ensures you get a clean, usable image when ambient light is almost non-existent.
FOM: The Overall Performance Score
Finally, there’s Figure of Merit (FOM). This is a simple but incredibly useful calculation that gives you a single, at-a-glance score for a tube's overall performance. Think of it as the device's horsepower rating.
The math is dead simple:
FOM = Resolution (lp/mm) x Signal-to-Noise Ratio (SNR)
So, if a tube has a resolution of 64 lp/mm and an SNR of 28, its FOM is 1792. A truly high-end tube might boast 72 lp/mm and an SNR of 35, giving it an incredible FOM of 2520.
This single number is the quickest way to compare the general capability of two different image intensifiers. While other factors matter, a higher FOM almost always means you’re getting a more capable device that will perform better under a wider variety of conditions.
To give you a handy reference, here’s a quick breakdown of these key specs.
Key Night Vision Performance Metrics at a Glance
| Specification | What It Measures | Why It Matters to You |
|---|---|---|
| Resolution (lp/mm) | The image intensifier tube's ability to resolve fine detail. | Higher numbers mean a sharper, more detailed image, which is critical for identifying targets at a distance. |
| SNR | The ratio of useful image data ("signal") to electronic interference ("noise"). | A higher SNR delivers a cleaner, less grainy picture, especially in extremely dark environments. |
| FOM | A calculated score (Resolution x SNR) that represents the tube's overall performance. | This is the quickest way to compare the general quality and capability of two different image intensifier tubes. |
Once you get a handle on Resolution, SNR, and FOM, you’re no longer just taking a manufacturer's word for it. You can look at a spec sheet and make your own informed decision. For a deeper dive, check out our guide on the top features to look for in a quality night vision monocular.
This knowledge is what empowers you to make a smart investment, ensuring the gear you pick will deliver the clarity and reliability you need when it counts.
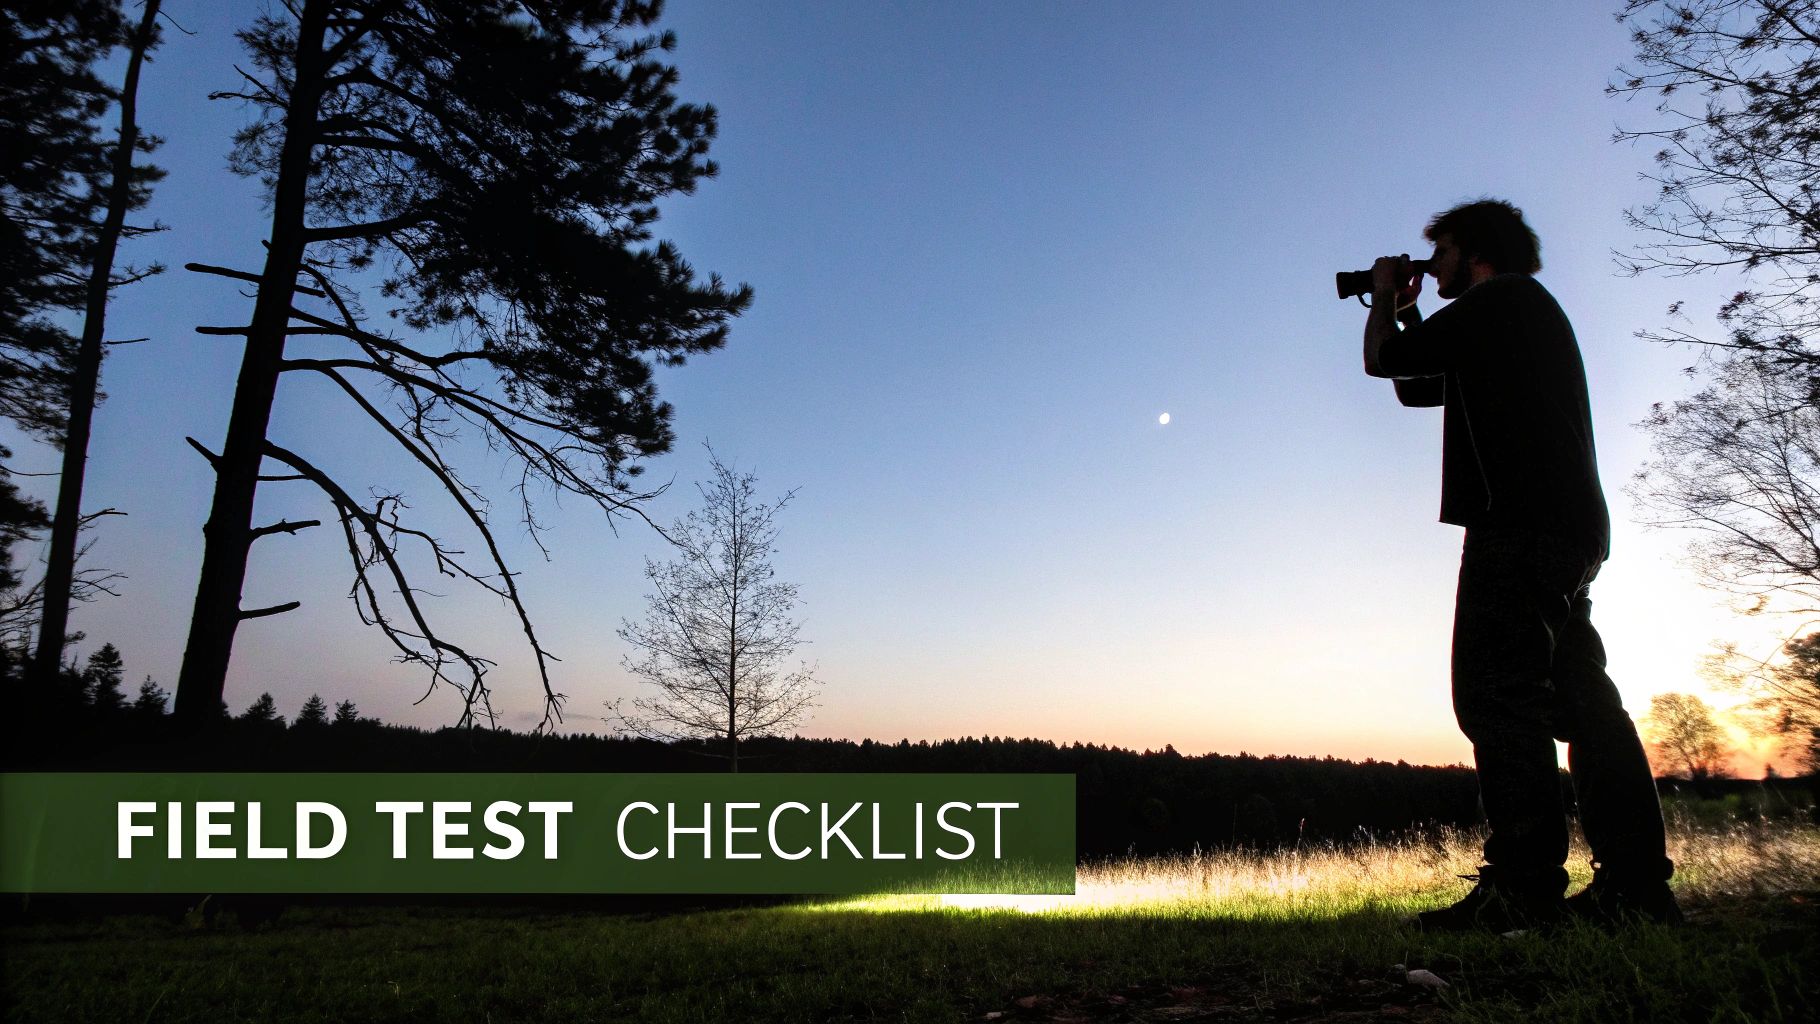
A Practical Guide to Field Testing Your Monocular
Spec sheets tell you a monocular's potential, but a real-world field test reveals its true character. The best night vision monocular review you can possibly conduct isn't in a showroom—it's under the stars, putting the device through its paces. This is the only way to know if its on-paper performance actually holds up when it matters most.
This isn’t just about wandering around in the dark, though. It’s a structured evaluation meant to push the limits of the device’s resolution, gain, and overall clarity in different, challenging environments. A systematic approach ensures you test every critical function before you have to bet your life on it.
Setting Up Your Evaluation Environments
To really put a unit through its paces, you need to test it in at least three distinct lighting conditions. Each environment is specifically chosen to stress a different aspect of the image intensifier tube, giving you a complete picture of its strengths and weaknesses.
Your testing grounds should include:
- The Dark Sky Test (Low Light): Get as far away from city lights as you can, preferably on a moonless but starlit night. This is a minimal-light environment that forces the monocular to do the heavy lifting. It's the ultimate test of its raw light amplification, gain, and Signal-to-Noise Ratio (SNR).
- The Urban Edge Test (Mixed Light): Head to a suburban area where you’ll encounter streetlights, porch lights, and random car headlights. This setting is all about challenging the device's ability to handle bright light sources. You’re looking for blooming (those annoying halos) and testing how well its autogating feature works.
- The Woodland Test (High Clutter): Take the monocular into a dense forest or an area with thick brush. A cluttered environment like this is perfect for seeing what its resolution and clarity are really made of. The goal here is to distinguish individual leaves, branches, and shapes hiding in deep shadows.
The Field Testing Checklist
Once you're in position, it's time to get to work. Don't just look around passively; you need to actively challenge the device to see where it shines and where it struggles. This hands-on process is what separates a real-deal night vision monocular review from a simple product summary.
Here's a step-by-step checklist to guide your evaluation:
- Resolution and Identification Test: At a known distance, say 100 yards, try to read a license plate or a sign with large text. This is a direct, no-nonsense measure of the tube’s real-world resolution. Can you clearly make out the letters, or are they just a blurry mess?
- Shadow Detail and SNR Test: In your low-light spot, focus on the deepest shadows you can find. Scan for objects inside them—a log, a piece of gear, anything. A unit with a high SNR will let you peer right into that darkness with minimal "snowy" static.
- Blooming and Autogating Test: In the urban setting, point the monocular directly at a streetlight. A quality tube will show a very small halo and adjust almost instantly, letting you see objects nearby. A cheaper device will "white out," making the entire area around the light completely invisible.
- Tube Blemish Inspection: This one is crucial. Find a plain, evenly lit surface, like a clear patch of sky or a distant light-colored wall. Pan the monocular across it slowly and carefully, looking for any dark spots or tiny lines. These are blems—small cosmetic imperfections in the tube.
Pretty much every tube has a few tiny blems, but a high-quality unit shouldn't have any in the very center of your view (Zone 1). A few spots on the outer edges (Zone 3) are usually fine, but any distracting imperfections right in the middle are a major red flag.
By methodically running through these tests, you get far beyond the numbers on a spec sheet. You gain a practical, firsthand feel for the device's true performance, ensuring the monocular you choose is a tool you can actually trust.
Protecting Your Investment with Proper Maintenance
A high-performance night vision monocular is a serious piece of kit and a significant investment. Like any precision instrument, it needs a bit of care to keep it running flawlessly for years to come. Owning one is more than just using it; it’s about a few simple, preventative habits that protect its delicate insides. Honestly, knowing how to look after your gear is just as critical as knowing how to use it.
The quickest way to ruin an image intensifier tube is to blast it with bright light. Think of the tube's photocathode like your own eye after you've been in a pitch-black room for an hour—a sudden bright light is physically painful and can cause damage. For the tube, that damage is permanent, resulting in black spots or "blems" that will forever obstruct your view.
This is why light discipline is the golden rule of night vision ownership. Always, and I mean always, keep the objective lens cap on during the day, in any well-lit area, or when you put the device away.
Common Failure Points and How to Avoid Them
Beyond catastrophic light exposure, a few other common hazards can sideline your monocular. The good news is that they’re almost all avoidable with a little bit of foresight.
- Impact and Shock: The housing is tough, but the tube inside is fragile. A hard drop can still be a death sentence for it. Always use a neck lanyard or a retention cord on your helmet mount to prevent it from taking a tumble, especially when you're on the move.
- Moisture Intrusion: Good monoculars are nitrogen-purged to keep the inside from fogging up. If you compromise the seals, moisture can seep in and wreak havoc on performance. Resist the urge to take it apart, and if you live in a humid place, toss a desiccant pack in its storage case.
- Lens Damage: Your objective lens is your eye on the world. Scratches and chips will degrade your image quality forever. The easiest and cheapest insurance for this is a sacrificial lens. It's a clear, replaceable filter that takes the hits from branches, dirt, and debris so your expensive primary lens doesn't have to.
The Importance of Warranty and Repair Services
Even when you do everything right, things can still go wrong. This is where a solid warranty and reliable customer support really show their worth. A comprehensive 10-year warranty, like the one from Superior Tactical, isn't just a marketing gimmick—it’s a testament to the manufacturer's belief in their own product.
A robust warranty is your ultimate safety net. It gives you the peace of mind that your investment is protected from any factory defects for a full decade, turning a major purchase into a dependable, long-term tool.
And let's be realistic, accidents happen. If your device gets damaged in a way that isn't covered by the warranty, having access to in-house repair services is a game-changer. Companies that can diagnose the problem for free and perform professional repairs are providing a crucial lifeline. It means your monocular can be serviced and brought back to factory spec, giving it a lifespan that stretches far beyond the initial purchase. For anyone conducting a long-term night vision monocular review, this kind of support structure is what makes a device a truly sustainable investment.
Choosing the Right Monocular for Your Mission
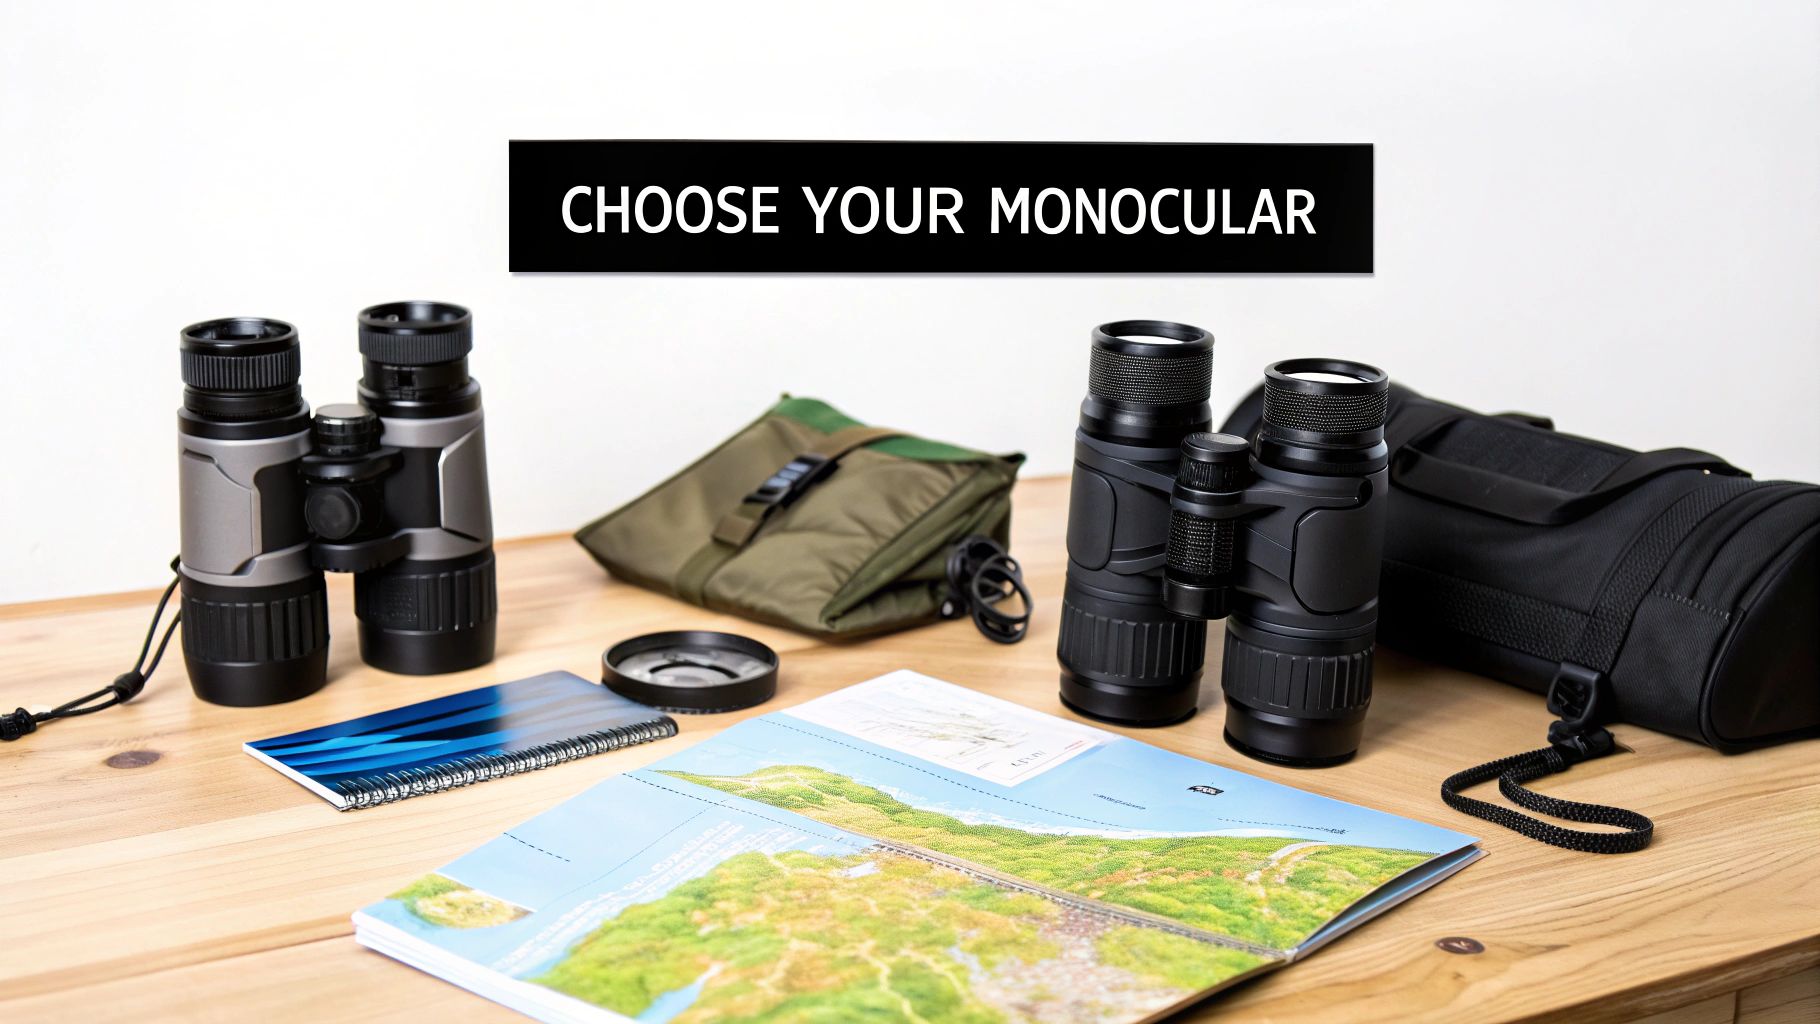
You’ve got the technical specs down. You know how to field-test a unit. Now it’s time for the most important part of any night vision monocular review: matching the gear to your mission. The "best" monocular isn't just the one with the highest FOM on a spec sheet; it's the one that feels like a natural extension of your own eyes when you’re out in the dark.
But before we get into specific use cases, there’s a critical legal point we have to cover. High-performance Gen 3 night vision is regulated by the International Traffic in Arms Regulations, better known as ITAR. These aren't just toys—the U.S. government classifies them as defense articles, and their export is strictly controlled.
This is a huge reason to buy from a reputable, U.S.-based company like Superior Tactical. It’s your guarantee that you’re getting authentic, high-spec equipment legally. More than that, you get local support and a direct line for service, which is exactly what you need when making a long-term investment in mission-critical gear.
Aligning Technology With Tactical Needs
For anyone in law enforcement, security, or the military, your needs are simple and non-negotiable. You need gear that is brutally durable, absolutely reliable, and performs flawlessly under the worst kind of stress. Your environment can flip from a pitch-black alley to the blinding glare of headlights in an instant, and your optics have to keep up.
This is the world where ruggedized, high-FOM workhorses like the classic PVS-14 earn their keep. Their reputation wasn't bought; it was forged in the field.
- High FOM and SNR: You need the cleanest, sharpest image possible to maintain situational awareness and positively identify what’s in front of you. A high Figure of Merit and Signal-to-Noise Ratio are essential.
- Autogating: The tube’s ability to react instantly to sudden light—like muzzle flash or a spotlight—is non-negotiable. It prevents the image from "whiting out" at the exact moment you can't afford it.
- Durability: The housing has to take a beating from impacts, vibrations, and weather without a single hiccup from the sensitive electronics inside.
For the tactical professional, there's zero room for compromise. The monocular has to work, every single time. When operational success and personal safety are on the line, investing in a top-tier, battle-tested unit is the only smart move.
Optimizing for the Hunt and Outdoor Exploration
If you’re a hunter or a serious outdoor enthusiast, your priorities shift a bit. Durability is still a factor, of course, but your main focus is on maximizing how far you can detect and recognize things, often in environments with almost no ambient light. You're trying to spot game hundreds of yards away or safely navigate a trail on a moonless night.
This is where image clarity and weight become king. A heavy, clunky device is a killer on a long stalk or a multi-day trek. The perfect unit for you will balance powerful performance with a lightweight, comfortable design that won't wear you out after hours of scanning.
Key things for hunters and explorers to look for:
- Detection Range: A top-quality tube with superb light amplification is what lets you see deeper into the darkness, giving you a massive advantage.
- Image Clarity: You need more than just detection; you need identification. Great resolution and SNR are what help you tell the difference between a buck and a boulder.
- Weight and Portability: A lighter monocular is just plain easier to carry, easier to scan with, and easier to mount. It makes the whole experience better.
Ultimately, picking the right monocular comes down to a personal decision. You have to be honest about what you’ll actually be doing with it and then match that use case to the right technology. Whether your mission is professional or recreational, getting expert guidance ensures your choice is the right one—and that your investment will serve you well every time the sun goes down.
Answering Your Final Questions About Night Vision Monoculars
Making that final decision on a big purchase like this always brings up a few last-minute questions. It’s smart to get them sorted out before you pull the trigger. Here are some of the most common things people ask us, broken down with straight-to-the-point answers to help you feel confident in your choice.
What's the Real Difference Between Green and White Phosphor?
The classic "green glow" is what everyone pictures when they think of night vision, and for good reason—it works well. The catch is that a lot of folks, myself included, find that staring through a green tube for hours can really strain your eyes.
White phosphor, on the other hand, gives you a crisp, black-and-white image. Our brains are just wired to see the world this way, so it feels much more natural. Most people find the contrast is sharper and details pop a bit more. For anyone serious about their gear, white phosphor has pretty much become the go-to for comfort and performance.
Can I Use a Night Vision Monocular During the Day?
No. Just… no. This is the cardinal rule of owning night vision. Never, ever turn on an image intensifier in daylight or bright light without the day cap screwed on tight.
The tube inside is incredibly sensitive. A sudden flash of bright light can instantly burn permanent black spots (blems) into it or kill it outright. It's the same idea as pointing a powerful telescope at the sun—it’s a fast track to a very expensive paperweight.
Is a Higher Figure of Merit (FOM) Always Better?
For the most part, yes. FOM is a great shorthand for overall performance because it blends resolution (how sharp the image is) with the Signal-to-Noise Ratio (how clean it is). A tube with a high FOM is almost always going to give you a better picture than one with a low FOM.
But here's where experience comes in: the "best" tube depends entirely on what you're doing. If you're spotting things at long distances, you want the highest FOM you can get. Period. But if you're navigating on foot in close quarters, you might actually prefer a slightly lower FOM tube that has a perfectly clean screen over one with a higher number but a distracting blem right in the middle. It's all about matching the tool to the job.
What Are Blemishes and Should I Worry About Them?
Blemishes, or "blems," are just tiny cosmetic specks in the image intensifier tube. They show up as little black dots that don't move. They're a totally normal part of the manufacturing process.
Almost every tube has a few tiny blems somewhere, and they're graded based on their size and where they are in your field of view. A top-tier unit will have very few, and none in the center (Zone 1). Little spots way out on the edge are something you'll probably never even notice when you're actually moving and scanning. The only time to worry is if a blem is big or distracting right in the center of your vision—that’s a no-go for any quality device.
Ready to choose a night vision monocular with confidence? The experts at Superior Tactical LLC are here to help you select the perfect device for your mission, backed by a 10-year warranty and in-house support. Explore our collection of high-performance night vision optics today.