SureFire Laser Light The Definitive Operator’s Guide
When you see a SureFire laser or light on a firearm today, you're looking at more than just an accessory. You're seeing the result of decades of innovation born from one critical need: total reliability when the lights go out. These devices have become the benchmark for military units, police departments, and serious civilian shooters for a reason, and that story starts long before weapon lights were a common sight.
The Legacy Behind SureFire Laser Lights
To really get why SureFire dominates the market, you have to picture a time before you could just clamp a light onto your handgun. The company’s story didn't start on a shooting range or a battlefield, but in an engineering lab. It’s a classic tale of taking high-level science and applying it to solve a very real, very dangerous problem.
For years, fighting in the dark meant fumbling with bulky, unreliable flashlights and questionable techniques. SureFire didn't just improve the existing gear; they completely changed the game.
From Industrial Lasers to Tactical Dominance
The company's roots go all the way back to 1969. Dr. John Matthews, a CalTech Ph.D. engineer, founded the Newport Corporation, which focused entirely on industrial laser applications. But a decade later, that expertise found a new, more urgent calling. In 1979, Dr. Matthews spun off Laser Products Corporation after he patented the first-ever laser-sighted firearm.
It was a bulky, almost crude device by today's standards, but it worked. More importantly, it solved a problem for major agencies like the LAPD, which ordered shotgun laser sights for the 1984 Summer Olympics. Over 10,000 officers ended up equipped with this new tech. You can dig deeper into how this early tech shaped the industry through in-depth resources on SureFire's evolution.
The feedback from those early adopters was immediate and transformative.
Field tests and real-world feedback from these first deployments were staggering. The laser sights improved aiming accuracy in low-light situations by up to 50%. Night operations went from educated guesswork to surgical precision.
This was the turning point. The technology even broke into pop culture, famously appearing on the weapon wielded by Arnold Schwarzenegger in 1984's The Terminator, putting tactical lasers squarely in the public eye.
Setting the Standard for Professionals
With that initial success, the momentum was unstoppable. By 1985, the company launched its first product under the official SureFire brand: a handgun-mounted light. This was a crucial step, merging powerful illumination and a laser aimer into one compact unit that would quickly become a go-to tool for elite teams.
This is where SureFire really cemented its reputation:
- SWAT and Special Forces Adoption: The new integrated laser and light combos were almost immediately picked up by top-tier SWAT and special forces units. Training data showed these systems cut engagement times by an estimated 30%.
- Built for the Worst Conditions: From day one, these products were engineered to survive the absolute harshest environments on Earth. This over-the-top commitment to durability is why operators who couldn't afford failure came to depend on them.
- A Foundation of Trust: The name SureFire became synonymous with reliability. When a mission's success—and your life—hangs in the balance, "good enough" is a failing grade.
That legacy is what you get today. When you choose a SureFire laser light, you're not just getting a piece of hardware. You’re trusting decades of battlefield-proven engineering—the same technology relied on by everyone from Navy SEALs operating overseas to the local police officers protecting your community.
How to Choose the Right SureFire Model
Picking the perfect SureFire laser light can feel overwhelming. You’re hit with a barrage of specs—lumens, candela, wavelength, laser class—and it's easy to get bogged down in the technical jargon. Let's cut through the noise and figure out what actually matters for your specific needs.
The best way to think about it is like picking a tool from a toolbox. You wouldn't use a sledgehammer to tap in a finishing nail. In the same way, you don't need a blindingly bright spotlight for every single situation. The goal is to match the technology to the job at hand.
To get started, let's simplify things with two basic questions that every potential buyer should answer first.
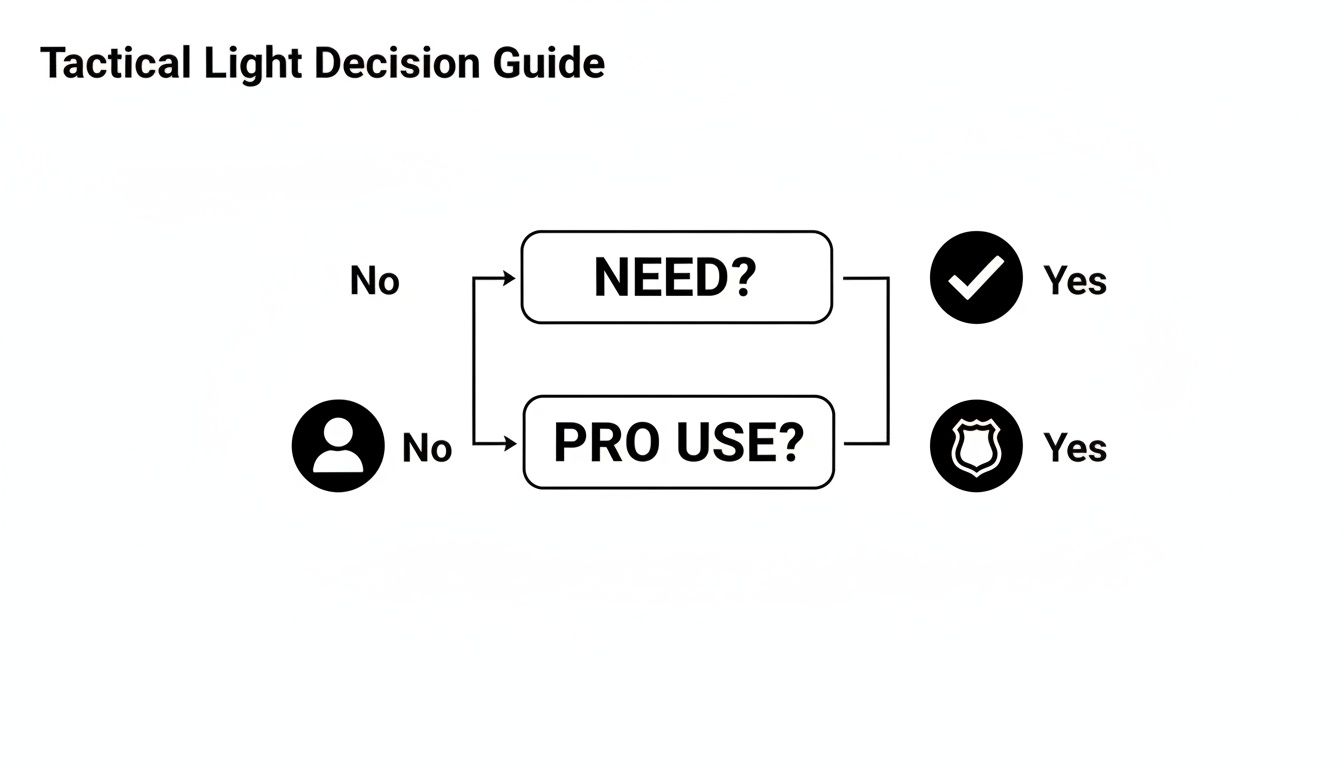
This simple flowchart gets to the heart of the matter. Do you even need a tactical light? And if so, is it for professional duty or personal use? Answering these two questions helps narrow the field considerably before we even get into the nitty-gritty details.
Decoding Lumens and Candela
When it comes to the white light on your device, lumens and candela are the two specs you'll see most often. They're also the most frequently misunderstood. They work together, but they measure two totally different things. Getting this right is critical.
Lumens measure the total amount of light pouring out of the device. Think of it as the raw quantity or "volume" of light. A high-lumen light is fantastic for lighting up an entire room, giving you a wide "spill" of light that fills in the shadows. For something like home defense, a light in the 300 to 1,000 lumen range is more than enough to see everything without blinding yourself off the walls.
Candela, on the other hand, is all about intensity. It measures how bright the single hottest spot in the beam is. This is what gives a light its "throw"—the ability to punch through the darkness and clearly illuminate a target at a distance. A high-candela light produces a tight, focused beam that's ideal for long-range identification.
Here's a simple analogy: Think of lumens as the total amount of water coming out of a fire hose. Candela is the intense, focused pressure of the water stream itself, which determines how far and hard it can hit a specific spot. You need the right balance for your environment.
If you’re in law enforcement and might need to positively identify a threat at 100 yards or more, high candela is your best friend. But for close-quarters work, a more balanced beam with good lumens and moderate candela keeps the central hotspot from being so intense that it washes out the details on your target.
Visible Lasers: Red vs. Green
For the aiming laser itself, your main decision is color: red or green. They both put a dot on the target, but their real-world performance varies quite a bit depending on the lighting.
- Red Lasers: These have been the standard for years. They work great in low-light conditions, they're easier on batteries, and they tend to be the more budget-friendly option.
- Green Lasers: The human eye is wired to see the color green much more vividly than red. This makes a green laser appear dramatically brighter and far easier to see, especially during the day. The trade-off is that they usually consume more power.
So, what's the verdict? If you’re primarily using your laser indoors or in dark environments, a red laser will serve you just fine. If you anticipate needing to use it outdoors or in bright daylight, the superior visibility of a green laser is a significant advantage.
Understanding IR Lasers and Illuminators
This is where things get specialized. Infrared (IR) lasers and IR illuminators are invisible to the naked eye. Their sole purpose is to work with night vision devices (NVDs). If you don't own or plan on using night vision, you can skip this part entirely.
An IR laser functions just like its visible counterpart, but it projects an aiming dot that only someone looking through an NVD can see. This allows for completely covert aiming in total darkness.
An IR illuminator is essentially an infrared flashlight. It floods an area with IR light, dramatically boosting the performance of your NVDs and allowing you to see much farther and with greater clarity than you could otherwise.
Many of SureFire's more advanced units pack a visible laser, an IR laser, and an IR illuminator all into one housing. This gives the user incredible flexibility, allowing them to switch between a visible, overt setup and a completely covert IR setup with the flip of a switch. Deciding on a model with IR capability is really about investing in a complete night-fighting system, not just buying another accessory.
Mounting Your Light for Peak Performance
Your new SureFire laser light is a serious piece of gear, but it's only as good as its mount. Think of it like a rifle scope—if the foundation is shaky, your point of aim will be too. A loose device is a liability, plain and simple. It won’t hold zero, might flicker under recoil, and could fail you when you need it most.
Getting the mount right isn't just about cranking down a screw. It’s about creating a rock-solid connection between your weapon and your targeting tool, ensuring every laser pulse lands exactly where you intend it to, shot after shot.
Choosing the Right Rail and Key
Most modern firearms feature the MIL-STD-1913 Picatinny rail, which is great for standardization. However, a truly locked-in fit still requires a little attention to detail. That's why SureFire includes specific hardware to eliminate any "slop" or wiggle on the rail.
Look in the box. You should find a small bag with different rail keys or adapters. Don't ignore these—they're the secret to a perfect fit. Using the wrong one is the most common reason a light or laser comes loose.
- Glock Rails: Typically use the "Universal" or "U" marked key.
- 1913 Picatinny Rails: Need the "Picatinny" or "P" marked key for a snug fit.
- Other Handguns: Pistols from manufacturers like Sig Sauer or Smith & Wesson might require a different, specific adapter that's also included in the kit.
Always check your SureFire manual to match the key to your firearm. This simple step is what stops the unit from sliding back and forth under recoil, which is the number one killer of a reliable zero. You can get a deeper dive on this topic in our guide to lasers for Picatinny rails.
Achieving a Rock-Solid Installation
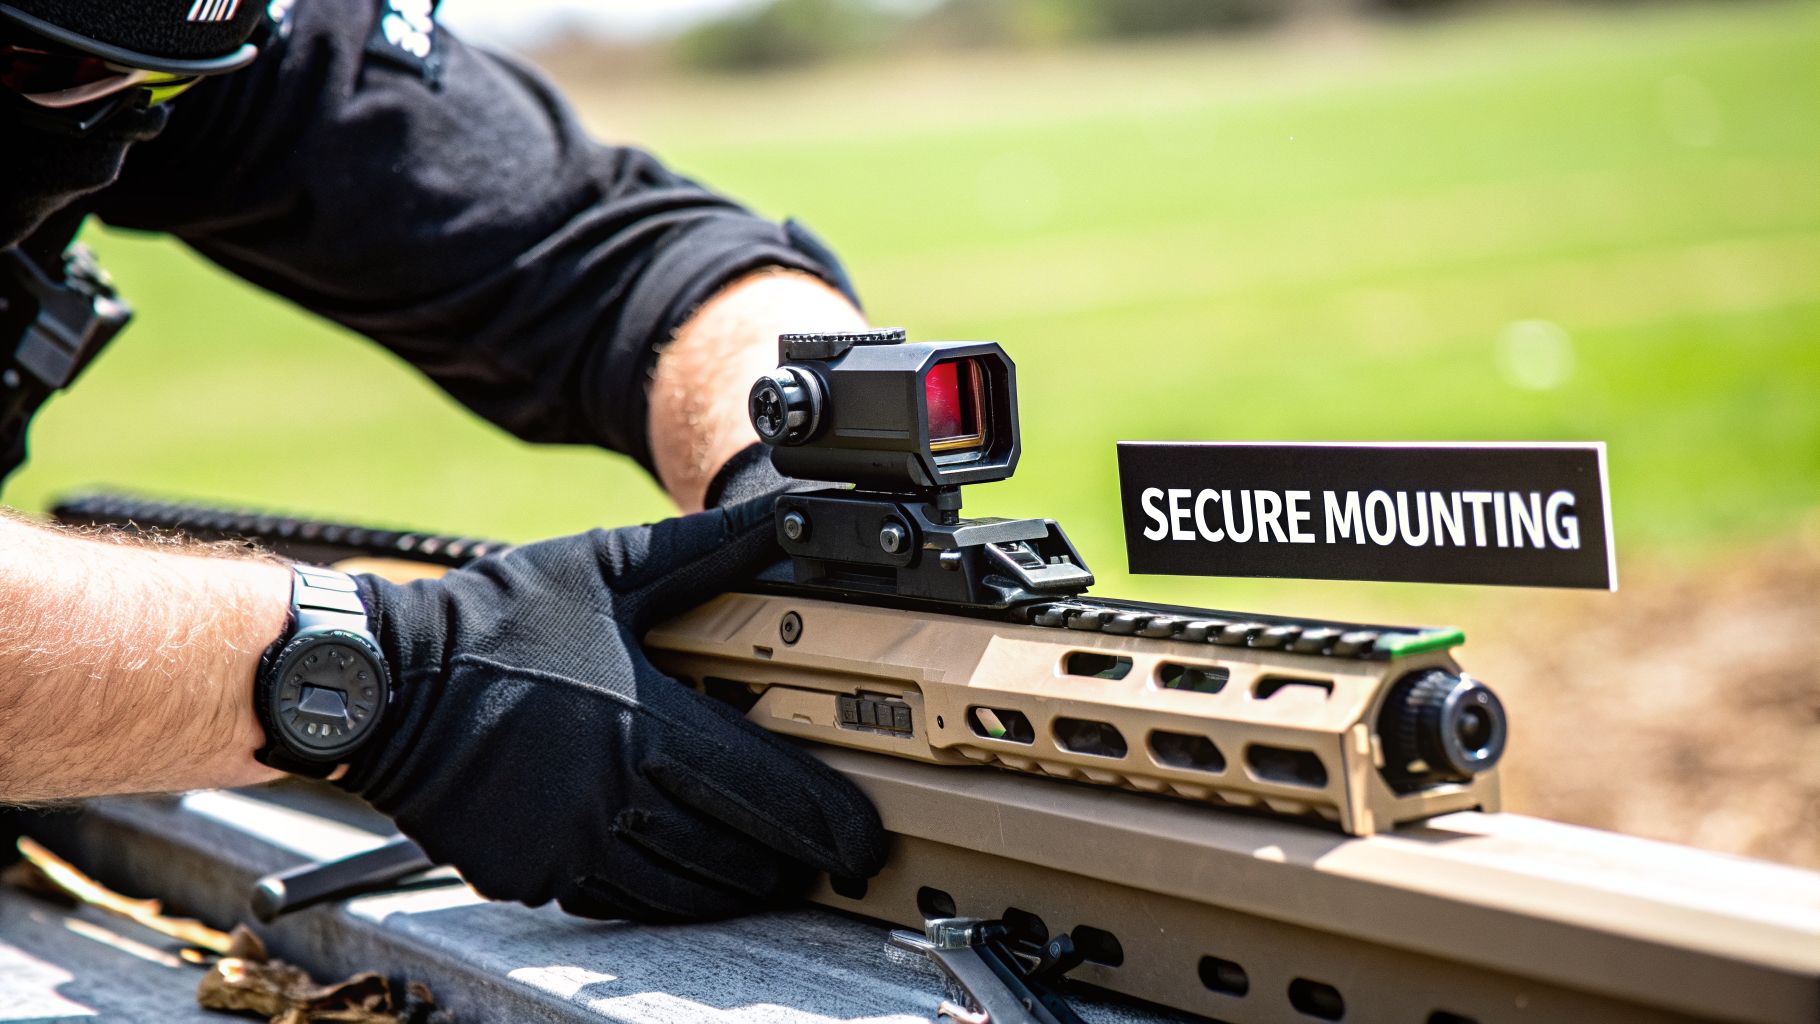
With the right key in hand, installation is straightforward. Your goal is a completely immovable fit, but you don't want to go overboard and strip a screw or damage your rail.
Your mount should feel like an integral part of the firearm, not an accessory bolted onto it. If you can wiggle the device by hand after tightening it, it's not secure. The mounting screw should be turned until it’s snug—a flathead screwdriver or the rim of a coin usually does the trick.
Here’s a pro tip: as you tighten the clamp, apply firm forward pressure on the light. This pushes the cross-bolt tight against the front of the rail slot, preventing recoil from slamming it forward later. After your first trip to the range, always give that screw a quick check to make sure it hasn't backed out.
Optimal Positioning for Control
Finally, let's talk ergonomics. Where you mount your SureFire laser light is critical for fast, intuitive activation under pressure. On a handgun, this generally means as far forward on the accessory rail as you can get without the bezel sticking out past the muzzle.
On a rifle, you have more real estate to work with. Most shooters prefer mounting the unit at the 3 or 9 o'clock position on the handguard. This spot usually allows for easy thumb activation with your natural support grip and keeps the device from blocking your optic. The goal is simple: find a position where using the light or laser feels like a natural reflex, not a clumsy adjustment.
Getting Your SureFire Zeroed and Ready for Action
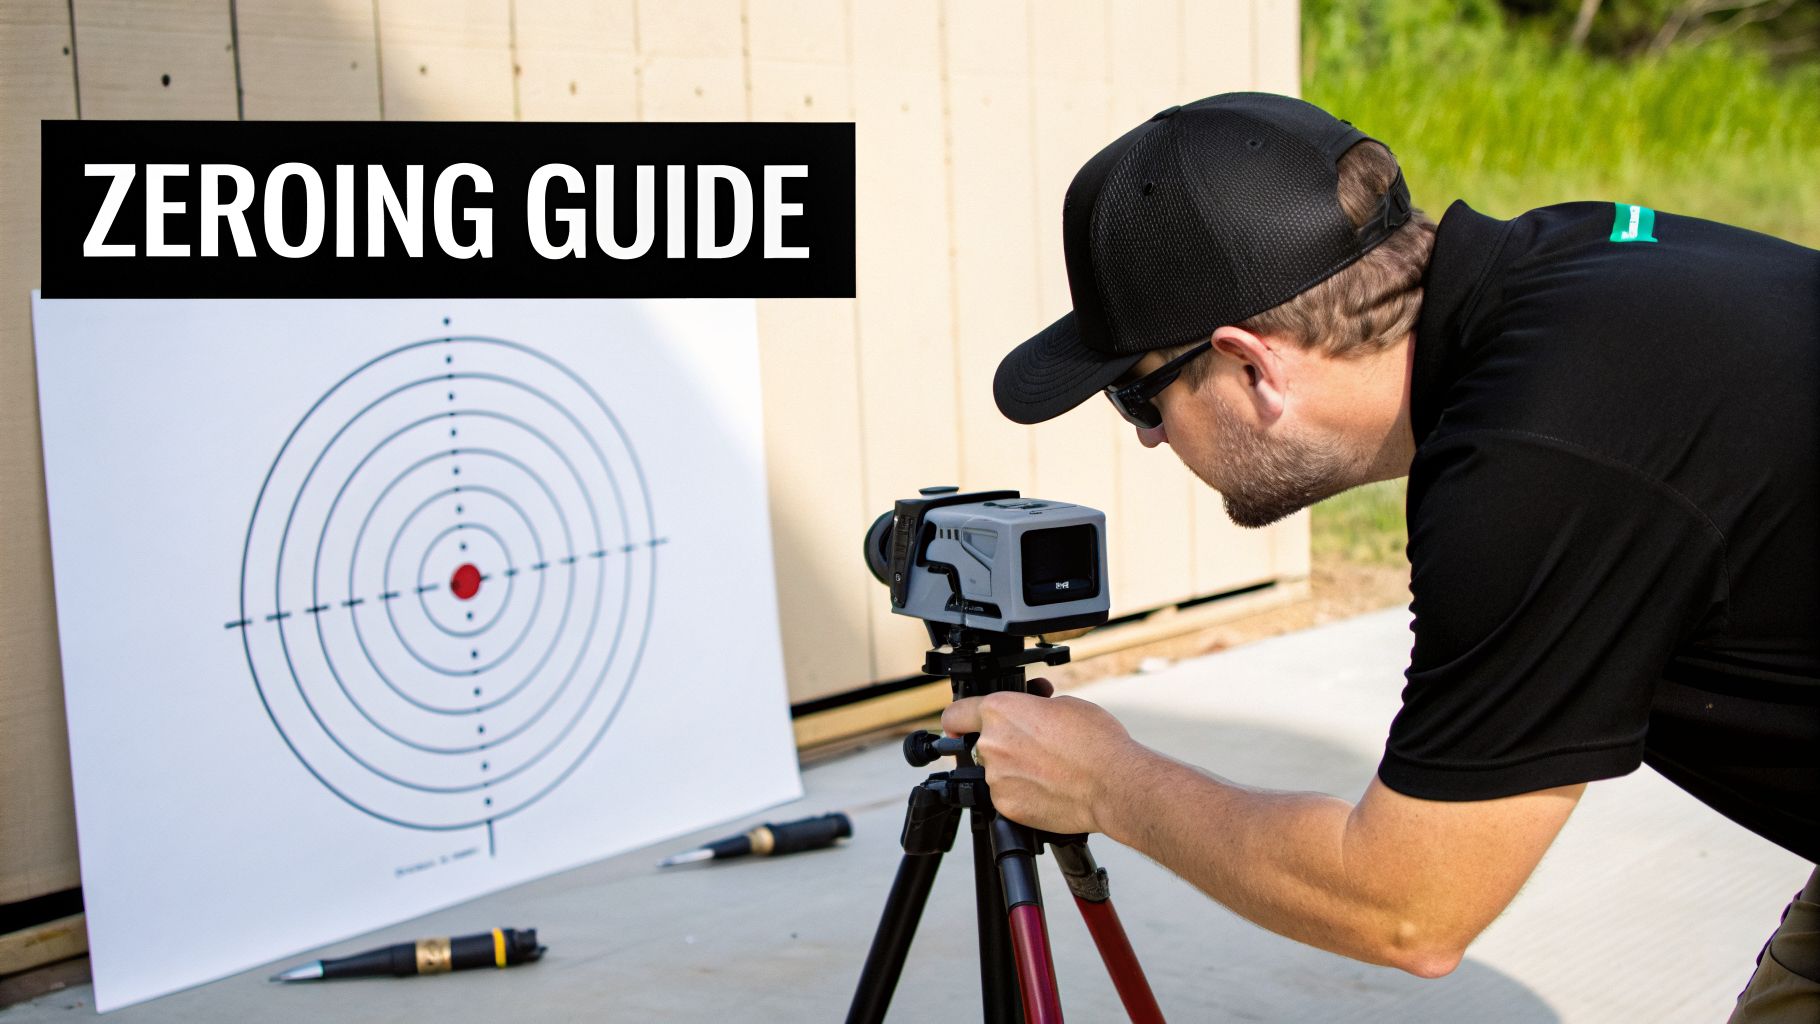
Getting a SureFire laser light mounted securely on your rail is just step one. The real work—and the part that makes it a true aiming tool—is getting it zeroed. Without a proper zero, that laser is little more than a fancy pointer. Let's walk through how to align your laser so it's dead-on, every time.
Think of it like sighting in a scope. You wouldn't trust a scope that isn't aligned with your barrel, and the same goes for your laser. It needs to be precisely calibrated to your firearm's point of impact to be effective.
Starting with the Visible Laser
The simplest way to get a solid initial zero is by co-witnessing your visible laser with your primary sights, whether that's iron sights or a red dot optic. You're basically just making the laser dot sit exactly where your sights are already aimed.
A great starting distance for this is 25 yards. It's a practical range that works well for both pistols and rifles, giving you a very useful point-blank capability.
Here’s the rundown:
- Safety First. As always, unload your weapon and ensure it's pointing in a safe direction.
- Get Stable. Lock your firearm down on a sandbag, bipod, or in a vise. The steadier the gun, the easier and more precise your zero will be.
- Aim In. Get a perfect sight picture on your target at 25 yards. With irons, that means a crisp front sight post. With a red dot, place the dot right on the bullseye.
- Adjust the Laser. Now, keep the gun perfectly still and activate the laser. You'll probably see the dot is off to the side or high/low. Use the windage and elevation turrets on your SureFire unit to walk the dot until it rests perfectly on top of your front sight post or directly in the middle of your red dot's reticle.
Once it's aligned, you've got a co-witnessed zero. The final, non-negotiable step is to confirm it with live fire. You may need to make a few small clicks to fine-tune it, accounting for the slight offset between the laser and your barrel.
Zeroing an IR Laser the Easy Way
Zeroing an infrared (IR) laser follows the exact same principle, but with one obvious catch: you need night vision goggles (NVGs) to see the beam.
But here’s the great news. Most SureFire units that have both visible and IR lasers use a slaved system. This is a game-changer. It means the two lasers are linked, so when you zero one, the other one is zeroed right along with it.
By zeroing your visible green or red laser during the day, you are simultaneously zeroing your IR laser. This saves a huge amount of time, ammo, and frustration. You can then confirm the IR zero at night in a matter of seconds instead of starting the whole process from scratch in the dark.
This slaved feature is a massive benefit for anyone who operates in both daylight and darkness. After you’ve set your visible laser, just throw on your NVGs, switch to IR mode, and verify the dot lines up with your optic. It’s that simple.
Mastering Your Operational Modes
A modern SureFire laser light isn't just an on/off device. It's a multi-function tool, and knowing which mode to use is what separates a novice from an expert.
Common modes you'll find:
- Visible Laser Only: Perfect for quick, heads-up aiming in decent light or for training without a bright light.
- White Light Only: Your go-to for positive threat identification and navigating dark spaces without broadcasting a precise aiming point.
- Light + Laser: The default for most dynamic encounters. You get a fully illuminated target area and an immediate aiming point for fast acquisition.
- IR Modes: This includes your IR laser and IR illuminator, used exclusively with night vision for staying covert.
For home defense, the white light and visible laser combo is hard to beat. For a nighttime hunt or tactical mission, the IR capabilities give you an undeniable edge. You can see how these systems come together by checking out different laser aiming modules.
The key is practice. Get out and drill switching between modes until it becomes muscle memory. Your ability to adapt to any lighting condition instantly is what will make you truly effective.
Keeping Your Gear Running: Essential SureFire Maintenance
You've invested in a top-tier SureFire laser light because you demand reliability. But like any serious piece of equipment—from a rifle to a vehicle—it needs a little upkeep to perform perfectly when you need it most.
Don't worry, this isn't complicated. A few simple habits are all it takes to protect your gear from the most common points of failure and keep it ready for action, year after year.
Battery Discipline is Non-Negotiable
Let’s be honest: dead batteries are the number one reason tactical electronics fail in the field. It’s also the easiest problem to prevent. Feeding your SureFire correctly is the most critical maintenance task there is.
Stick with high-quality CR123A lithium batteries from brands you trust. It's tempting to save a few bucks on cheap knock-offs, but they are notorious for inconsistent voltage. This can cause your light to flicker, appear dim, or even shut off under recoil. Worse, they're far more likely to leak and fry the sensitive electronics inside your unit.
A crucial concept to grasp is parasitic drain. Even when off, the circuitry in your SureFire sips a tiny amount of power to stay ready. Over time, this slow drain will kill your batteries, so get in the habit of swapping them out periodically, even if you haven't used the light much.
If you're storing the unit long-term, your best bet is to either take the batteries out completely or just loosen the tailcap until the connection breaks. This stops parasitic drain cold and ensures you have fresh power when you grab your gear. For more on what to look for, check out our complete guide to batteries for SureFire flashlights.
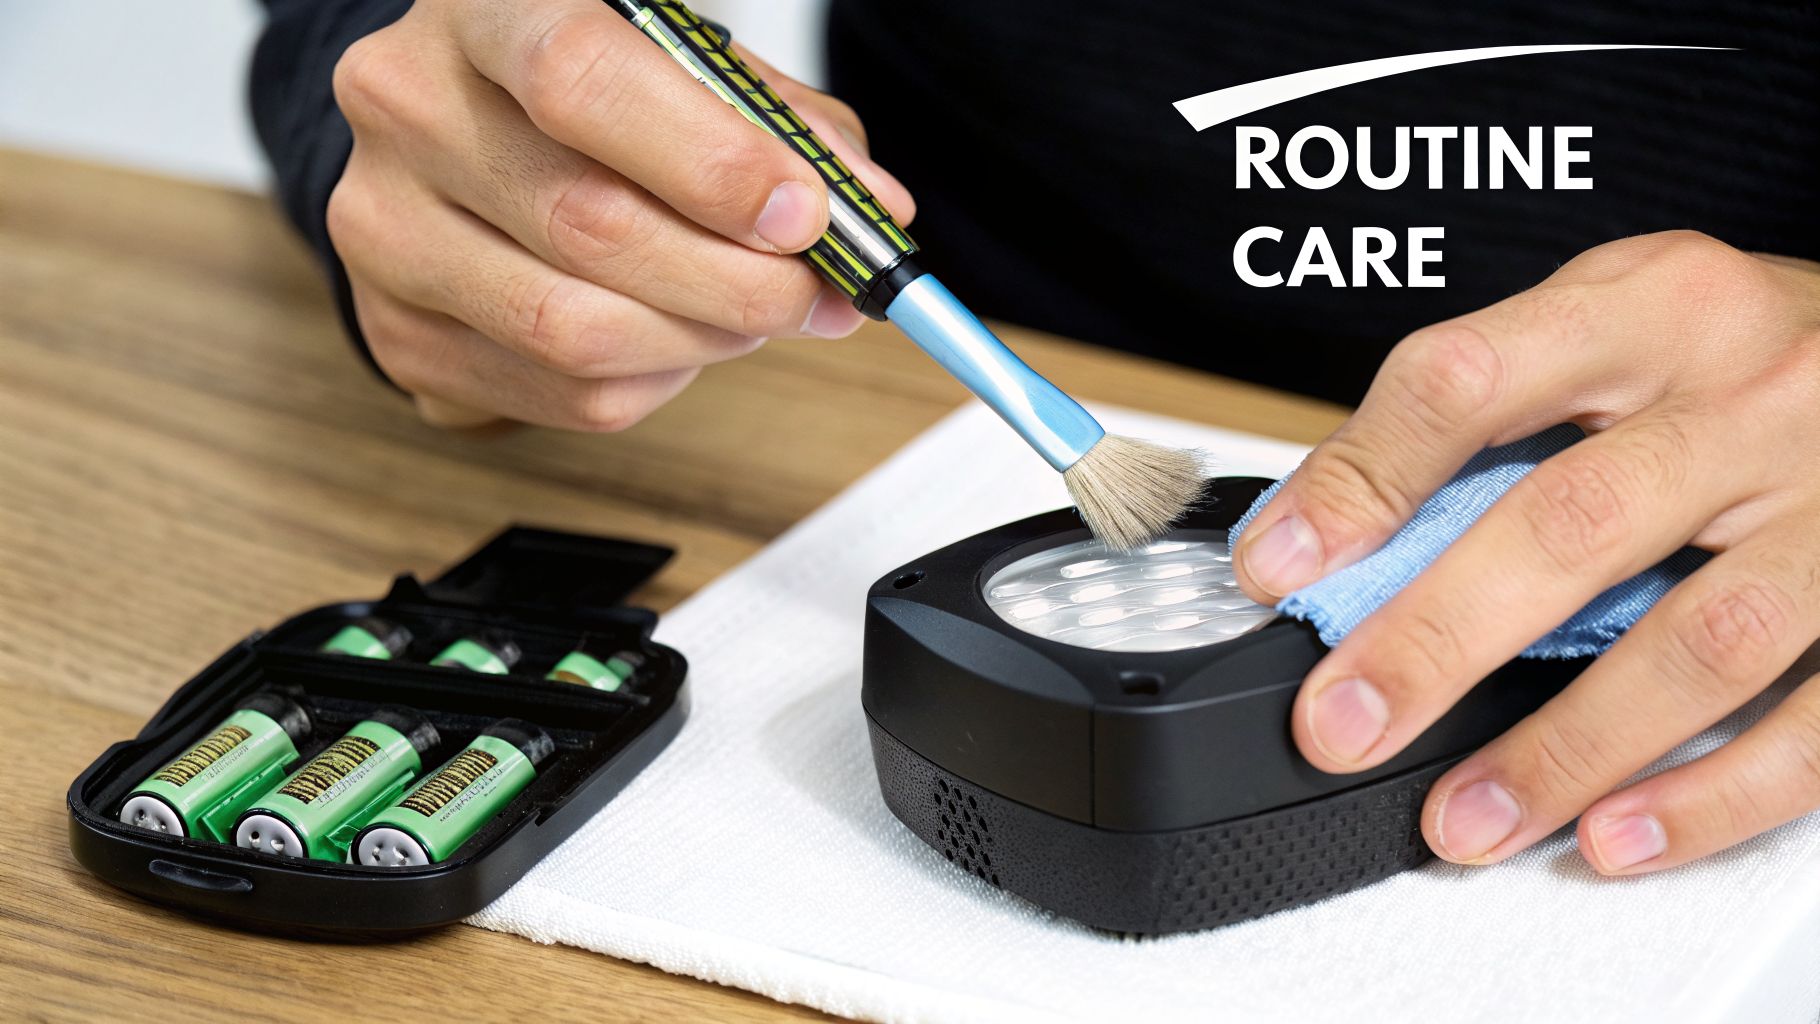
Post-Use Cleaning and Inspection
After a hard day at the range or in the field, your SureFire laser light deserves a quick wipe-down. Muzzle blast, dust, and grime can quickly cake onto the lens and laser aperture, which will absolutely tank your beam’s performance.
Here’s a quick-and-dirty cleaning routine:
- Lens and Aperture: Use a microfiber cloth or a lens pen to gently clean smudges. For stubborn carbon baked on from muzzle blast, try this old trick: gently rub the spot with a clean pencil eraser to lift the carbon, then wipe it clean. Never use harsh solvents, as they can strip the anti-reflective coatings.
- Body and Switches: Wipe the housing down with a cloth to get rid of dirt and sweat. Make sure the switches and pressure pads move freely and aren't getting sticky or gritty.
- Mounting Hardware: Recoil has a way of loosening things up. After every range trip, give your mounting screws a quick check to make sure they're still tight.
A few minutes of inspection after each use keeps your tool in fighting shape. It’s a simple routine that ensures your SureFire will be a partner you can count on for years.
Why the Pros Swear by SureFire
When you see the same piece of gear on the rifles of Navy SEALs, Delta Force operators, and nearly every SWAT team in the country, you know it's not just a trend. For these professionals, equipment isn't a matter of preference—it's a matter of survival. Their deep-seated trust in SureFire laser lights is earned, not bought, forged in places where gear failure is simply not an option.
This isn't marketing fluff. It’s about a reputation built over decades in the most unforgiving environments on earth. For an operator, a weapon-mounted light or laser has to do three things without fail: be unbelievably tough, work flawlessly under stress, and completely own the darkness.
Built to Be Abused
The reason elite units choose SureFire is simple: they build this stuff to survive the absolute worst. We're talking about brutal testing that mimics the realities of combat—the violent shock of constant recoil, getting slammed against concrete walls, wild temperature swings, and being completely submerged in water. An operator has to know their SureFire laser light will work just as well after being dropped down a flight of stairs as it did right out of the box.
This focus on over-the-top durability isn't new. SureFire has been supplying gear to top-tier military units like the SEALs and Delta since the 1980s. By 2001, their adoption rates had climbed past 90% in many special operations kits. This isn't just lab data; it's a legacy built on decades of battlefield feedback. You can read more about SureFire's foundational impact on tactical gear from Wikipedia.
What this means for you is that when you mount a SureFire to your firearm, you're getting a tool built to a standard that goes far beyond anything you'll likely encounter. It’s hardware that has already passed the ultimate test.
Rock-Solid Reliability When It Counts
In a life-or-death situation, fumbling with your gear gets you killed. Operators need controls that are dead simple and feel like a natural extension of their own hands, especially when their heart is pounding. SureFire's design philosophy nails this, with ambidextrous switches and activation modes that become pure muscle memory with a bit of training.
Imagine a police officer making a dynamic entry or a soldier clearing a building in the dead of night. They don’t have a split second to think about their light. The switch has to work instantly. The mode selector needs to be positive and easy to feel. The light just has to turn on, every single time. That’s the unspoken guarantee that professionals bet their lives on.
This is exactly why today, their laser systems are found on the rifles of over 80% of SWAT teams across the nation. In fact, studies have shown these tools can cut down operational response times by an estimated 35% in low-light scenarios, an eternity when lives are on the line.
Dominating the Dark
At the end of the day, it all comes down to raw performance. A SureFire laser light is designed to do two things exceptionally well: light up a threat for positive identification and provide a rock-solid aiming point.
- Exceptional Illumination: SureFire beams are legendary for their perfect balance of "spill" (the wide cone of peripheral light) and "throw" (the focused center hotspot). This lets an operator scan a whole room for potential threats while still having a concentrated punch of light to see details at a distance.
- Pinpoint Aiming: Whether it's a bright green laser for daytime use or a covert IR laser for working with night vision, the aiming point holds its zero through hell and back. Their slaved laser systems—where zeroing the visible laser also zeroes the IR laser—are a huge time-saver for guys who have to be ready to work in any light condition.
When you look at why the pros use this gear, it becomes clear you’re not just buying a flashlight or a laser. You're investing in a piece of equipment built to the highest possible standard, trusted by the most demanding users in the world.
Common Questions About SureFire Laser Lights
A SureFire laser light is a serious piece of kit and a real investment in your setup. With all the specs and options out there, it’s easy to get bogged down in the details. We get a lot of the same questions from customers, so let's clear the air on a few common topics.
Getting these fundamentals right is the key to choosing the perfect model and making sure you get every bit of performance out of it from the moment you mount it.
What Is the Difference Between a Red and Green Laser?
The big debate: red vs. green. The real difference isn't about power, but about how your own eyes work. The human eye is simply more sensitive to the green spectrum of light. This means a green laser dot pops, appearing much brighter and easier to pick up against a target, especially in broad daylight.
So, why would anyone still choose red? Red lasers have their own distinct advantages:
- They tend to have longer battery life because they draw less power.
- They are usually the more cost-effective option of the two.
- In low-light or indoor scenarios where you don't have to compete with the sun, a red laser is still incredibly effective.
Think of it this way: a green laser is your go-to for all-around use, especially if you operate in varied or bright lighting. A red laser is a highly efficient and reliable workhorse, especially for dedicated low-light or home defense applications.
Do I Need an IR Laser Without Night Vision?
In a word, no. An infrared (IR) laser is totally invisible to the naked eye. It has one job and one job only: to paint a target for someone looking through a night vision device (NVD). If you don't have an NVD, you literally can't see the IR laser, making it useless.
An IR laser is like a radio signal for your eyes—without the right receiver (an NVD), you won't get the message. It is a specialized tool for a specific system.
If you don't run night vision, a SureFire laser light with just a visible white light and a red or green laser is what you need. For those who do operate with NVDs, an integrated IR laser is absolutely essential for aiming and targeting in complete darkness without giving away your position.
How Do I Know if a SureFire Will Fit My Firearm?
This is probably the most critical question before you click "buy." Thankfully, SureFire makes it pretty straightforward. Most of their weapon lights are built for the two industry-standard rails: the MIL-STD-1913 Picatinny rail found on most rifles and many modern handguns, and the Universal accessory rail common on pistols. Step one is just confirming your firearm has one of these.
To get that perfect, rock-solid fit, SureFire lights come with a small kit of rail keys or adapters. These little pieces bridge the gap between the light's mount and your firearm's specific rail slot, preventing any wobble. Check the product manual or fit chart to match the right key to your gun—whether it’s a Glock, Sig Sauer, Smith & Wesson, or something else—to ensure a bomb-proof installation.
Ready to equip your firearm with a legendary SureFire laser light? At Superior Tactical LLC, we stock a curated selection of tactical illumination tools trusted by professionals. Find the perfect model for your mission and benefit from our expert guidance and same-day shipping.