Rent Night Vision: A practical guide to rent night vision gear
Thinking about renting night vision gear? It's a savvy move for a whole lot of reasons, especially when you consider the price tag on buying this kind of equipment outright. Dropping thousands of dollars on a professional-grade thermal scope or a set of Gen 3 goggles just isn't practical for a one-off hog hunt or a weekend film project.
Why Renting Night Vision Is a Smart Move
Let’s be real: high-end optics are a serious investment. Renting is your ticket to using the best gear on the market without the long-term financial headache. It opens up a world of possibilities for short-term projects or special events.
Imagine you've got a specific mission in mind. Maybe it's a weekend camping trip where you want to see what's rustling in the bushes, or perhaps you're doing some nighttime surveillance for a security gig. Renting lets you grab the perfect tool for that exact job, use it, and send it back. No maintenance, no storage, no buyer's remorse.
It's also the ultimate "try before you buy" scenario. You can get your hands on different models, see how a monocular feels versus a set of binos, and figure out if you really need the latest and greatest before shelling out your hard-earned cash.
Getting to Know the Tech You Can Rent
When you start looking at rental options, you'll mainly run into two types of technology: the classic green-glow night vision and the heat-seeking world of thermal. They work in completely different ways, so knowing the distinction is key.
Before we dive into the specifics, here's a quick look at how the main rental options stack up.
Night Vision Rental Options At a Glance
| Technology Type | Primary Function | Best For | Key Limitation |
|---|---|---|---|
| Image Intensification (I²) | Amplifies ambient light | Navigation, identification, driving | Requires some light (starlight, moonlight) to work |
| Monocular | Single-eye viewing | Handheld spotting, weapon-mounted | No depth perception |
| Goggles/Binoculars | Dual-eye viewing | Hands-free use, depth perception | Can be heavier, more expensive |
| Thermal Imaging | Detects heat signatures | Detection, tracking, seeing in total darkness/smoke | Doesn't show detailed terrain; identification is difficult |
Understanding this table is the first step. Now, let's break down the two core technologies a bit more.
Image Intensification (I²)
This is what most people picture when they think of night vision. It takes the tiniest bit of available light—from the moon, stars, or even distant city glow—and multiplies it thousands of times to create that familiar green-tinted image.
Its real strength is in showing you a detailed picture of your surroundings. You can see trees, rocks, and trails, making it perfect for navigating on foot or in a vehicle after dark.
Thermal Imaging
Thermal doesn't care about light. Instead, it sees heat. It picks up on the infrared energy that all objects emit and creates an image based on temperature differences. A warm-blooded animal will pop out as a bright white or colored shape against a cooler background.
This makes it an absolute game-changer for detection. Nothing hides its heat signature. Thermal can spot a deer in a dense thicket or a person hiding in the shadows when traditional night vision would show you nothing but leaves.
The market for this tech is blowing up. It's projected to grow from USD 8.57 billion in 2025 to a massive USD 12.91 billion by 2030. If you're curious, you can read the full research about these market trends to see just how fast things are moving.
Here's the bottom line: For moving around and telling what something is, I² is your go-to. For simply finding a target in any condition, thermal is unbeatable.
Renting gives you the freedom to pick the right tool every single time. A search and rescue team might need a thermal monocular to find a lost hiker, while a filmmaker will want dual-tube I² goggles to navigate a set hands-free. Renting ensures your gear is dialed in for your exact mission.
Choosing the Right Gear for Your Mission
Picking the right device is easily the most important decision you'll make when you rent night vision. Your success out in the field really hinges on matching the technology to what you’re trying to accomplish. It’s all about the right tool for the job.
Think of it this way: a wildlife photographer trying to find a coyote by its body heat in thick brush absolutely needs a thermal scope. But a filmmaker moving around a dark set needs to see where they're going without tripping over cables. For them, a set of hands-free, dual-tube goggles is the only real option.
Decoding Key Specifications
When you start browsing rental options, you’ll run into terms like Generation (Gen) and Figure of Merit (FOM). These aren't just techy buzzwords; they directly impact what you can actually see when the lights go out.
-
Generation (Gen 2 vs. Gen 3): This is your biggest performance indicator. Gen 2 units are solid workhorses—they're more affordable to rent and work well in most low-light situations. Gen 3 is a major step up in clarity and brightness, especially under a moonless, overcast sky, but you'll see that reflected in the rental price.
-
Figure of Merit (FOM): This number is just a quick way to gauge overall tube quality. It's calculated from the tube's resolution and signal-to-noise ratio. A higher FOM means a crisper, cleaner image with fewer distracting "sparkles." A device with a FOM of 1800 is good, but anything over 2200 is top-tier.
The first question you should always ask yourself is simple: am I trying to see or to detect?
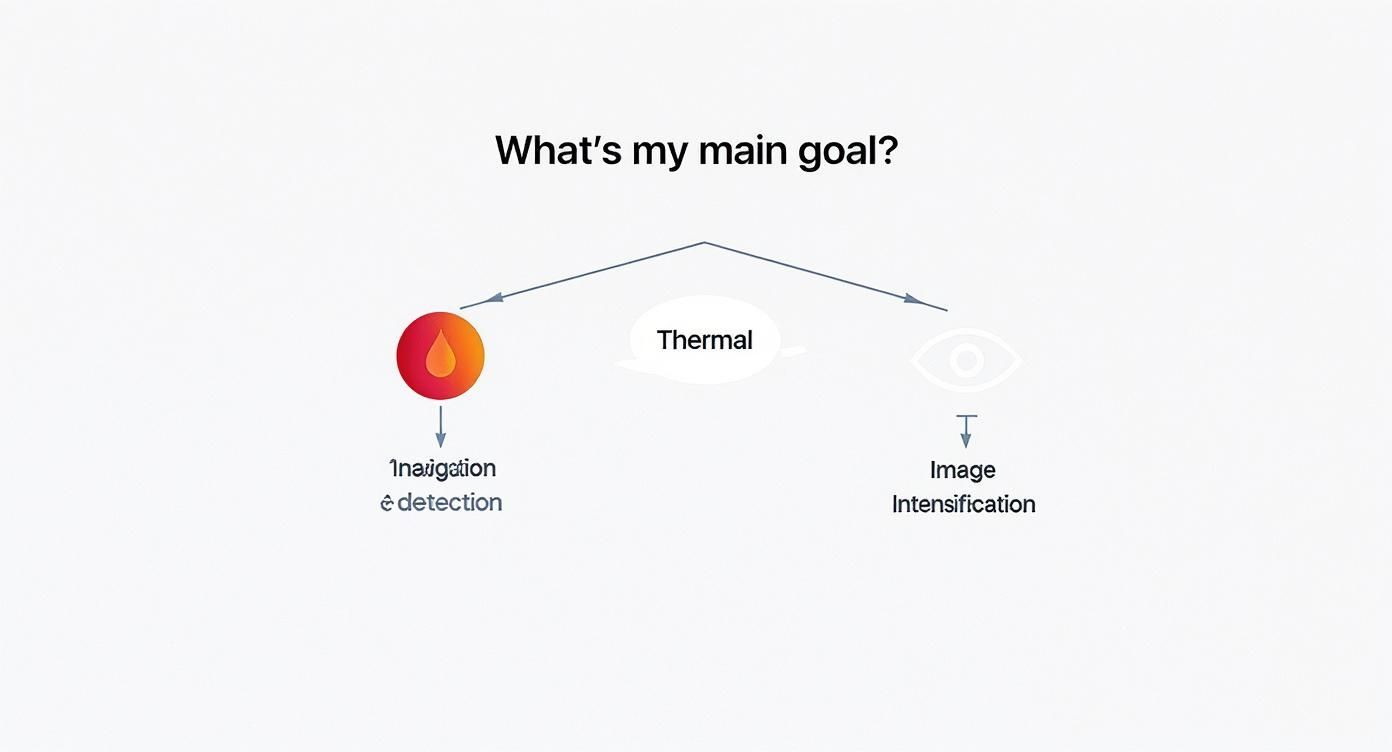
This really drives home the point. For spotting a heat signature—an animal, a person, a warm engine—nothing beats thermal. But for actually seeing details to navigate or identify something, you need image intensification.
Monoculars, Goggles, or Scopes?
Once you've settled on the core tech, you need to decide how you want to wear or hold it. Each format has its own strengths.
A monocular is probably the most versatile choice for general-purpose spotting and scanning. It's lightweight and easy to use. To get a better sense of what they bring to the table, check out our guide on the top 5 features to look for in a quality night vision monocular.
Dual-tube goggles, on the other hand, give you true depth perception. This is absolutely critical if you're driving a vehicle or have to move fast over rough terrain. Thermal scopes are more specialized, usually mounted on a tripod or firearm for long-range observation. The market for these devices is huge—infrared goggles alone were valued at USD 3.27 billion in 2024, thanks to military and law enforcement use.
Pro Tip: If you're renting dual-tube goggles for the first time, give your eyes about 15-20 minutes to adjust after you put them on. The depth perception can feel a little "off" compared to your natural vision, and letting your brain adapt will help you avoid feeling disoriented.
Don't Forget the Accessories
Finally, don't skimp on the accessories. They can turn a good device into a complete, mission-ready system. Adding these to your rental is usually a small cost for a massive gain in usability.
-
Helmet and Mount: If you need your hands free for any reason—holding a rifle, climbing a ladder, or operating a camera—a helmet setup is a must-have. It’s not negotiable.
-
IR Illuminator: Think of this as your invisible flashlight. In total darkness where there's no starlight or ambient city glow for your device to amplify, it's essentially blind. An IR illuminator throws out a beam of light that only night vision can see, lighting up the whole scene.
-
Sacrificial Lenses: These are simple, clear covers that pop on over your main lens. They're cheap insurance against scratches from dust, dirt, and branches, and can save you a world of hurt in potential damage fees.
Understanding Rental Agreements and Costs
So you’ve picked out the perfect night vision setup. Now comes the part that most people rush through: the rental agreement. Treat this document like gold. It’s not just a formality; it’s the complete rulebook for your rental, and knowing it inside and out is the key to a stress-free experience.
One of the first things to lock down is the rental period. This can be anything from a quick weekend trip to a multi-week expedition. Here's a pro tip: make sure the rental dates account for shipping time on both ends. You don't want to pay for a day when the gear is sitting in a FedEx truck. Most reputable companies are clear about this, but it never hurts to confirm.
Decoding the Fine Print
Buried in that agreement, you'll find the details on security deposits and damage policies. A security deposit is completely standard—it’s the company’s safety net. You’ll get that money back once the gear is returned and passes inspection, assuming everything is in good shape.
But what exactly is "good shape"? This is where you need to put on your reading glasses. Understand what the company considers "normal wear and tear" versus "damage." A small scuff on the housing from a sling mount? Probably fine. A nasty scratch on the objective lens or a permanent burn spot on the tube from pointing it at a streetlight? That’s coming out of your deposit, and then some.
It's easy to think a little mishap won't be a big deal. With precision optics like night vision, a tiny mistake can turn into a repair bill that costs thousands, blowing way past your initial security deposit. This is exactly why rental insurance isn't just an optional add-on—it's your financial bodyguard.
That small insurance fee is a lifesaver. Seriously, just get it. It could save you from a bill that costs more than your car.
Budgeting for Your Rental
The cost to rent night vision can swing wildly depending on the tech you're getting. Setting a realistic budget from the start will help narrow down your options. For a deeper dive, check out our full guide on budgeting for night vision and finding the right balance.
To give you a ballpark idea, here’s what a typical weekend rental might look like:
-
Gen 2+ Monocular: Great for getting your feet wet. Expect to pay around $150 – $250.
-
Gen 3 PVS-14 Monocular: This is the workhorse. You're looking at $250 – $400 for significantly better performance in low light.
-
High-End Dual-Tube Goggles (Gen 3): For the ultimate experience with true depth perception, these premium setups can run from $500 – $800+.
Before you sign anything, have your questions ready. Ask about any potential hidden fees, confirm shipping costs, and get them to explain their damage policy in plain English. A good rental company will be upfront and transparent, making sure you know exactly what you’re getting into.
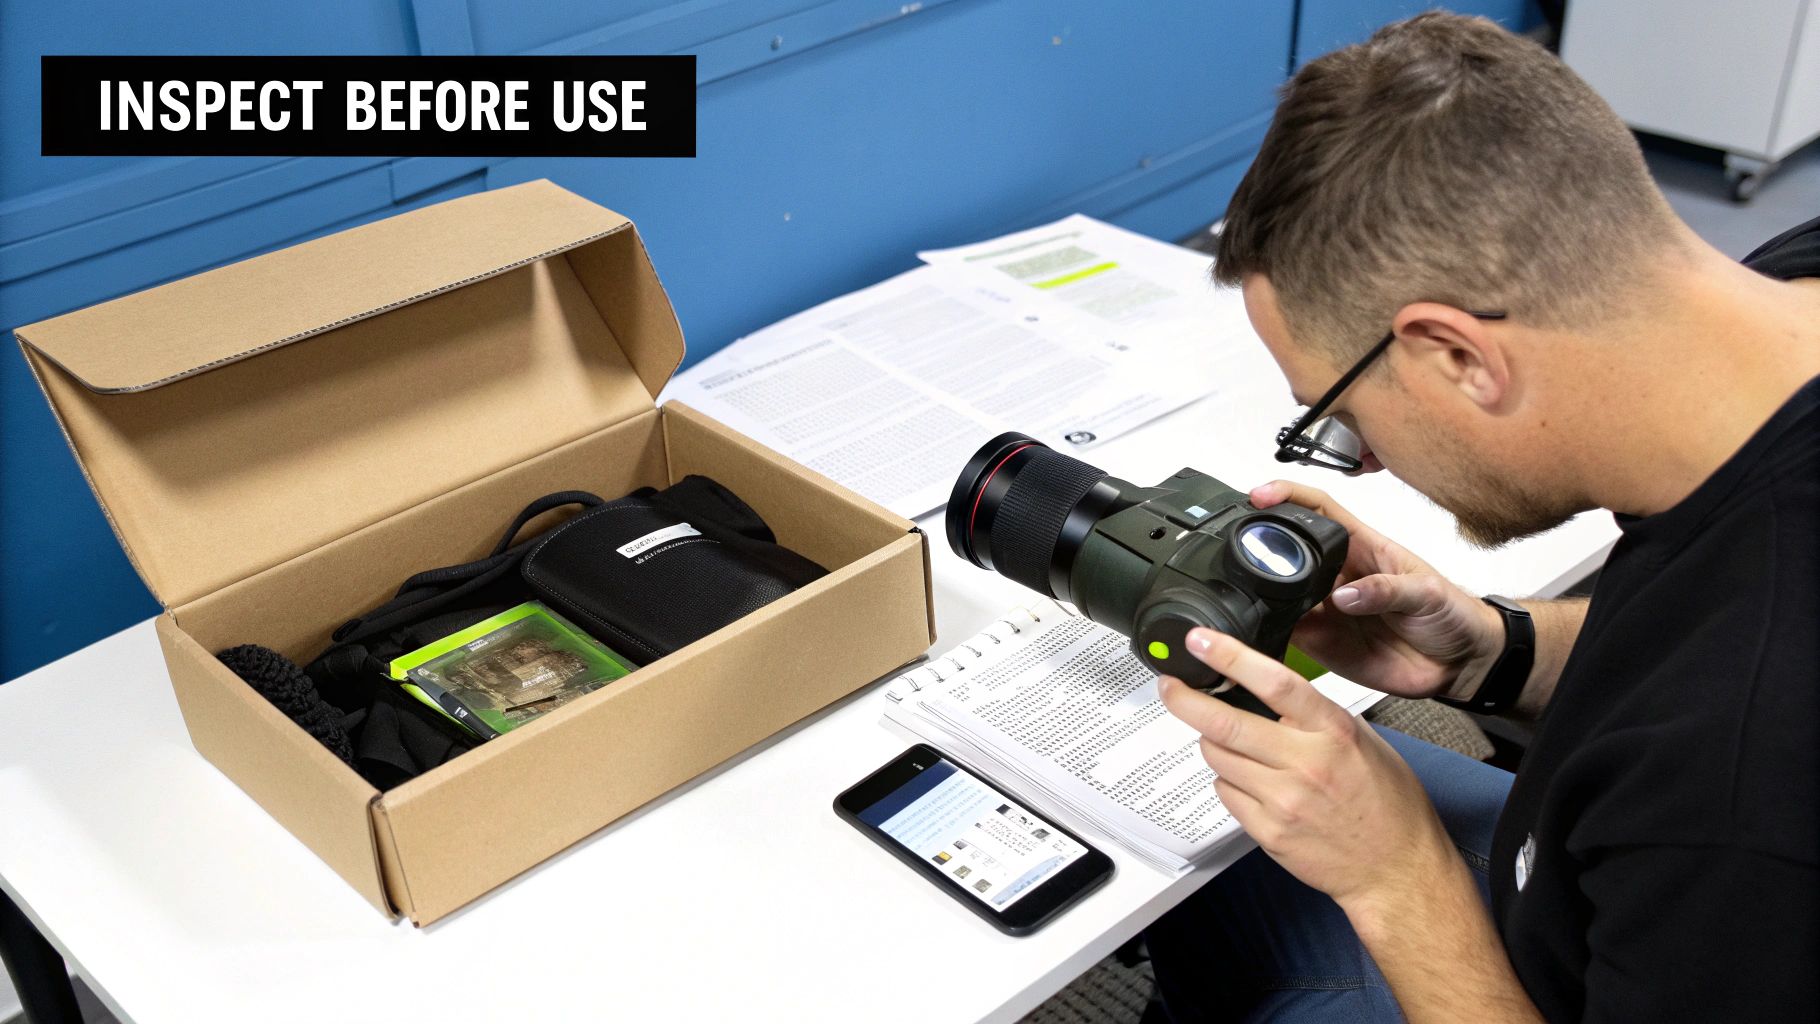
Your Pre-Use Inspection Checklist
The box has arrived. It's tempting to gear up and head straight out into the dark, but hold on. The very first thing you do now is arguably the most critical part of the whole rental process: a detailed, thorough inspection.
Skipping this step is a rookie mistake that can lead to a frustrating trip or, worse, a hefty bill for damage you didn't cause. This is your one chance to verify the condition of the gear before you officially accept it. Think of it as your personal quality control—it protects you and the rental company.
First Step: Document Everything
Before you even handle the gear, pull out your smartphone. Start by taking clear, well-lit photos and a quick video of the items as you unpack them. Capture the condition of the shipping case, the device's housing, the lenses, and every single accessory included in the package.
This creates a timestamped visual record of exactly how the equipment arrived. If a dispute about a scratch or crack comes up later, you'll have undeniable proof of its condition upon receipt.
Second Step: The Hands-On Check
With the unboxing documented, it’s time to get hands-on. You don't need to be a seasoned operator to spot obvious problems. Just be methodical and go over every piece of the kit.
-
Housing: Give the main body a once-over. Are there any cracks, deep gouges, or other signs of a hard drop? Make sure all the switches and knobs move smoothly but feel solid.
-
Lenses: Carefully inspect both the front (objective) and rear (ocular) lenses. A little dust is fine, but look closely for scratches. Deep scratches can affect the image and are definitely considered damage. Check that the lens caps are there and fit correctly.
-
Battery Compartment: Pop it open. The contacts inside should be clean and shiny. Any green or white corrosion is a red flag for poor maintenance.
This isn't the time to be timid. You’re paying good money for a high-performance tool. Taking 15 minutes to do a proper inspection now can literally save you thousands of dollars in damage fees down the road.
Third Step: The Function Test
Now for the moment of truth. Find the darkest space you can—a closet or a bathroom with no windows is perfect. First, with the lens cap still on, insert the batteries and power up the unit. Look through the eyepiece; you should see a consistent, even green or white-phosphor glow.
Next, while still in that dark room, take the lens cap off. Pan around and check for these key performance indicators:
-
Image Clarity: The picture should be reasonably sharp and clear. Play with the objective focus and diopter to dial it in.
-
Black Spots (Blems): A few tiny black dots are a normal part of the manufacturing process for image intensifier tubes. But what you don't want to see are large distracting spots, clusters of them, or anything that looks like a "spiderweb." If you're not sure what's acceptable, reading up on some common night vision gear issues will give you a good baseline.
-
All Features Work: Flip all the switches. If it has manual gain, turn the knob and see if the brightness changes. Turn on the built-in IR illuminator to confirm it works.
If you find anything—a crack, a major blem, a non-working feature—stop immediately. Contact the rental company right away. Send them the photos and video you took and clearly explain what you found. A reputable provider will want to resolve the problem for you, either by walking you through a fix or shipping a replacement.
Getting a Handle on Night Vision Rules and Safety
Renting high-end optics like night vision isn't just about flipping a switch and seeing in the dark. There are some serious rules and safety practices you need to have down cold before you even power up the unit. This is about more than just protecting the gear—it's about keeping yourself safe and staying well within the law.
First things first, let's talk about the legal side. A lot of the good stuff—the high-performance night vision you actually want to rent—is regulated under the International Traffic in Arms Regulations (ITAR). This is a big deal. ITAR is a set of federal rules controlling the export of defense technology.
Crucial Takeaway: You absolutely cannot take ITAR-controlled rental gear outside of the United States. Don't even think about it. When you rent night vision, your agreement will make it crystal clear that crossing the border with it is a major no-go.
Beyond the federal level, you’ve got to do your homework on local and state laws. How you can use night vision, especially for activities like hunting or even just observation, can change dramatically from one place to another. "I didn't know" won't get you out of trouble.
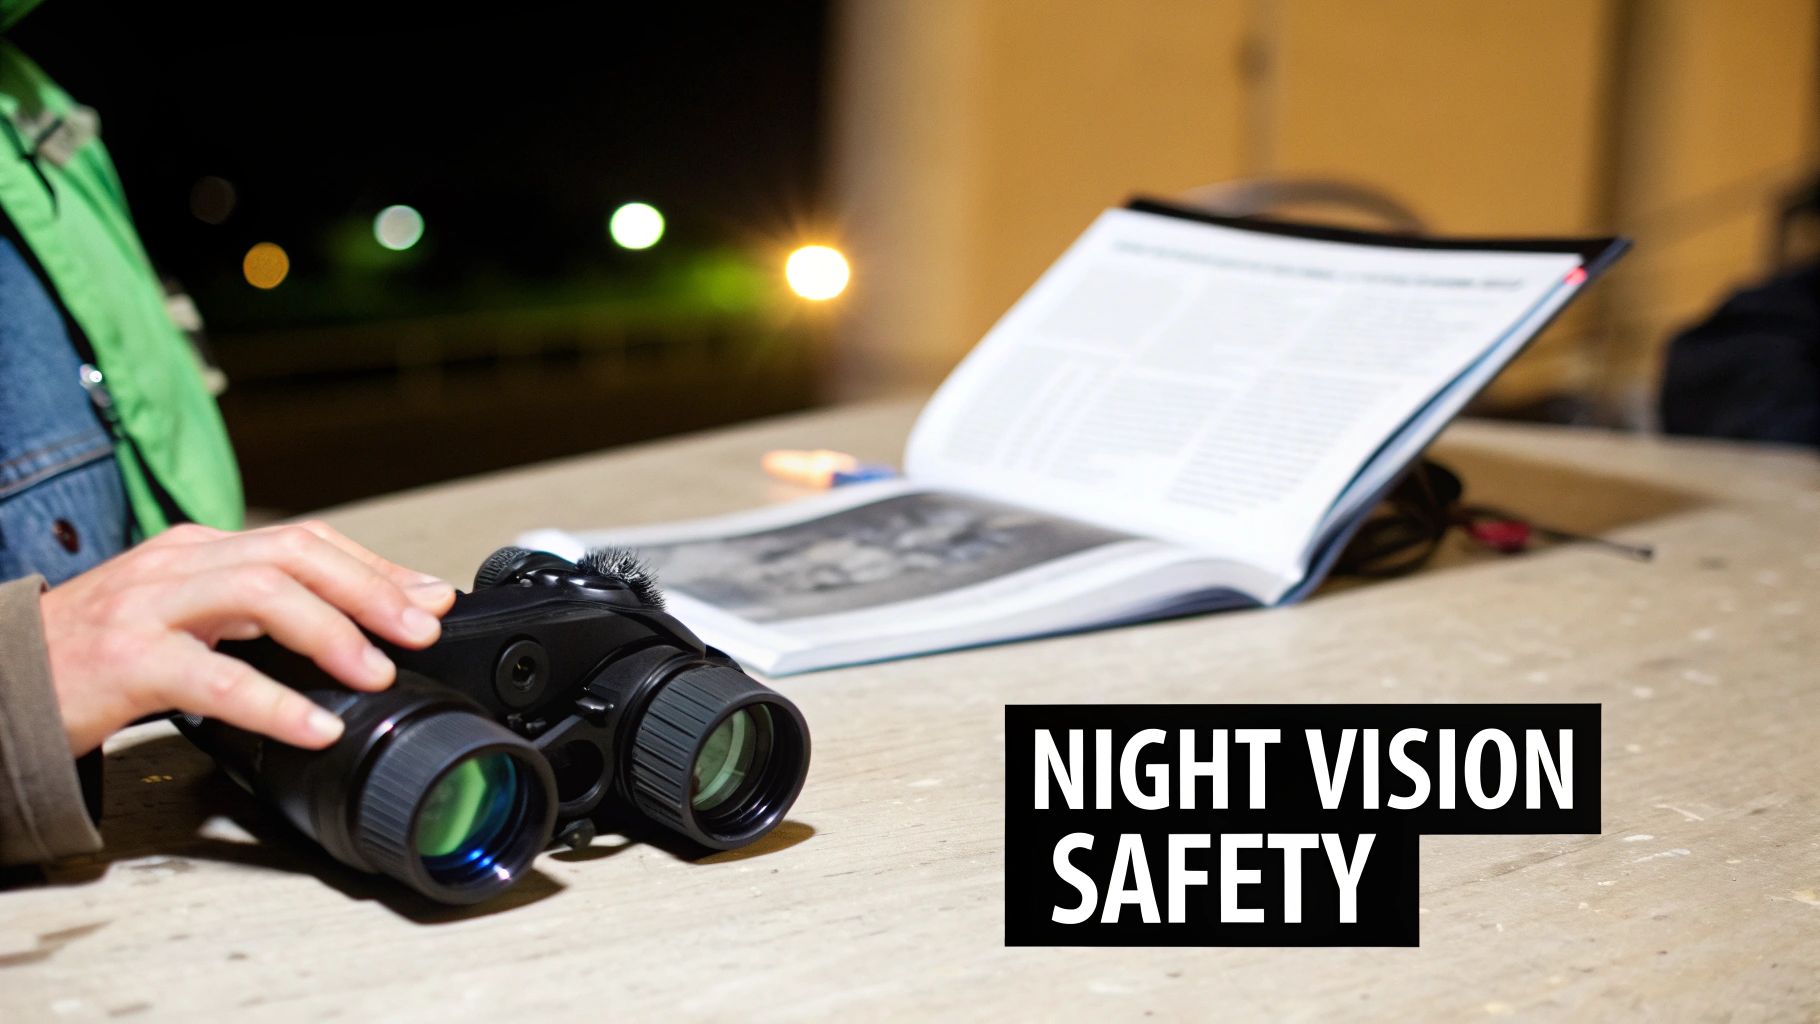
Staying Safe After Dark
Once you're clear on the legal stuff, it's all about operational safety. Moving around in the dark, even when you can see, is a completely different ballgame and requires your full attention.
One of the sneakiest dangers is losing your situational awareness. When you're locked into a monocular or a set of goggles, your peripheral vision basically disappears. It’s incredibly easy to trip, fall, or walk right into a tree branch you would have normally avoided. Get into the habit of stopping regularly, flipping the unit up, and scanning your surroundings with your own eyes. You need the whole picture.
Protecting the gear itself is just as critical. The image intensifier tube inside a night vision device is extremely sensitive to bright light. Treat it with respect, or you'll be paying for it.
Never, ever do this:
-
Look at bright lights: This includes streetlights, car headlights, and even a bright campfire. Doing so can cause permanent damage, leaving ugly black spots or "burn-in" on the tube.
-
Use it in daylight: Powering on the unit in broad daylight without the lens cap is a surefire way to fry the intensifier tube instantly. That's a very, very expensive mistake to make with a rental.
The demand for this technology is exploding, with the global night vision market valued at around USD 7.46 billion in 2024. As these devices become more common for civilian use, understanding how to use them responsibly is more important than ever. You can dig into more night vision market dynamics and forecasts to see just how fast it's growing. Following these simple rules will make sure your experience is a good one—and a safe one.
Your Top Questions About Renting Night Vision, Answered
Even after you think you've got everything sorted, there are always a few lingering questions. It’s completely normal. Getting those last few details ironed out is the key to a smooth rental, so let's walk through the things people ask us most often.
Is Gen 3 Really Worth the Extra Cash?
This is the big one, isn't it? Do you stick with a solid Gen 2+ unit or go all-in for Gen 3? Honestly, it all comes down to where and how you'll be using it.
The magic of Gen 3 really shines when the lights go way, way down. I’m talking moonless nights, heavy cloud cover, or deep in a forest with zero light pollution. In those scenarios, you'll see a noticeably brighter and cleaner image with less of that sparkly electronic noise.
But let's be realistic. A modern Gen 2+ device is no slouch. For most weekend trips, from hog hunting to just exploring the woods after dark, it’s more than enough to get the job done, especially if there’s a little ambient light from the stars or a distant town.
Our Takeaway: For most folks, a high-quality Gen 2+ monocular is the perfect sweet spot between performance and price. But if the stakes are high—say, for professional security work or a once-in-a-lifetime hunt in truly dark conditions—then the extra cost for Gen 3 is absolutely justified.
Do I Actually Need an IR Illuminator?
Yes. Full stop.
Think of an IR illuminator as a stealth flashlight for your night vision. Your device works by amplifying tiny amounts of existing light, but what happens when there's zero light? Inside a pitch-black building or under a thick tree canopy, your expensive gear is essentially blind.
An IR illuminator shoots out a beam of infrared light that's invisible to your eyes but acts like a floodlight for the night vision device. It’s a small, inexpensive add-on that can mean the difference between seeing everything and seeing nothing. Don't rent without one.
Can I Record Video or Take Photos with the Rental?
You bet. A lot of people rent night vision specifically for this. The key is to have the right gear. When you make your reservation, just tell the rental company you want to record. They’ll make sure you get the proper adapters to mount your smartphone or camera to the eyepiece.
Just a heads-up: getting good footage takes a little patience. You’ll probably need to fiddle with your camera’s manual focus and exposure settings to get a sharp image. Pro tip: ask if they have units with manual gain control. This feature lets you fine-tune the brightness of the night vision image itself, which gives you much better control over how your final video looks.
What Happens If I Accidentally Damage the Gear?
This is the question that probably causes the most anxiety, and for good reason—this stuff is expensive. The rental agreement will lay out the specifics, but the general rule is you're on the hook for anything beyond basic wear and tear.
A few minor scuffs on the housing? No big deal. But a cracked lens or, even worse, a burned-out intensifier tube from pointing it at a bright light—that’s serious. That kind of damage often means losing your entire security deposit and could even stick you with a bill for the full repair cost, which can easily be thousands of dollars.
This is exactly why rental insurance is a must-have. It’s a small price to pay to avoid a massive financial headache. Always, always check the damage policy and get the insurance.
At Superior Tactical LLC, we live and breathe this stuff. We offer a complete lineup of top-tier night vision and thermal optics for both rental and purchase. Whether you need a Gen 3 PVS-14 for a weekend hunt or a full helmet rig for professional training, we’ll get you set up with mission-ready equipment and the expertise to back it up. Check out our rental options and get geared up at SuperiorTac.com.