Night Vision Rentals Your Guide to Seeing in the Dark
Renting night vision gear gives you immediate access to top-tier tactical optics without the hefty price tag that comes with buying them outright. It's a smart play for specific missions, one-off hunts, or training events, putting thousands of dollars worth of technology in your hands for just a fraction of the cost. This way, you get the latest, professionally maintained equipment, ready to go when you are.
Why Renting Night Vision Is a Smart Tactical Move
Let's paint a picture. A law enforcement agency suddenly needs to run surveillance in the dark, but new gear isn't in the budget. Or maybe you're a hunter planning a week-long hog hunt in a state that allows it after sunset. In either situation, dropping $4,000 on a PVS-14 monocular that you might only use once just doesn't make sense.
This is exactly where renting shines. Night vision rentals close the gap between needing professional-grade capability and the high cost of owning it. It's not about settling for less; it's a calculated move that gives you flexibility, saves money, and ensures you have the best tech for the job.
Access Top-Tier Gear Without the Hefty Price Tag
The technology behind night vision and thermal optics is always moving forward. New image intensifier tubes, thermal fusion systems, and lighter materials are hitting the market all the time. When you own a device, its value starts dropping the second you take it out of the box. Renting completely flips that script.
By opting for night vision rentals, you essentially sidestep the problem of your gear becoming outdated. You can consistently get your hands on the most current, high-performance optics available—like modern Gen 3 white phosphor units—so you're never left behind.
This model lets you pick the right tool for the specific task at hand. One weekend you might just need a basic monocular for navigating a trail, and the next you might want a sophisticated set of dual-tube goggles for a more immersive experience. Renting makes that kind of adaptability a reality.
Forget About Maintenance and Storage Headaches
High-end night vision devices are delicate instruments. They need to be cleaned, stored correctly, and serviced regularly to stay in peak condition. These hidden costs of ownership can really add up and demand a certain level of expertise.
When you rent, those responsibilities vanish. A good rental company takes care of all the upkeep for you.
- Professional Maintenance: Their experts inspect, clean, and service every piece of equipment after it comes back.
- Proper Storage: You don't have to find a secure, climate-controlled spot to keep sensitive optics safe.
- Ready on Arrival: The gear shows up at your door ready to use, complete with fresh batteries and all the necessary accessories.
This all-in-one solution is a game-changer for anyone who needs reliable equipment without the logistical hassle. You can explore the wide range of applications for night vision without being locked into a single device. At the end of the day, renting makes you more agile, better equipped, and financially savvy in any low-light situation.
What’s in the Rental Arsenal? A Look at the Gear You Can Get
When you start looking into night vision rentals, you're doing more than just picking a gadget off a shelf. You're choosing a specialized tool for a very specific job in the dark. The options can feel a little overwhelming at first, but they really boil down to two main technologies: image intensification and thermal imaging.
I like to use an analogy: think of it like choosing between a high-powered microphone and a metal detector.
The microphone (that’s your image intensification) grabs existing sound and cranks up the volume, letting you hear a pin drop across the room. The metal detector (your thermal imaging) ignores sound entirely and instead hones in on the unique signature of metal buried just under the surface. Both are incredibly powerful, but you'd never use one to do the other's job.
This distinction is crucial because the rental market is absolutely booming. The global appetite for night vision devices is on a steep climb, rocketing from USD 4.66 billion in 2019 to a projected USD 15.71 billion by 2032. North America is leading the pack with a 33.26% market share, fueled by intense interest from both government agencies and civilian enthusiasts. This surge means there are more high-end rental options available than ever before. You can dive deeper into the market trends driving this growth in this detailed industry report.
To help you choose the right tool, let's break down the most common types of rental gear you'll come across.
| Device Type | Primary Use | Key Advantage | Best For |
|---|---|---|---|
| Monocular (PVS-14) | Navigation, General Observation | Versatility, Preserves Natural Vision | Hiking, hunting, first-time users, situations requiring one free eye for situational awareness. |
| Bino / Dual-Tubes | Navigation, Driving, CQB | Superior Depth Perception | Vehicle operations, navigating complex terrain at speed, tasks needing maximum immersion. |
| Thermal Optic | Detection, Target ID | Sees Heat, Ignores Camouflage | Hunting, search and rescue, surveillance, spotting hidden targets in any light condition. |
Each piece of equipment has its own strengths, and knowing when to use which one is the key to owning the night.
The Monocular: Your Versatile Workhorse
By far the most common piece of gear you'll find for rent is the monocular, with the legendary PVS-14 being the king of the hill. A monocular is a single-eyepiece device that runs on image intensification (I²) technology. It works by gathering minuscule amounts of ambient light—from the moon, stars, or even distant city glow—and amplifying it thousands of times to create that classic green or white phosphor image.
Its greatest asset is its sheer versatility. You can run a PVS-14 in a few different ways:
- Handheld: Perfect for a quick scan of your surroundings.
- Helmet-Mounted: This is the go-to setup. It frees up your hands for other tasks while giving you fantastic situational awareness.
- Weapon-Mounted: It can be placed behind a red dot sight to help with aiming in low-light scenarios.
Because it only covers one eye, a helmet-mounted monocular lets your other eye stay naturally adapted to the darkness. This is a huge deal for preserving your depth perception and making it easier to navigate tricky terrain on foot.
Dual-Tube Goggles: The Full-Immersion Experience
If a monocular is like looking at the world through one eye, then dual-tube goggles (often called "binos") are like opening both. These setups use two separate image intensifier tubes—one for each eye—to create true stereoscopic vision. This gives you a massive leg up when it comes to depth perception.
With dual-tube goggles, judging distances becomes second nature. You can instantly and accurately gauge how far away that tree is or how deep that ditch is, which is absolutely critical when you're moving fast or driving a vehicle in the dark.
The trade-off? They're heavier and a bit pricier to rent than a monocular. But for any task that demands total immersion and spatial awareness, like clearing a building or operating in a cluttered environment, that superior depth perception is worth its weight in gold. It also dramatically cuts down on the eye strain that can come from using a single-tube device for hours on end.
Thermal Optics: Seeing the Unseen
Thermal imaging devices play by a completely different set of rules. Instead of amplifying light, they detect infrared energy—or heat. This allows them to "see" the heat signatures of animals, people, and running engines, no matter how pitch-black it is.
Thermal is the ultimate detection tool, bar none. An animal hiding in thick brush, completely invisible to the naked eye or even a standard PVS-14, will pop out like a glowing beacon on a thermal screen. This makes it an absolute game-changer for hunters, search and rescue teams, and surveillance pros. To learn more, check out our complete breakdown of thermal imaging vs. analog night vision.
That said, thermal isn't your friend when it comes to navigation. The image it creates is essentially a heat map, not a detailed picture of the environment, which makes it tough to judge terrain. That’s why many experienced operators run a hybrid setup: a helmet-mounted PVS-14 for navigation and a handheld thermal monocular for scanning. This combination gives you the best of both worlds, turning the darkness into your own personal advantage.
The Rental Process, from Start to Finish
Renting high-performance optics shouldn't be intimidating. When you break it down, the journey from picking your gear to packing it up for return is actually a pretty straightforward path. Knowing the steps ahead of time takes the guesswork out of the equation, so you can focus on your weekend hunt or professional surveillance gig.
The whole thing kicks off with choosing the right tool for the job. This diagram lays out the main categories of gear you'll find for rent, making it easier to match the tech to what you need to do.

As you can see, the choice moves from basic navigation with a monocular, to getting better depth perception with goggles, and all the way up to advanced heat detection with thermal. Think of it as a ladder—each rung gives you a more specialized capability.
Choosing Your Rental Period and Budgeting
Once you've zeroed in on the right piece of equipment, the next question is simple: how long do you need it? Most night vision rentals are built around flexible timeframes to fit pretty much any scenario.
- Daily Rentals: Perfect for a single-night event or if you just want to test-drive a specific model before renting it for longer.
- Weekend/Weekly Rentals: This is the sweet spot for most people. It's ideal for hunting trips, training exercises, or short-term security details, and it usually offers the best bang for your buck.
- Monthly Rentals: This is for the long haul—think extended projects, seasonal work, or law enforcement agencies needing to temporarily beef up their gear without a major capital expense.
Naturally, the price is tied to how fancy the gear is and how long you're keeping it. A top-tier Gen 3 PVS-14 monocular might run you $250-$400 per week, while a set of high-end dual-tube goggles can easily climb to $500-$800 for the same period. And don't forget to budget for the security deposit, which you'll get back in full once the gear is returned safely.
Understanding the Paperwork and Protection
Before that box of high-tech goodness lands on your doorstep, you’ll have to handle some paperwork. This isn't just red tape; it's a critical step that protects both you and the rental company. Expect a few key documents.
You'll have a rental agreement that spells out all the terms and your responsibilities. You'll also sign a liability waiver, which just clarifies that you're accountable for the gear while it's in your hands.
The big one, though, is the International Traffic in Arms Regulations (ITAR) compliance form. Because this is sensitive technology, you must complete this form. It's a legal requirement confirming you are a U.S. person and you understand the equipment absolutely cannot be taken outside the country.
Many companies will also offer optional damage protection or insurance for a small extra fee. I highly recommend it. For a few extra bucks, you can limit your financial hit if you accidentally drop the unit or something goes wrong in the field. It's cheap peace of mind.
Managing Shipping and Returns
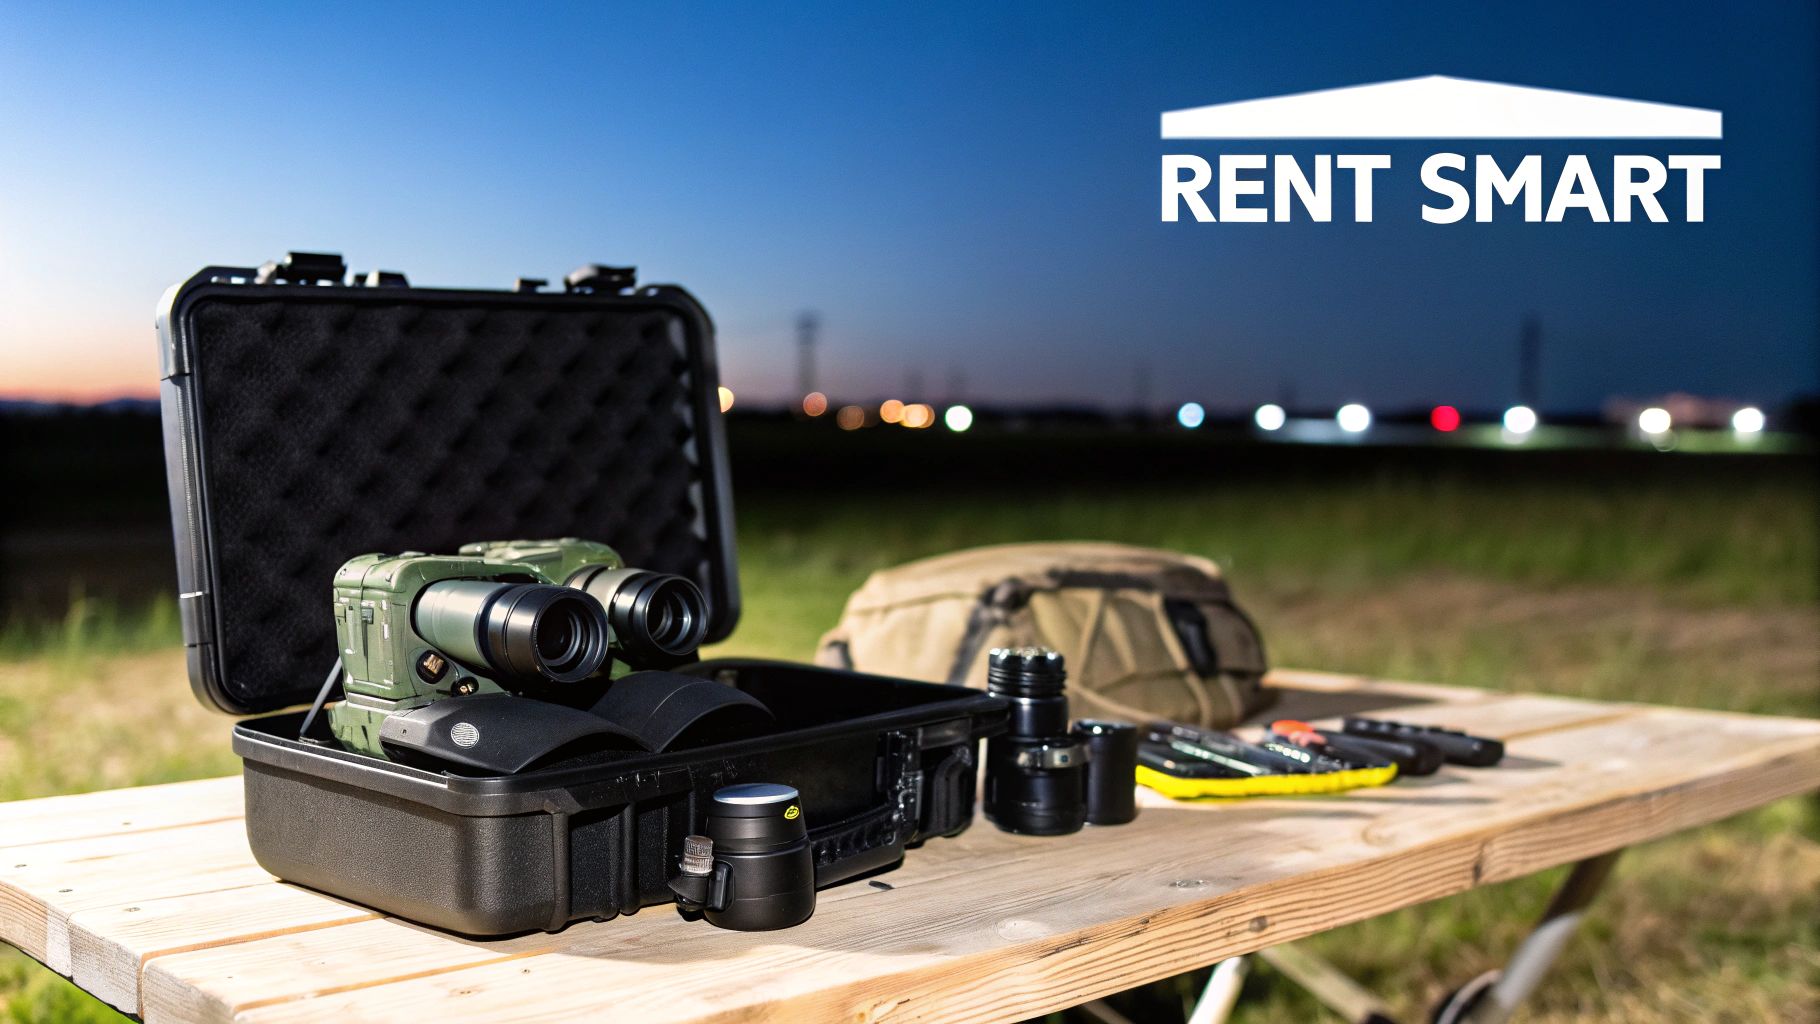
Reputable rental companies have the logistics of shipping thousands of dollars worth of optics down to a science. Your gear will show up in a bomb-proof, padded case—usually a Pelican or SKB—built to handle the roughest of rides.
Inside, you'll find the device itself, along with batteries, mounts, and any other accessories you requested. Critically, you'll also get a pre-paid return shipping label. The return process is designed to be just as easy:
- Repack Everything: Carefully put all the equipment back into the protective case, just how it came.
- Attach the Label: Slap the provided return label right over the original shipping label on the outside of the case.
- Drop It Off: Take the package to the right carrier (like FedEx or UPS) on or before your rental period ends.
This whole system ensures the expensive equipment is tracked and protected every step of the way. It makes the experience smooth and worry-free, whether it's your first time renting or you're a seasoned pro.
Your Pre-Use Inspection Checklist
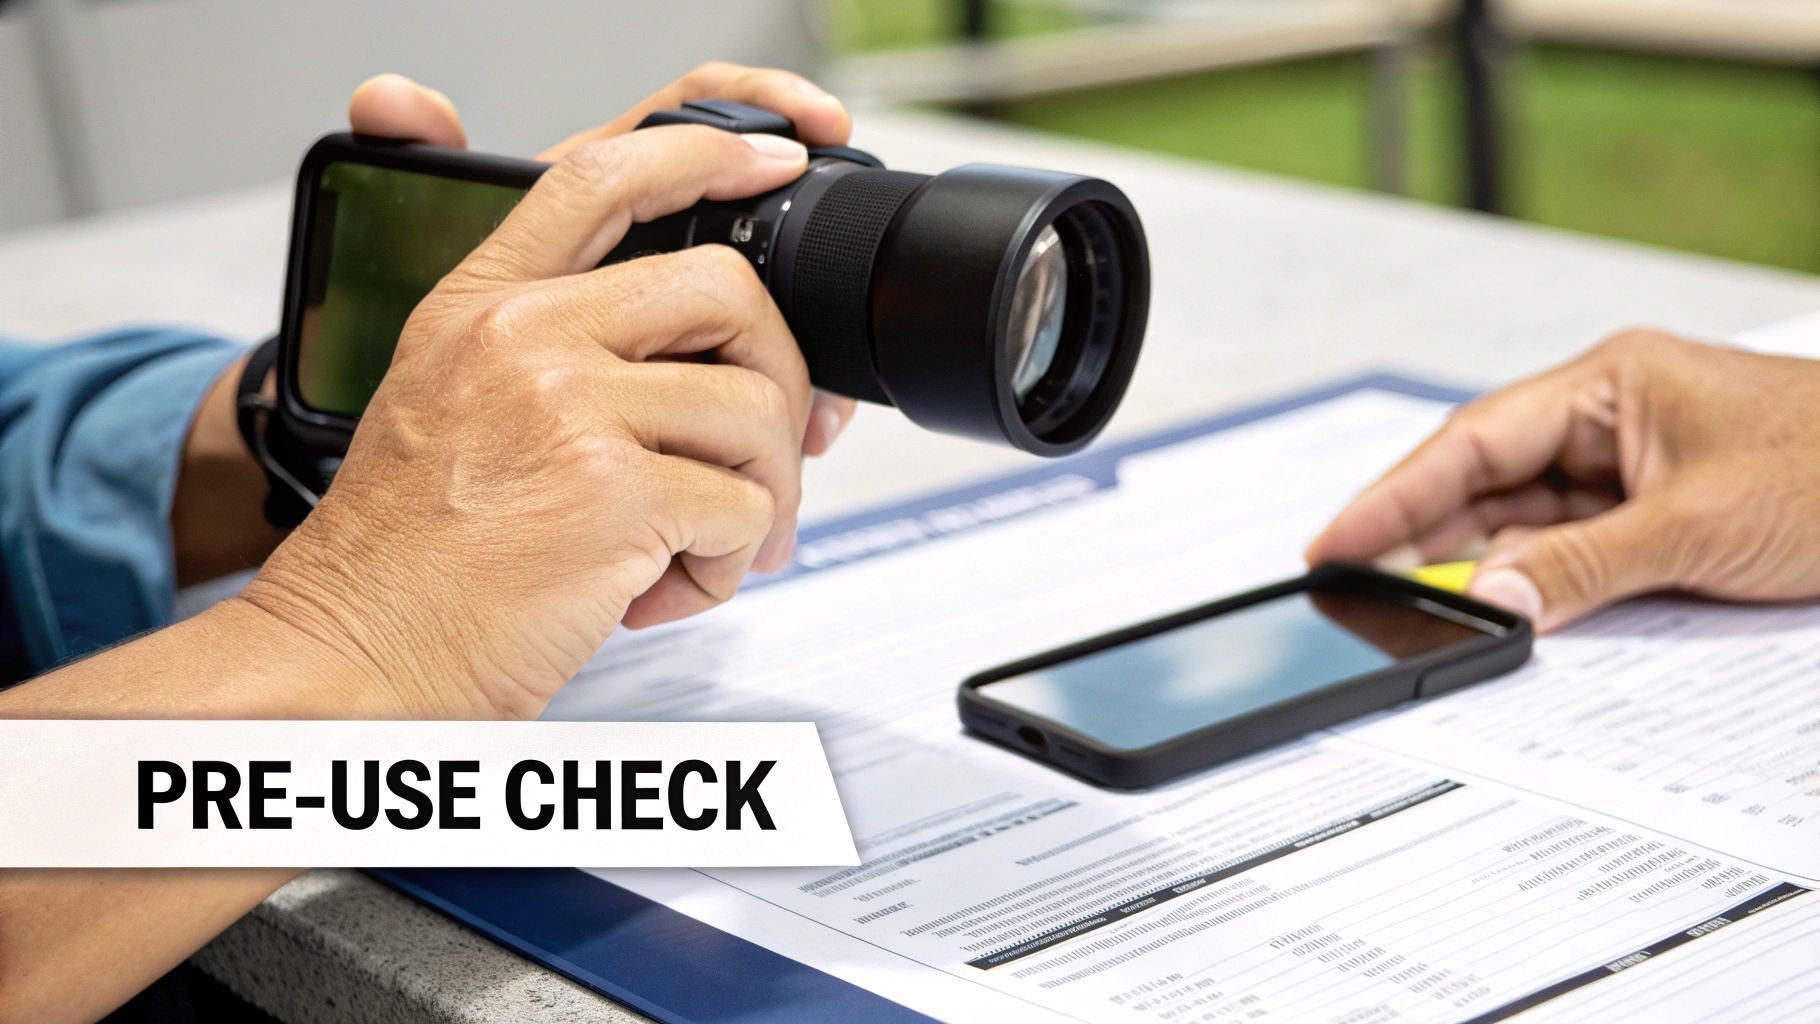
The moment that Pelican case lands on your doorstep is make-or-break. Think of it like renting a sports car—you’d never just hop in and peel out of the lot. You'd walk around it, check for dings, and make sure the engine purrs. The exact same logic applies here, and a thorough once-over is your best insurance policy.
This isn't just about making sure the gear works. It's about documenting its condition the second it's in your hands. This quick five-minute routine can save you a massive headache later and head off any potential disputes about who caused what scratch.
Step 1: Physical Housing and Lens Inspection
Before you even think about putting batteries in, give the unit a good, hard look in a well-lit room. You’re playing detective, searching for any clues of rough handling that happened before it got to you.
Start with the device’s main body, the housing. Look for any deep gouges, cracks, or parts that feel loose or wobbly. A few minor scuffs are par for the course with rental gear, but any real structural damage is a red flag.
Now, shift your focus to the glass. Carefully inspect both the objective lens (the big one facing out) and the eyepiece lens for any scratches, chips, or cracks. A scuff on the housing is just cosmetic; a deep scratch on the lens will absolutely ruin your view.
Pro Tip: Whip out your smartphone and take a few clear photos and a quick video panning around the entire device. This gives you a timestamped digital record of its condition on arrival. Trust me, it’s your best friend if any questions come up later.
Step 2: Powering On and Checking the Tube
Physical check done? Great. Now it’s time to see what’s going on inside. Find a dark room (or just wait for nightfall), make sure the daylight cap is securely on the objective lens, and power it up. What you see next tells you everything you need to know about the health of the image intensifier tube.
The main thing you're looking for are blemishes, or "blems." These are tiny black spots in the image, and they're a totally normal artifact of the manufacturing process. Almost every tube has a few. What you need to watch out for are large, distracting spots, especially if they’re right in the center of your view.
Run through this quick mental checklist:
- Power Function: Does it turn on and off crisply?
- Image Clarity: Is the image generally clear (it'll look grainy with the cap on, that's normal)?
- Blemish Check: Are there any huge spots, or worse, web-like patterns that block your vision?
- Flickering: Is the image stable, or is it flickering or cutting in and out?
If you spot any major problems here, get on the phone with the rental company immediately. This is how you confirm the heart of the unit is beating like it should.
Step 3: Testing Functions and Accessories
Last step. Let's make sure all the buttons, knobs, and extras are present and accounted for. This is what separates a box of parts from a mission-ready kit.
Give the focus rings a twist—both on the objective and the eyepiece. They should turn smoothly, without any grinding or excessive stiffness. If the unit has a manual gain control, turn the knob and see if the image brightness responds as it should.
Finally, pop open the case and do a full inventory against the packing slip. Are the batteries there? The helmet mount? Sacrificial lenses? IR illuminator? Checking this now prevents that sinking feeling when you’re out in the field and realize a critical piece is still sitting on a shelf back at the rental shop.
Best Practices for Using Rented Night Vision
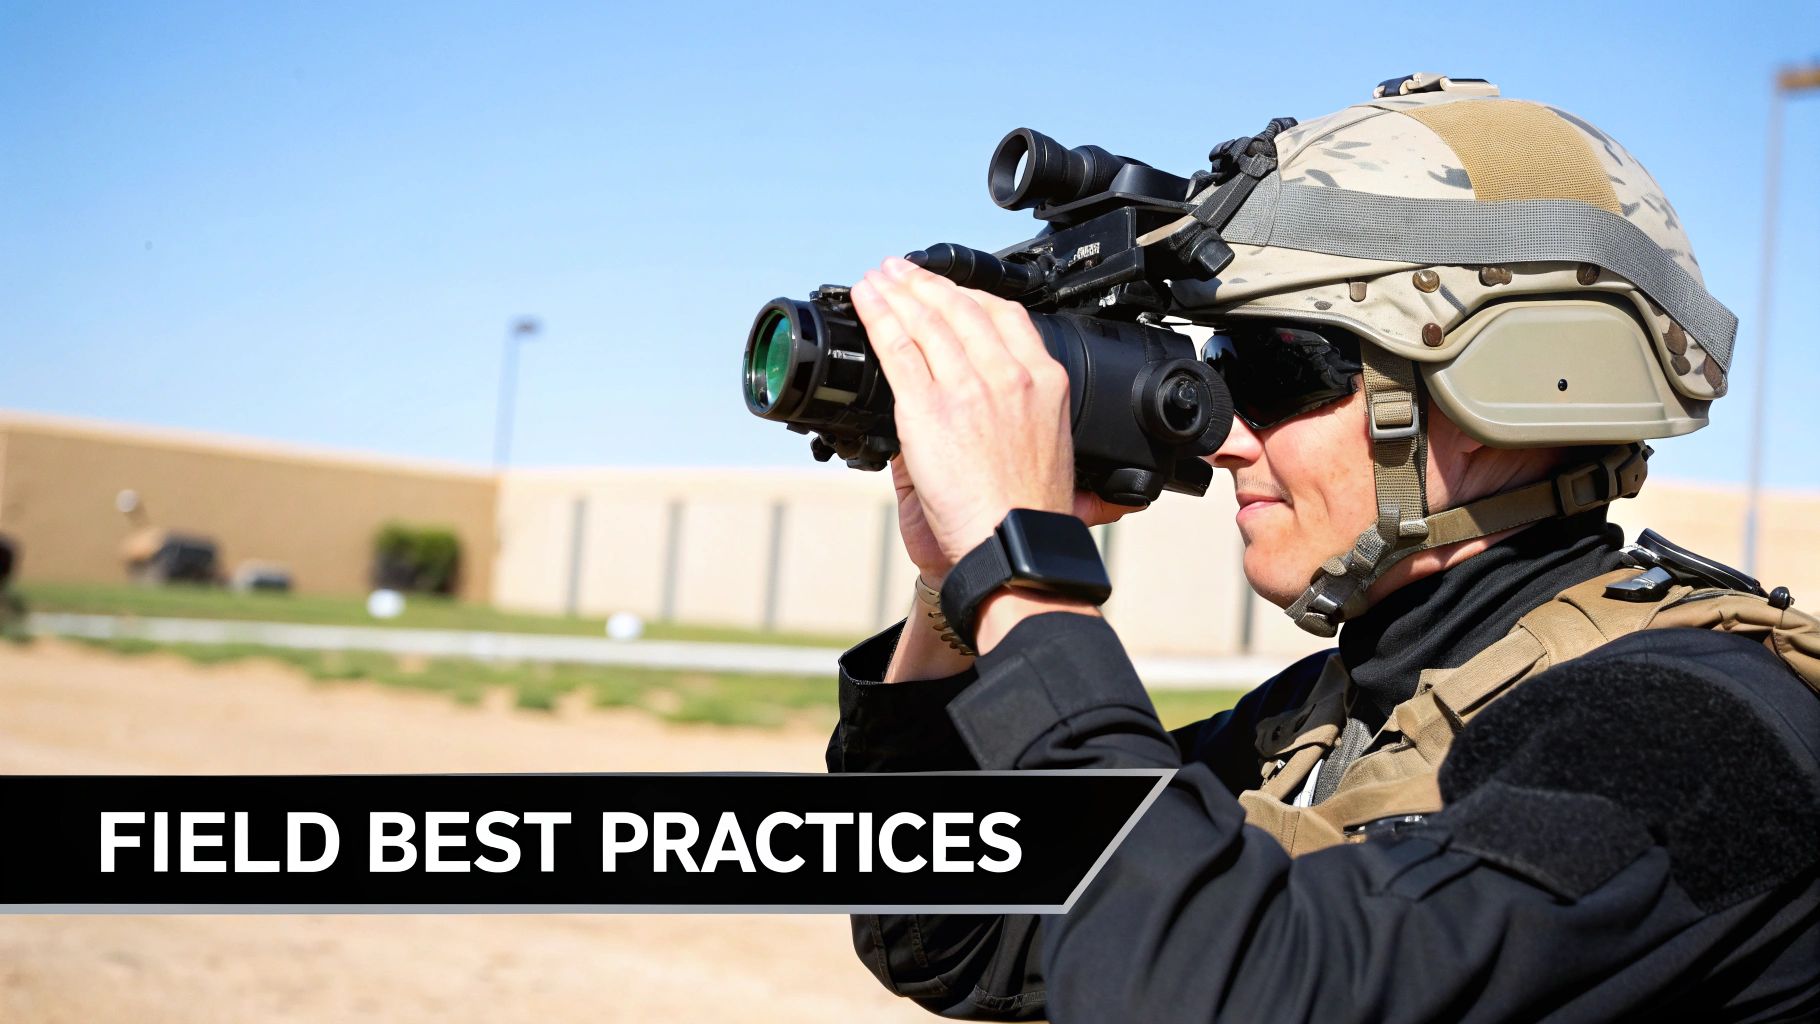
So, the gear is in your hands and it’s passed your inspection. Now the fun begins. Getting the most out of high-end night vision rentals is about more than just flipping a switch—it’s about mastering a few key techniques to unlock the device's full power while protecting its delicate, expensive guts.
Think of it like being handed the keys to a high-performance race car. You wouldn't just floor it without knowing how to handle the corners. These practices are your playbook for handling the equipment like a seasoned pro, guaranteeing both peak performance and a safe return.
Mounting and Focusing for a Flawless Image
A stable, crystal-clear image is the bedrock of using night vision effectively. This all starts with a proper helmet mount. A wobbly or poorly adjusted setup is a fast track to motion sickness and fatigue, making the device almost useless. Make sure your mount is rock-solid and the device is positioned perfectly for your dominant eye to cut down on strain.
Once it's mounted, focusing is a critical two-step process. You have to do it in the right order to get that perfect sight picture.
- Eyepiece Focus: First, point the device at the night sky or a dark, blank wall. Now, adjust the eyepiece focus ring until the static "grain" or "scintillation" of the tube is perfectly sharp. This step calibrates the device specifically to your eyesight.
- Objective Focus: Next, look at something at your target distance—maybe a tree line or a distant building—and adjust the front objective lens until that object is crisp and clear.
Following this sequence ensures the image is sharp from the tube all the way to your eye. A common rookie mistake is skipping the eyepiece focus, which leads to a frustrating, perpetually blurry image.
Protecting the Image Intensifier Tube
The heart and soul of your night vision device is its image intensifier tube, an incredibly sensitive and pricey component. Its number one enemy is bright light. Pointing an active tube at headlights, streetlights, or—worst of all—daylight can cause permanent damage, leaving you with ugly dark spots or a completely dead unit. This is the golden rule of night vision.
Always keep the daylight cap on the objective lens when the device isn't in use or when you're in a light-polluted area. This one habit is the single most important thing you can do to protect the gear and your security deposit.
Most modern Gen 3 rental units come with autogating, a technology that acts like an airbag for the tube. It rapidly cuts the voltage when hit with bright light, drastically reducing the chance of damage from sudden flashes like a muzzle blast or a security light flipping on. While autogating is a lifesaver, it's not a get-out-of-jail-free card; treat it as a safety net, not a license to be careless.
Smart Field Use and Battery Management
Once you're dialed in, using the gear effectively in the field comes down to discipline and awareness. Use the built-in infrared (IR) illuminator as little as possible. Sure, it can light up a dark spot like a flashlight, but its glow is a massive beacon to anyone else using night vision, giving your position away instantly. Think of it as a tool for a quick look, not a constant crutch.
Finally, always head out with fresh, high-quality lithium batteries. Cold weather can slash battery life by up to 50%, so carrying spares isn't optional, it's mandatory. Weak batteries can make the unit flicker or shut down at the worst possible moment. Stick to these simple practices, and your rented night vision will perform flawlessly from dusk till dawn, turning darkness into your advantage.
Rent vs. Buy: Making the Right Financial Call
So, what's the verdict—rent or buy? It’s the million-dollar question for anyone serious about operating in the dark, and there’s no one-size-fits-all answer. The right choice really hinges on how often you’ll use the gear, your budget, and your long-term goals. To figure it out, you have to look past the sticker price and get real about the numbers.
For a lot of people, night vision rentals just make more sense financially. Think about the dedicated hunter who goes on one big hog hunt a year. Renting a top-shelf Gen 3 PVS-14 for a week might run them about $350. Do that for three years, and you’re looking at a total spend of just over $1,000. That’s a pretty smart way to get access to elite, professionally maintained gear exactly when you need it.
The Real Cost of Ownership
Now, let's stack that against buying. A new, quality PVS-14 can set you back anywhere from $3,500 to $4,500 right out of the gate. At that rate, it would take a solid decade of annual rentals to match the purchase price. And that's before we even touch on the hidden costs of ownership.
Owning high-end optics is kind of like owning a European sports car; buying it is only the first check you’ll write.
- Technology Depreciation: The night vision world moves at lightning speed. The incredible device you buy today might be old news in a few years, which means its resale value takes a hit.
- Maintenance and Repairs: What if your unit takes a nasty tumble or the image intensifier tube needs work? If it’s out of warranty, you could be looking at a repair bill that runs into the thousands.
- Insurance and Storage: You're not just going to toss a multi-thousand-dollar piece of equipment in a drawer. You'll need proper insurance and a secure, climate-controlled place to store it, which adds another recurring cost.
When you rent, you’re basically outsourcing all of that risk and headache. You get to play with the latest and greatest gear without ever losing sleep over its long-term value, maintenance, or what happens if it breaks.
The Strategic Edge of Renting
Putting the dollar signs aside for a moment, renting also gives you a huge strategic advantage. A law enforcement agency might need a specific set of dual-tube goggles or thermal imagers for a single, high-stakes operation. Renting lets them get the absolute best tools for the job without getting bogged down in a long, expensive procurement process. That kind of flexibility is priceless when the mission changes.
For the rest of us, renting is the ultimate "try before you buy" opportunity. You can get your hands on different models, test out green vs. white phosphor tubes, and see what you actually like in a real-world setting. That kind of hands-on evaluation tells you a lot more than any spec sheet ever will. If you're trying to figure out the numbers, our guide on budgeting for night vision can help you really dial in the costs.
In the end, it boils down to a simple cost-benefit analysis. If you're out there using night vision several times a month, all year long, buying will probably pay for itself over time. But for most folks—from the seasonal hunter to the agency with shifting needs—renting is simply the smarter, more flexible, and more financially sound way to own the night.
Got Questions About Renting Night Vision? We've Got Answers.
Jumping into the world of night vision rentals can feel a little intimidating. You've probably got questions about the rules, the costs, and what happens if something goes wrong. Getting those answers up front is the key to a smooth rental, so we've put together a quick rundown of the most common questions we hear.
Think of this as your cheat sheet for renting the right gear, whether you're planning a weekend hunt, a serious training op, or a professional security gig.
Are There Legal Restrictions on Renting Night Vision Devices?
Yes, and they are not to be taken lightly. High-end night vision and thermal gear fall under the International Traffic in Arms Regulations (ITAR). This is a big deal. ITAR is a federal law that strictly limits rentals to U.S. citizens or legal permanent residents only.
What's more, you absolutely cannot take this equipment outside of the United States. Any reputable rental company will have you sign a form confirming you meet these requirements before they'll even think about shipping your gear. Bottom line: always follow the law to the letter when renting and using these optics.
What Happens If I Accidentally Damage the Rental Unit?
Let's be real—accidents happen, especially out in the field. When you sign a rental agreement, you’re taking financial responsibility for the gear. That's why most companies offer an optional damage waiver or insurance plan for an extra fee.
My advice? Get the damage waiver. It’s a small price to pay for peace of mind. It could be the difference between a manageable deductible and a bill for thousands of dollars to replace a broken tube.
The moment your gear arrives, inspect it like a hawk. Take photos, note any existing scuffs or dings, and report them immediately. If something does break on your watch, call the rental company right away and be upfront about it. Honesty is always the best approach.
How Much Does It Typically Cost to Rent Night Vision?
The price tag really depends on what you're renting and for how long. The quality of the gear and the type of tech (think Gen 3 analog vs. high-end digital thermal) are the biggest factors. To give you a ballpark idea, here’s what you can expect for weekly night vision rentals:
- High-Quality Monocular (PVS-14): You're generally looking at $250 to $400 per week.
- Advanced Dual-Tube Goggles: These are more complex and capable, so expect a range of $500 to $800 per week.
Almost every rental will also require a refundable security deposit to cover potential issues. When you're putting your budget together, make sure you account for the rental fee itself, shipping both ways, that security deposit, and any damage waiver you decide to add.
Ready to gear up with the best optics for your next operation? At Superior Tactical LLC, we provide mission-ready night vision and thermal equipment backed by expert guidance and a commitment to quality. Explore our extensive catalog and find the perfect solution for your needs at superiortac.com.