A Guide to IR Laser Pointers for Tactical Operations
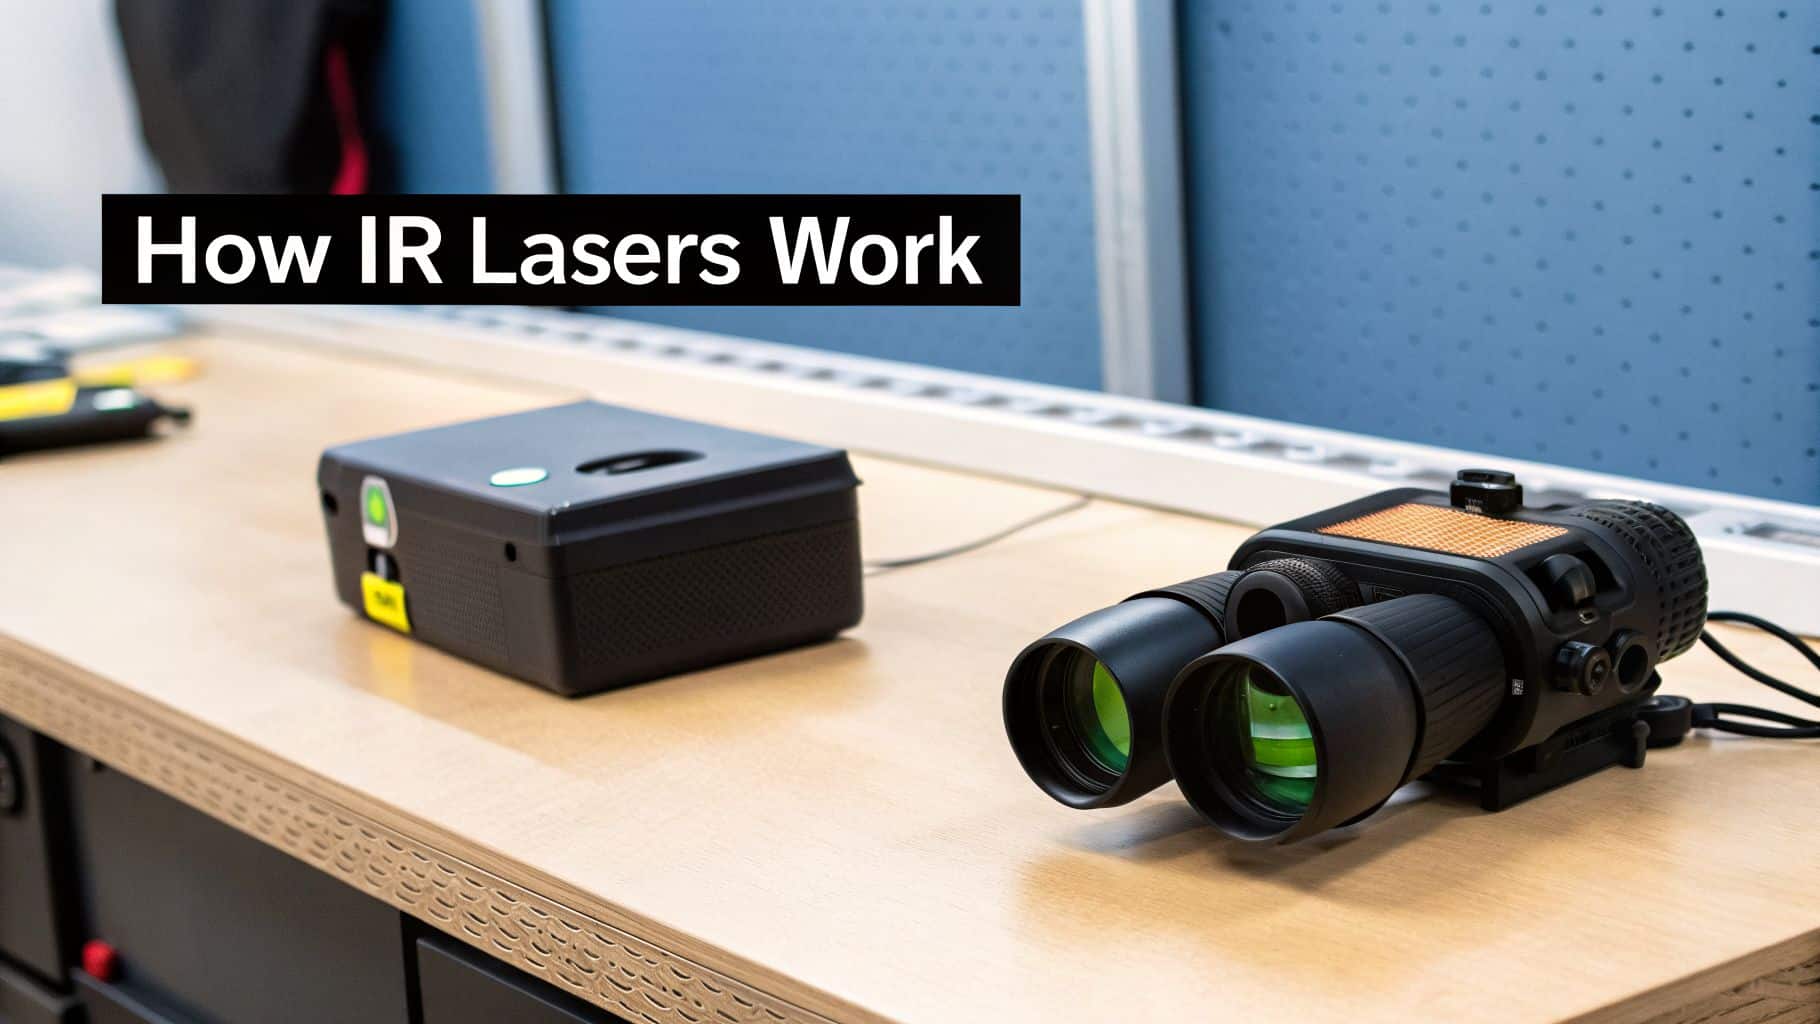
At its core, an infrared (IR) laser is a specialized aiming tool that projects a beam of light completely invisible to the naked eye. This allows you to place a precise aiming point on a target that can only be seen through night vision equipment, making it an indispensable piece of kit for anyone operating in the dark.
Demystifying How IR Laser Pointers Work
To really grasp how IR lasers function, it helps to think of the light spectrum as a massive radio dial. Our eyes are only built to tune into a very narrow band of that dial, which we know as visible light. Infrared light sits just outside this band, right past the red end of the rainbow, making it totally hidden from our view.
An IR laser pointer is basically a high-tech, finely-tuned flashlight that operates on this invisible frequency. Inside, a tiny but powerful component called a laser diode generates a concentrated beam of this infrared energy.
What this means for the user is the ability to "paint" a target with a dot that only they, or anyone else on their team with night vision, can see. This provides a huge tactical advantage, enabling silent aiming and target designation without giving away your position with a visible beam of light—a game-changer for operations under the cover of darkness.
Understanding Wavelength and Power
Not all IR lasers are created equal. Two specs matter more than almost any other when it comes to real-world performance: wavelength and output power. These numbers aren’t just for a spec sheet; they directly impact how the laser will work with your specific night vision setup.
- Wavelength (nm): Measured in nanometers (nm), this tells you the precise "color" of the infrared light. The most common wavelengths you'll see are 830nm, 850nm, and 980nm.
- Output Power (mW): Measured in milliwatts (mW), this is simply the brightness or intensity of the laser beam. More power means the dot stays visible over longer distances and cuts through atmospheric junk like fog or smoke. For safety reasons, civilian-legal models are restricted to lower power outputs.
To help you decide which wavelength is right for your needs, here’s a quick breakdown of the most common options and their primary uses.
Common IR Laser Wavelengths and Their Applications
| Wavelength (nm) | Common Name | Visibility to NVG | Primary Use Case |
|---|---|---|---|
| 830nm | Near-Infrared | Very Bright | Best for long-range targeting; a faint red glow may be visible at the emitter. |
| 850nm | Near-Infrared | Bright | The "all-around" choice, balancing brightness with good covertness. |
| 980nm | Short-Wave IR | Dimmer | Maximum covertness; less visible to some NVG generations and sensors. |
Choosing the right wavelength is about matching the laser's output to your night vision's sensitivity and your operational requirements for stealth.
The technology that makes this possible is advancing at a blistering pace. The global laser diode market, which is the engine behind these tools, is expected to surge from USD 6.8 billion in 2023 to an incredible USD 25.0 billion by 2033. This explosion in growth shows just how vital these components have become for professionals who depend on top-tier IR performance.
Key Takeaway: An IR laser and a night vision device have a symbiotic relationship. The laser's wavelength has to be one that your NVGs are sensitive to, or you won't get a crisp, usable aiming point.
The Role of Laser Diodes
The heart of every IR pointer is its laser diode. This tiny semiconductor is incredibly good at its job: converting electricity into a highly collimated beam of light. "Collimated" is just a technical way of saying the light rays travel in a tight, parallel beam. It’s why a laser dot stays small and precise over hundreds of yards, unlike the wide, scattered cone from a regular flashlight.
When you pair an IR pointer with an IR illuminator—which acts as an invisible floodlight to light up the whole scene—you get the complete package. You have a precise aiming point from the laser and broad situational awareness from the illuminator.
Many modern units, often called laser aiming modules, bundle both a pointer and an illuminator into one rugged housing. This integration is key to keeping your firearm setup clean, effective, and free of unnecessary bulk.
Where IR Lasers Prove Their Worth
The technical specs are one thing, but where an IR laser truly proves its worth is out in the real world. This is where stealth and precision aren't just features on a data sheet—they can be the deciding factor between success and failure. These devices are so much more than simple aiming aids; they're a tool for silent communication and covert action.
Whether you're moving through a dense forest or a dark city block, the ability to operate without being seen is a game-changing advantage. For professionals in law enforcement and the military, or even for dedicated hunters, that invisible beam is a massive force multiplier. It lets teams coordinate, mark targets, and achieve their goals with a level of stealth that visible lasers make impossible.
In every one of these situations, light discipline is the name of the game. You simply cannot afford to give away your position with a stray flicker of visible light. Here’s how IR lasers provide a serious edge when the stakes are high.
Law Enforcement and Tactical Operations
Picture a SWAT team setting up to enter a building. They're staged at multiple entry points in complete darkness, and a high-risk suspect is inside. Using a flashlight or even hand signals would be like setting off a flare—it would instantly give them away.
Instead, the team leader brings up their rifle. Through their night vision, they "paint" a specific window with their IR laser, silently marking the primary breach point for the entire team. A quick flash of the beam toward another entry team is the "go" signal. No words are spoken. No visible light is used. The entry is sudden, coordinated, and a complete surprise.
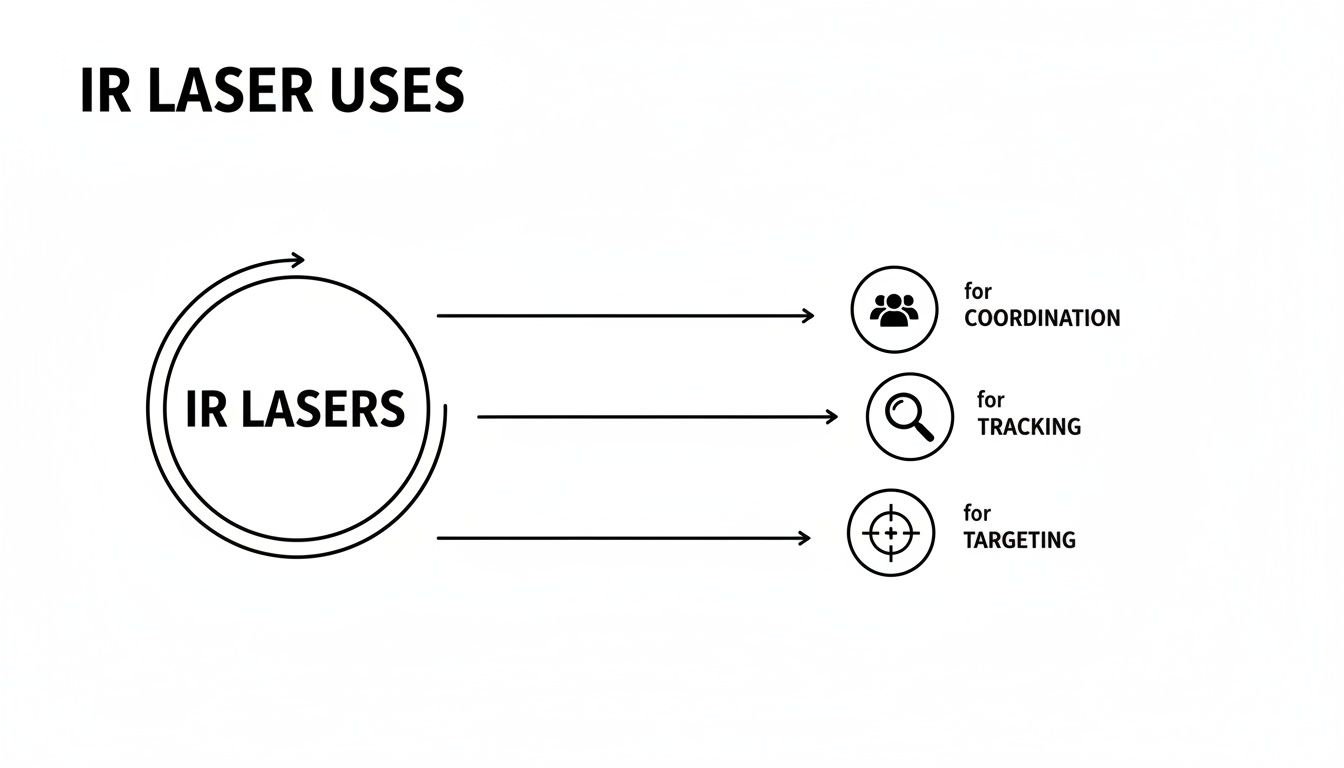
This kind of silent teamwork is a cornerstone of modern tactical ops. With an IR laser, operators can:
- Communicate Silently: Use the beam as a silent language to point out threats, establish rally points, or signal complex maneuvers.
- Designate Targets: A single team member can invisibly "paint" a threat, ensuring everyone's fire is directed exactly where it needs to be.
- Aim Covertly: Officers can aim with pinpoint accuracy in low light without a visible dot telegraphing their position to the threat.
Military Mission Success
On a much larger scale, IR lasers are absolutely critical for military operations, especially for coordinating air support. Imagine a forward observer on the ground at night. They spot a column of enemy vehicles moving down a road, far outside the range of their own weapons.
Using a high-power IR laser designator, the observer paints the lead vehicle. Miles above, the pilot of a close air support aircraft sees this invisible-to-the-naked-eye IR dot glowing brightly through their targeting pod. For the pilot, that mark is an unmistakable beacon, guiding a precision-guided bomb or missile directly to the source. The target is hit, and the team on the ground is never exposed.
The IR laser is the invisible link between boots on the ground and eyes in the sky. It enables surgical strikes that drastically reduce collateral damage and risk to friendly forces, fundamentally changing how battles are fought at night.
Night Hunting and Wildlife Observation
The power of stealth isn't just for tactical units. For any serious hunter pursuing nocturnal game like hogs or predators, an IR laser is an indispensable piece of kit. Animals like coyotes and wild boar have incredible senses, and the slightest gleam from a flashlight will send them running for the next county.
A hunter with a good night vision setup and an IR laser can scan a field, spot an animal, and take a clean, ethical shot without producing a single photon of visible light. The IR laser ensures precise shot placement in what feels like total darkness, leading to a humane and successful hunt. It’s all about keeping the element of surprise and respecting the challenge of going after game on their own terms.
Recreational and Preparedness Uses
Beyond the professional world, IR lasers are catching on with preparedness-minded citizens and outdoor enthusiasts. They are fantastic for advanced nighttime navigation, letting a group leader point out a distant landmark or a turn in the trail to others without ruining everyone's natural night vision with a bright headlamp.
Even amateur astronomers are getting in on it. When paired with night vision, an IR laser can be used to point out faint star clusters or galaxies to a group without the light pollution of a traditional green laser, which can wash out the very objects you're trying to see.
Pairing IR Lasers with Your Night Vision System
An IR laser pointer by itself is only half the equation. Its real power comes to life only when you pair it with a capable night vision device. Think of the laser as a key cut for a very specific lock—the "key" is the laser's infrared light, and the "lock" is your night vision's image intensifier tube. If the key doesn't fit the lock, the whole system fails.
This relationship is all about wavelength and sensitivity. The image intensifier tubes in common Gen 2 and Gen 3 units are built to amplify incredibly small amounts of light, including light from the near-infrared spectrum. When your IR laser's wavelength—typically around 850 nm—hits the sweet spot of your tube's sensitivity, the aiming dot pops with a sharp, bright clarity that makes precise aiming possible, even at serious distances.
It’s this capability that has made IR lasers a non-negotiable tool in modern tactical operations, especially for military and law enforcement teams who depend on staying invisible. Their growing importance is impossible to ignore; market projections even show that infrared lasers are expected to make up 42.5% of all semiconductor laser revenue by 2025. This isn't just a niche gadget anymore—it's a foundational piece of technology.
The Thermal Optics Misconception
One of the first things new users get wrong is trying to pair an IR laser pointer with a thermal optic. It simply won't work, and it's critical to understand the fundamental difference between these two technologies.
- Night Vision (Image Intensification): Works by amplifying existing light. It essentially sees reflected light energy, which is exactly what your IR laser produces.
- Thermal Optics (Thermography): Works by detecting minute differences in heat. It creates an image from emitted thermal energy, not reflected light.
Since your IR laser emits light—not heat—a thermal scope has no way of seeing its beam or dot. A thermal is a heat-detecting camera, and it’s completely blind to the output of your laser.
An IR laser is for night vision. A thermal optic sees heat. They are separate systems designed for different jobs and are not interchangeable for aiming with a laser.
The whole point of using an IR laser is to do things covertly, under the cover of darkness, which is only possible when it’s paired with the correct night vision gear.
As you can see, the core applications all hinge on one thing: the laser is only visible to those equipped with night vision.
Achieving a Perfect Co-Witness
Once you have the right gear, the next step is getting your IR laser zeroed, or "co-witnessed," with your primary daytime optic. This just means aligning the laser's dot with your red dot or scope's reticle so they both point to the same spot.
The idea is to make both aiming systems converge at a practical distance, like 50 or 100 yards. When done right, you can look through your day optic, activate the laser, and see the IR dot sitting perfectly on top of your reticle's crosshair. This confirms your invisible aiming point is just as true as your visible one. For any kind of serious tactical use or ethical hunting, a proper co-witness isn't optional—it's mandatory.
To get the most out of your setup, you'll also want to understand how IR illuminators for night vision work alongside your laser to fully light up the night.
Navigating Laser Safety and Civilian Regulations
An IR laser is an incredible tool, but its greatest strength is also its biggest risk: you can't see the beam. This simple fact introduces some serious safety challenges. Getting a handle on the rules, both for your own safety and to stay on the right side of the law, isn't optional—it's a core part of being a responsible owner.
Let's get the most important rule out of the way first: treat every laser, visible or infrared, as if it were a loaded weapon. That means you never, ever point it at something you’re not willing to destroy. This discipline is even more critical with IR because you get no visual feedback if you accidentally sweep the beam across another person. There's no flinch, no blink reflex—just the potential for silent, invisible damage.
Understanding FDA Laser Classifications
To put some hard numbers on safety, the U.S. Food and Drug Administration (FDA) created a classification system based on a laser's potential for causing eye injury. For anyone using an IR pointer, the classes you need to know are Class 1, Class 3R, and Class 3B.
Class 1: These are essentially harmless under any normal circumstance. With a power output under 0.39 mW, they pose no real threat. Think CD players and barcode scanners, not aiming devices.
Class 3R: This is the category where most civilian-legal IR laser pointers fall. Capped at 5 mW, they are considered safe for momentary, accidental exposure. You don’t want to stare into the emitter, but a quick, unintentional flash isn't likely to cause permanent harm.
Class 3B: This is where the "full power" military and law enforcement lasers live. Ranging from 5 mW all the way up to 500 mW, these units are no joke. They can cause immediate and permanent eye damage from a direct hit or even a reflection, faster than you can blink.
FDA Laser Class Safety Overview
The FDA's system can seem a bit technical, but it really boils down to a few key power thresholds that separate "eye-safe" from "restricted." The table below simplifies the classes that are most relevant to IR pointer users.
| Laser Class | Typical Power Range (IR) | Civilian Legality | Primary Safety Concern |
|---|---|---|---|
| Class 1 | < 0.39 mW | Legal | Considered eye-safe under all normal operating conditions |
| Class 3R | < 5 mW | Legal | Direct, prolonged viewing can cause eye damage |
| Class 3B | 5 mW – 500 mW | Restricted (LE/Mil) | Can cause immediate, permanent eye damage from any exposure |
This breakdown makes it clear why buying a laser from a reputable source that accurately reports its classification is so important.
Make no mistake: true "full-power" Class 3B lasers are strictly restricted from civilian sale and are meant for government agencies only. If a seller is marketing a "full power" unit to the general public, they are either lying about its power or breaking the law.
Non-Negotiable Safety Protocols
Beyond the regulations, a few practical safety habits have to become second nature. The risk with an invisible IR beam is that you can be splashing it all over the place without ever knowing it.
Reflections are one of the biggest dangers. An IR beam bouncing off a window, a car's side mirror, a puddle, or even the glass on a framed picture can still carry enough energy to fry a retina. You must always be aware of what’s behind and around your target.
The market for this tech is booming, with the underlying semiconductor diode technology projected to jump from $3.3 billion in 2024 to $5.71 billion by 2033. That growth means more powerful and accessible devices are hitting the market every year, making it more critical than ever to use them responsibly. You can learn more about these market dynamics and the growing role of 850 nm devices for night vision users.
How to Choose the Right IR Laser Pointer
Picking the right IR laser isn't about chasing the "best" model on the market. It's about finding the best tool for your specific job. The laser an entry team member needs for clearing a building is a completely different beast from what a coyote hunter wants for a nighttime stalk. Let's walk through how to think about your options so you end up with a genuine asset, not just another gadget bolted to your rifle.
The first, most critical question is: what's your primary use case? A law enforcement officer on a SWAT team needs something bomb-proof, with integrated controls that are intuitive under extreme stress. A hunter, on the other hand, will likely value a lightweight, minimalist device that won't snag on brush and throw off the rifle's balance.
That SWAT officer is probably going to lean toward a full-power, all-in-one aiming module—a rugged housing that combines a high-power IR laser, a visible laser for daytime use, and a potent IR illuminator. For them, durability and redundancy aren't just features; they're mission-critical. The hunter might find that same unit to be overkill, preferring a simple, standalone IR laser to keep their setup lean and light.
Power and Illumination Needs
With your primary role defined, you need to think about the environment you'll be operating in. The power of your IR laser pointers and the capability of your illuminator directly dictate your effectiveness when the lights go out.
- Laser Power: For most people, a civilian-legal Class 3R laser is plenty. It’s perfectly effective for engagements inside a few hundred yards. But if your job involves marking targets at much greater distances, you'll need to look into higher-power, restricted lasers (assuming you're an authorized professional).
- Illuminator Function: Do you need a dedicated IR floodlight? Many modern units pack a built-in, focusable illuminator. A wide “spill” is fantastic for close-quarters work, giving you broad situational awareness. Cranking it down to a tight, focused “throw” is what lets you see and positively identify targets much farther downrange.
For a lot of shooters, a device that has both an IR laser and a variable-focus IR illuminator is the jack-of-all-trades. It gives you the flexibility to go from a wide-area search to a precise target designation without cluttering your rifle with more gear.
Form Factor and Durability
The physical size, shape, and toughness of an IR device are every bit as important as what's going on inside. A clunky unit can mess with your grip, obscure your optic's field of view, or just make your rifle feel awkward and unbalanced.
You need a form factor that complements your rifle and shooting style. Some lasers are built to ride on the top rail at 12 o'clock, while others are better suited for side-mounting at 3 or 9 o'clock. Pay close attention to durability specs, too. An IPX7 or IPX8 rating means the unit is seriously water-resistant or fully waterproof, which is a must-have for anyone who can't just pack it in when the weather turns foul.
For professional use, durability is everything. A piece of gear that can’t handle being dropped, submerged, or slammed into a door frame is a liability, plain and simple. For a recreational user, that level of ruggedness might be overkill, but a solid waterproof rating is always a smart investment.
Activation and Mounting Systems
How you turn the laser on might seem like a minor detail, but under pressure, it’s a massive one. You've basically got two options.
- Onboard Controls: These are the buttons or switches built right onto the laser's body. It's a simple, reliable setup, but it often forces you to break your firing grip to hit the button.
- Remote Pressure Switches: This is a pressure pad connected by a cable that you can place anywhere on your handguard. It's a huge ergonomic win, as it lets you activate the laser instantly without shifting your hands.
The trade-off with remote switches is cable management. A loose wire is a snag hazard waiting to happen. Smart shooters use zip ties, ranger bands, or purpose-built rail clips to secure their cables, keeping everything tight and out of the way.
Finally, look at the mount itself. The overwhelming majority of IR laser pointers attach to a standard MIL-STD-1913 Picatinny rail. Make sure the device you choose has a solid, robust mounting clamp that will hold zero, even after the shock of recoil and getting banged around. A laser that won't stay zeroed isn't just useless—it's a danger.
Mounting and Zeroing Your IR Laser for Peak Performance

Getting your hands on a quality IR laser pointer is a great start, but the device is just a piece of the puzzle. The real work—and where the magic happens—is in mounting and zeroing it correctly. A poorly set up laser is nothing more than an expensive accessory. A properly installed and zeroed laser, however, becomes a true extension of your will, an aiming tool you can absolutely trust when it matters most.
The entire point is to make the laser a seamless part of your rifle and your personal shooting mechanics. For the kind of accuracy and reliability demanded in tactical or serious hunting scenarios, precise alignment isn't just a suggestion; it's a requirement.
Best Practices for Mounting Your Laser
Before you even think about touching the adjustment dials, you need to decide where the laser will live on your rifle. This choice has a huge impact on your ergonomics, how you activate the unit, and even your line of sight. You’re looking for that sweet spot that lets you hit the button without shifting your natural firing grip.
For most shooters, the top rail (12 o’clock position) is prime real estate. Mounting it up top does the best job of minimizing mechanical offset—the physical gap between your barrel’s centerline and the laser’s—which makes aiming at different distances much more intuitive. It also keeps the laser centered and less likely to snag on your gear or surroundings.
Of course, mounting on a side rail (3 or 9 o’clock) is another solid option. This is a great alternative if a top-mounted unit gets in the way of your primary optic, or if it simply gives you better access to the controls. Ultimately, you need to find a position that feels balanced and natural in your hands. You'll find a wide array of high-quality lasers for Picatinny rails designed to accommodate any of these setups.
Pro Tip: Once you've mounted the laser, take the time to manage your pressure switch cables. A few zip ties or rail clips can secure loose wires and prevent a snag that could compromise your equipment at the worst possible time.
The Co-Witness Zeroing Process
Zeroing an IR laser simply means aligning its invisible aiming point with your primary optic's reticle. We call this "co-witnessing," and it ensures your trusted day optic and your IR laser are aimed at the exact same spot at a specific distance.
Here’s a no-nonsense way to get a solid zero:
- Get Stable: First things first, lock your rifle into a vise or get it rock-solid on a shooting rest. Any wobble or movement during this process will completely ruin your adjustments.
- Pick a Distance: A 50-yard zero is a fantastic all-around choice for most rifles. It gives you a surprisingly flat trajectory out to about 200 yards, covering the vast majority of real-world engagement scenarios.
- Align with Your Optic: With the rifle pointed at your 50-yard target, look through your primary day optic (your red dot or scope). Now, put on your NVGs and activate the IR laser.
- Dial It In: Through your night vision, you'll see the IR dot on the target, but it probably won't be lined up with your optic's crosshairs. Use the laser’s windage (left/right) and elevation (up/down) dials to walk the IR dot until it sits perfectly on top of your primary reticle.
That's it. Your IR laser is now co-witnessed. It's always smart to fire a few confirmation shots at your zero distance to make sure the laser holds true under recoil. Now, your invisible aiming point is just as precise as your day optic.
Frequently Asked Questions About IR Lasers
Once you start getting into the world of IR lasers, a few practical questions always seem to pop up. Whether you're a seasoned pro or just gearing up, getting these fundamentals right is crucial for using your equipment well. Let's clear up some of the most common questions we hear.
Can You See an IR Laser Without Night Vision?
Short answer: no. The entire point of an infrared laser is that its beam is completely invisible to the naked eye. It operates on a wavelength of light our eyes simply can't process, making it a perfect tool for covert aiming when you're running night vision.
You might, however, notice a very faint, dull red glow if you look directly at the laser's emitter, especially on models in the 830nm-850nm range. Don't worry, this isn't the beam itself. It's just a tiny, visible byproduct from the diode, and it won't be visible at all from downrange.
A great way to think about it is like a dog whistle. You can see the physical whistle in someone's hand, but the sound it makes is on a frequency only a dog can hear. Likewise, you see the laser housing, but its beam is on a frequency only your NODs can pick up.
What Is the Difference Between an IR Laser and an IR Illuminator?
This is a really important one. Think of it this way: an IR laser is your invisible spotlight, while an IR illuminator is your invisible floodlight.
The laser projects a single, tight dot for precise aiming. The illuminator, on the other hand, throws a wide cone of IR light across a whole area. This extra light essentially "supercharges" your night vision, brightening up the entire scene so you can see more detail, identify targets, and get a better sense of your surroundings in pitch-black conditions.
Many of the best tactical aiming devices actually combine both into one unit, giving you a pinpoint aiming laser and a wide-beam illuminator on demand.
How Far Can an IR Laser Reach?
There’s no single answer to this, as the real-world range depends on a few key variables working together.
- Output Power: This is the biggest driver. A laser's power is measured in milliwatts (mW). A standard, eye-safe civilian model can be effective for several hundred yards.
- Atmospheric Conditions: Your environment plays a huge role. Fog, heavy rain, smoke, and even dust in the air will scatter the laser's light and drastically cut down how far you can see the dot through your NODs.
- Night Vision Quality: Better gear sees better. A high-spec Gen 3 tube will be sensitive enough to pick up a laser dot at much greater distances than an older or less-powerful night vision device.
For most civilian applications like hunting or training, a standard-power laser has more than enough reach. The restricted, full-power units are really only necessary for military professionals who need to designate targets at extreme distances.
At Superior Tactical LLC, our focus is on sourcing the professional-grade night vision and tactical gear that lets you own the night. Whether you need a top-tier aiming module or a powerful illuminator, we have the equipment to ensure you're ready for whatever comes next. Check out our hand-picked selection of tactical optics and accessories at https://superiortac.com.