Your Definitive Guide to the ACH Helmet Cover
An ACH helmet cover is one of those pieces of kit that seems simple but completely changes the game. It’s the single best upgrade for turning a standard Advanced Combat Helmet from just a piece of armor into a fully capable tactical platform. The right cover gives you adaptive camouflage, protects the helmet's expensive finish, and acts as a mounting system for all your essential gear.
Why An ACH Helmet Cover Is Essential Gear
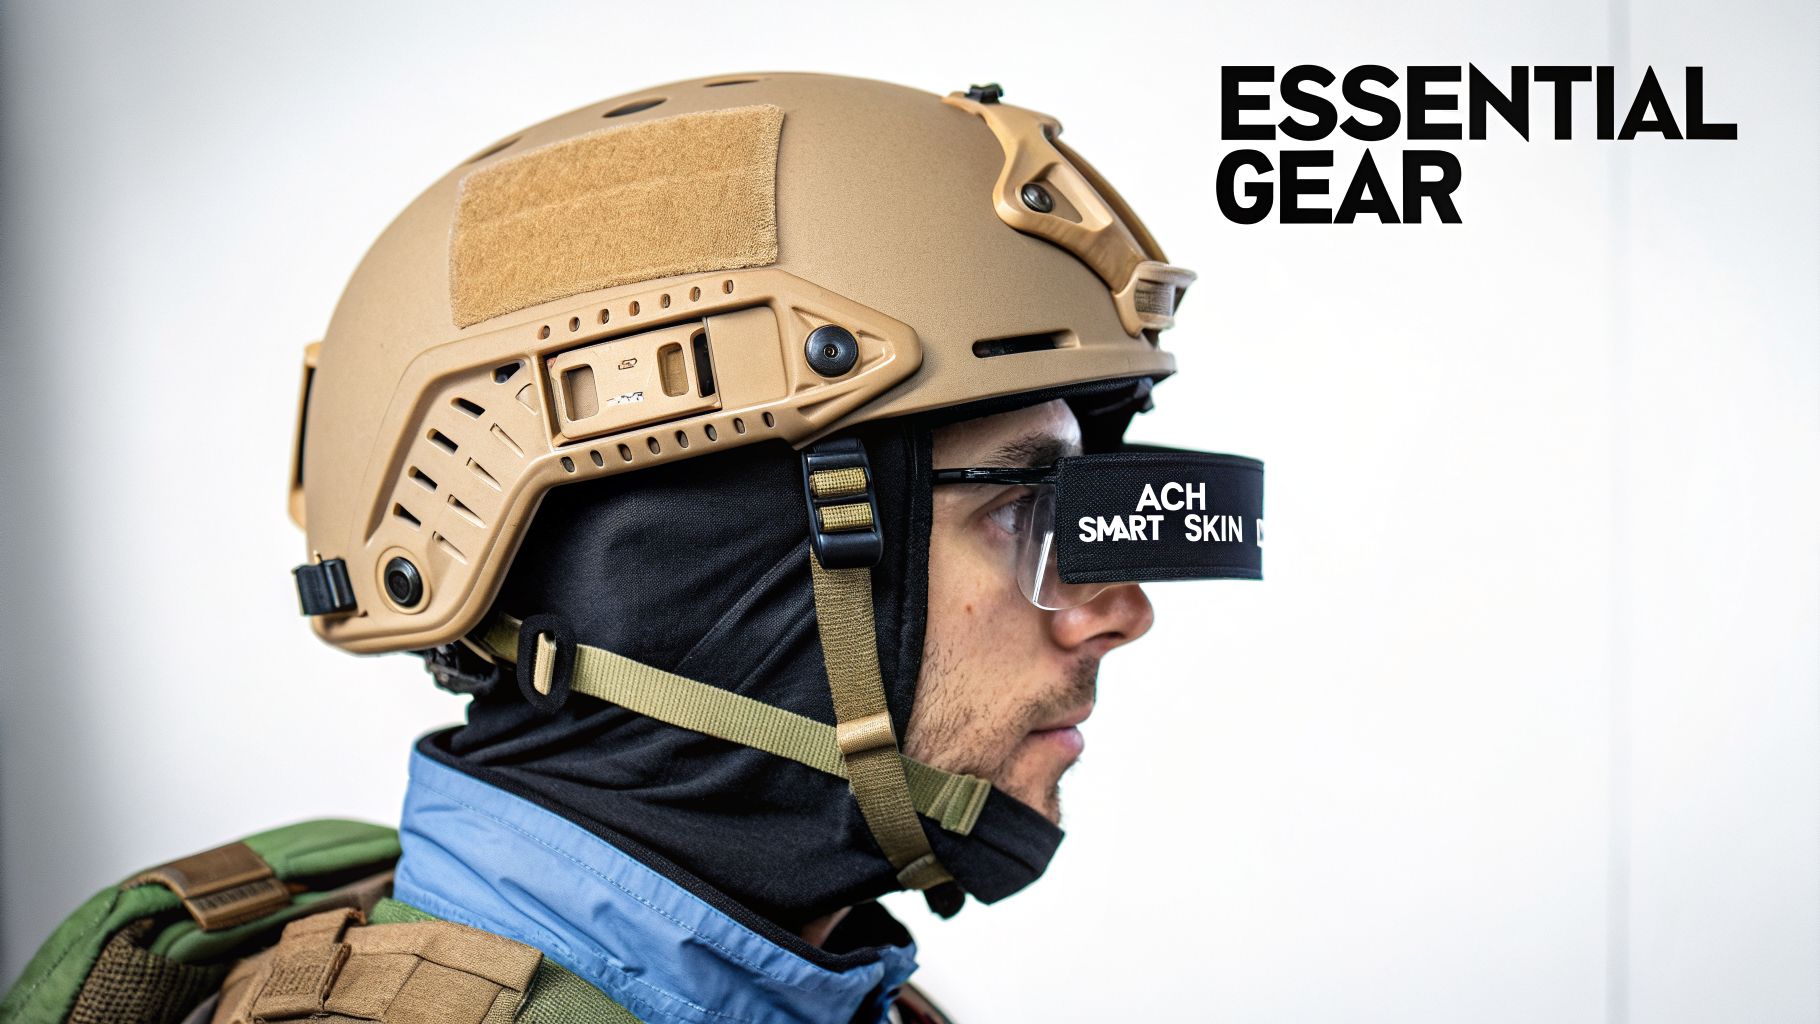
Think of an ACH helmet cover as a smart skin for your brain bucket. It’s so much more than a simple fabric wrap; it’s an accessory that punches well above its weight, seriously bumping up your effectiveness in the field.
A bare helmet, even one painted in a standard color like coyote or olive drab, has a distinct shape and can catch the light, making you an easy target. A good cover immediately solves this by draping the helmet in a pattern that melts into your surroundings and breaks up that tell-tale round silhouette. Whether you're in the woods, the desert, or an urban setting, it makes you that much harder to spot.
More Than Just Camouflage
But it’s not just about hiding. A helmet cover also acts as a tough, sacrificial layer of protection for the helmet itself. The ballistic shell of an ACH is tough, but it's not immune to scratches and dings from being knocked against hard surfaces. A cover made from rugged Cordura nylon takes that abuse, keeping your helmet's finish intact for the long haul.
This is more important than it sounds. A deep scratch can create a shiny spot that reflects light and compromises your stealth. The cover ensures the entire surface of your helmet stays dull and non-reflective.
Most importantly, a modern helmet cover is the key to modularity. It’s the interface that lets you attach all the tools you need for the mission. These covers are loaded with hook-and-loop panels, bungee retention cords, and cable routing channels.
This setup gives you a clean and secure way to mount critical gear:
- Identification: Attach IR flags, morale patches, or team identifiers.
- Electronics: Securely mount battery packs for your NVGs and manage cables for your comms headset.
- Illumination: Slap on an IR strobe for IFF (Identify Friend or Foe) or a small admin light for tasks.
By turning a static piece of armor into a dynamic and customizable platform, an ACH helmet cover becomes an indispensable tool. It lets operators, hunters, and law enforcement officers adapt their headgear for whatever the job demands. To see how covers fit in with other gear, check out these ballistic helmet accessories on our site.
Choosing the Right Materials and Camouflage
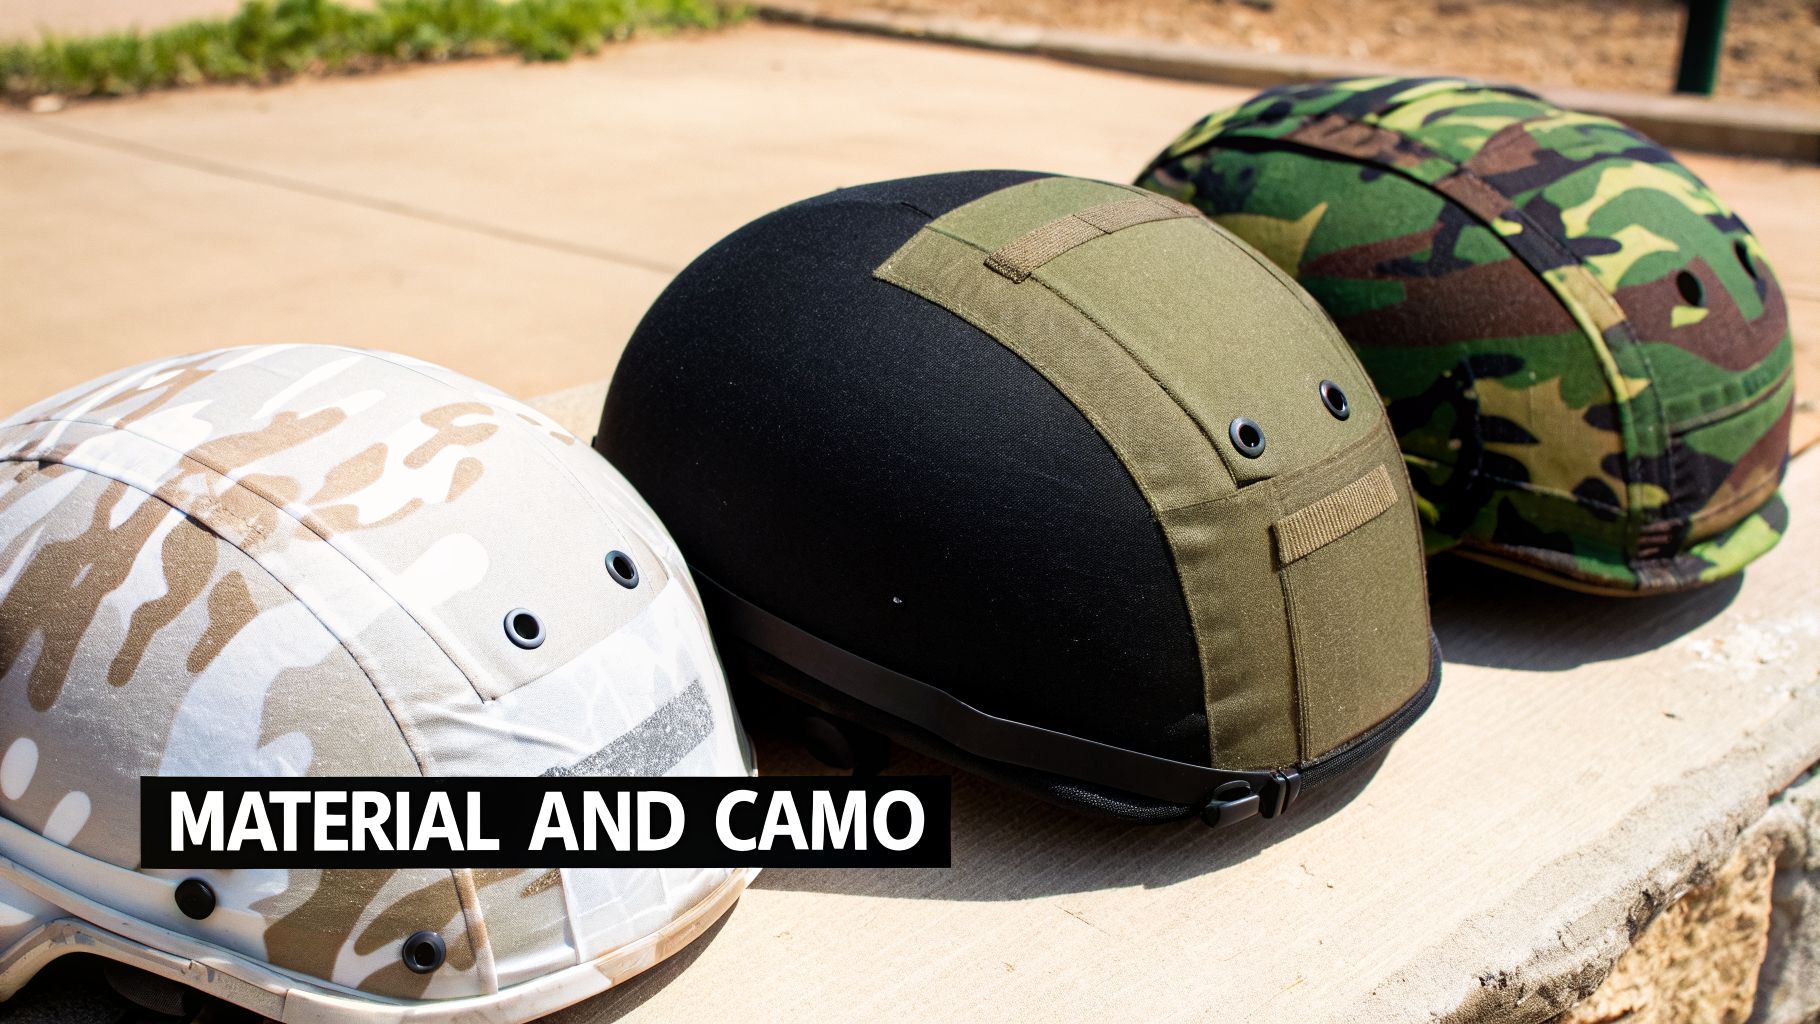
When you’re picking out an ACH helmet cover, it really boils down to two things: what it’s made of and what pattern it’s printed with. These two choices dictate how tough it is, how much it weighs, and—most critically—how well it hides you. Think of the material as the cover's bones and the camouflage as its skin. Both have to be right for your specific mission.
The fabric itself is the foundation of the cover's performance and how it holds up to abuse. You're always dealing with a trade-off between ruggedness and weight, so understanding the differences is key to getting a cover that won't let you down when you need it most.
For example, high-end helmet covers lean on tough fabrics like Cordura nylon to withstand serious wear and tear. They’re more than just fabric, though. A good cover in a pattern like MultiCam or UCP can cut down your visual signature by up to 40%. They're also built to work with your other gear, providing clean mounting points for night vision and ID patches—essential for anyone running Gen 3 PVS-14 monoculars or dual-tube setups. If you want a deeper dive, you can explore the latest trends in the advanced combat helmet market to see how this gear fits into the bigger picture.
Comparing Common Cover Materials
So, which material is right for you? It all depends on what you're doing. A SWAT officer clearing buildings has completely different needs than a hunter moving through thick, wet woods.
Here’s a look at the most common fabrics you'll find and where they really shine.
Helmet Cover Material Comparison
Choosing the right fabric is a balancing act between durability, weight, and your primary use case. This table breaks down the most popular options to help you decide.
| Material | Key Advantages | Best For |
|---|---|---|
| 500D Cordura Nylon | Offers an excellent balance of abrasion resistance and lighter weight. | The go-to choice for most users, providing solid durability for military, law enforcement, and airsoft without excess bulk. |
| 1000D Cordura Nylon | Extremely tough and highly resistant to tears and scuffs. | Professionals operating in harsh, abrasive environments like rocky mountains or dense brush who prioritize maximum durability over weight savings. |
| Nylon/Cotton (NyCo) Ripstop | Lightweight, breathable, and cost-effective. The ripstop weave prevents small tears from spreading. | Hot weather operations, recreational use, or situations where reducing weight and heat retention is the top priority. |
| Mesh or Stretch Fabric | Conforms tightly to the helmet shell for a snag-free fit. Often used in hybrid designs. | High-speed operations or for users who want the absolute lowest profile fit possible, especially over helmets with integrated rails. |
Ultimately, a heavier-duty material like 1000D Cordura is for those who expect to be scraping their gear against rock and concrete, while a NyCo Ripstop is perfect for someone who needs to stay cool and light on their feet.
The Science of Effective Camouflage
Beyond the fabric, the pattern is what really makes you disappear. Good camouflage isn't just about splashing some green and brown on a piece of cloth. It’s about disrupting the most recognizable shape in nature: the human head. The best patterns are scientifically designed to trick the brain in very specific environments.
A common mistake is choosing a pattern based on looks alone. The best camouflage is one that actively works with the light, shadow, and textures of your specific operational area to break up your silhouette.
Take a pattern like MultiCam. It uses a sophisticated spectrum of colors and shapes that allows it to blend in surprisingly well across a huge range of environments, from arid scrubland to temperate forests. On the other hand, the classic M81 Woodland pattern still excels in dark, heavily wooded areas because its large, high-contrast blotches mimic the deep shadows and foliage found there.
Keep an eye out for these proven options:
- Digital Patterns (e.g., AOR2, CADPAT): These use tiny pixels to create micro-patterns that dissolve into natural backgrounds from a distance. They are incredibly effective, but usually tuned for a specific biome.
- Arid Patterns (e.g., Desert MARPAT): Built for the desert, these patterns use light tans, browns, and muted grays to match open, sandy terrain where shadows are harsh and vegetation is minimal.
At the end of the day, picking the perfect ACH helmet cover is a two-step process. First, match a durable material to your expected level of abuse. Second, choose a camouflage pattern that’s actually designed for the environments you’ll be in. Get both right, and your cover becomes a true tactical advantage.
How to Achieve a Perfect Snag-Free Fit
A loose ACH helmet cover is more than just a sloppy look—it’s a tactical liability. That bit of extra fabric can catch on a tree branch, a vehicle door, or even your own sling at the worst possible moment. Getting a perfect, drum-tight fit turns your cover from a potential snag hazard into a seamless part of your helmet system.
It all starts with getting the right size. This isn't the time for "close enough." Helmet covers are sized to match your helmet shell exactly: Small, Medium, Large, or Extra-Large. Trying to force a Large cover onto a Medium shell will just leave you with a bunch of slack you can never get rid of.
Don’t fall into the trap of thinking a cover will stretch to fit like a beanie. Most are made from rugged, non-stretch materials like Cordura. The secret to a perfect fit is buying the right size from the get-go and installing it properly.
Before you even think about putting the cover on, strip your helmet down. Get everything off of it—your NVG shroud, side rails, counterweights, and strobes. Starting with a clean, bare shell makes aligning the cover a thousand times easier.
Securing the Cover for a Taut Finish
Once you've got the right size, the installation itself is a pretty straightforward process. The key is to work methodically, pulling the fabric taut as you go.
- Center the Cover: Drape the cover over the helmet. The first thing to do is align the cutout at the front with where your NVG shroud mounts. Get it perfectly centered so you have an equal amount of material hanging over the rim on all sides.
- Lock Down the Internal Tabs: Now, reach inside the helmet and find the hook-and-loop tabs. Secure the front and back tabs to the helmet’s loop fastener pads first. Give the fabric a good, firm pull to get it tight before you press the tab down.
- Work the Sides: With the front and back anchored, move to the side tabs. Pull the material down and toward the inside of the helmet. This is the crucial step that eliminates any final slack and creates that smooth, clean surface around the rim.
Think of it like stretching a canvas over a frame. You’re systematically pulling the cover evenly across the shell, which prevents any lumps or bunches and gives you that clean, snag-free profile you're after.
Troubleshooting Common Fit Problems
Even when you do everything right, you can still run into a few snags. The most common headache is fabric bunching up around ARC rails or the NVG shroud, but it’s usually an easy fix.
If you’re seeing bunching near the NVG shroud, try shifting the whole cover slightly forward or back before you lock down that front internal tab again. If the fabric is gathering where your side rails mount, it usually means you need to pull the side tabs tighter toward the center of the helmet. Taking an extra minute for these little micro-adjustments is always worth it.
A properly fitted cover should feel like it's a part of the helmet shell itself. This creates a stable platform for all your accessories and helps you maintain a low profile. Remember, your helmet is a complete system, and you can learn more about finishing the setup with a proper chin strap for your ACH helmet to lock everything down for maximum stability.
Integrating Your Night Vision and Accessories
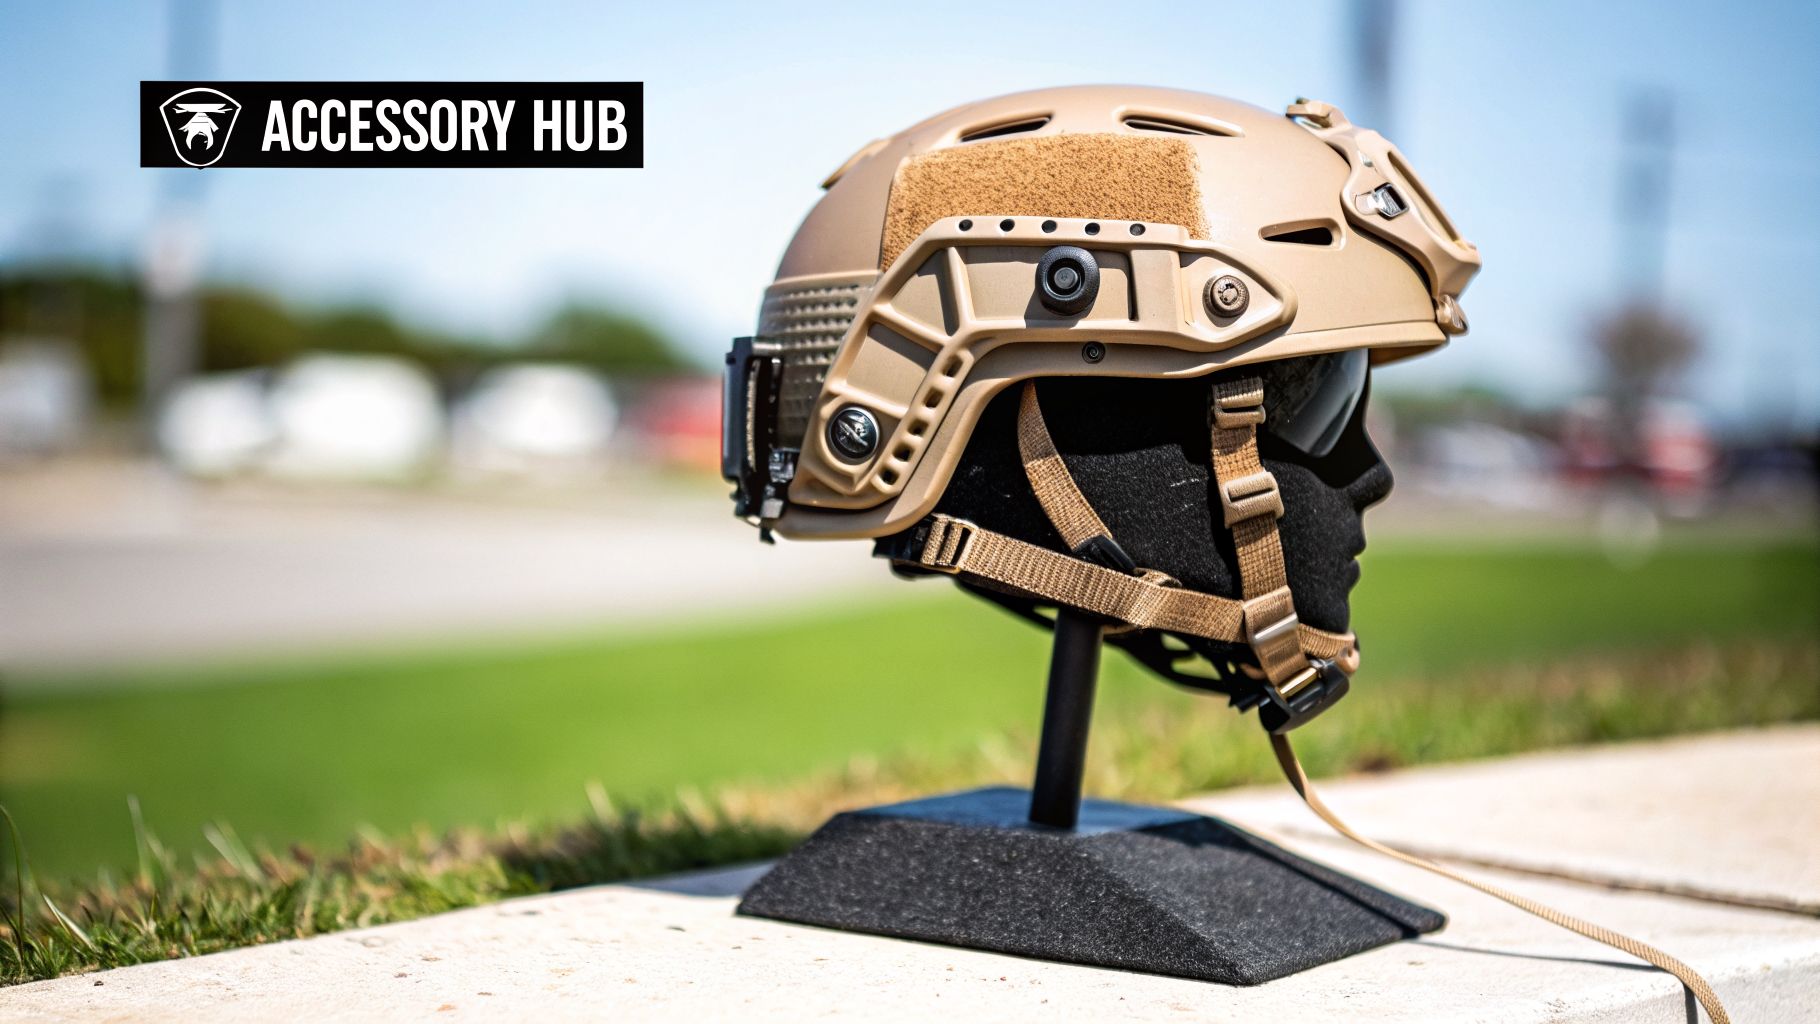
Think of a modern ACH helmet cover as more than just a layer of camouflage. It’s the central hub for your most important gear—a modular chassis that turns a simple piece of armor into a fully integrated platform. Without a good one, mounting your essential equipment becomes a clumsy, insecure mess.
The cover’s most critical job is creating a stable and organized foundation for your night vision. Any quality cover will have a perfectly aligned cutout for your NVG shroud, whether you’re running a standard-issue mount or an upgraded Wilcox or Norotos model. This precision ensures the shroud bolts directly to the helmet shell for absolute stability, which is non-negotiable for keeping your expensive optics steady.
Securing Your Optics and Electronics
Once your NVG mount is on, the cover provides extra layers of security. Many of the best designs come with built-in bungee retention systems that hook directly onto your night vision goggles. These act as a critical backup, preventing your optics from getting knocked off or lost when you’re on the move.
But the integration goes way beyond just the NVGs themselves. A good cover is key to managing all the electronics that come with a modern helmet setup.
- Battery Pack Management: You'll find loop panels on the back of the cover, giving you a secure spot to mount counterweight pouches and battery packs. This not only powers your gear but also balances the helmet perfectly.
- Cable Routing: Integrated channels and small hook-and-loop tabs let you route cables from your battery pack or comms headset cleanly, keeping them from snagging on branches or gear.
- Strobe and Beacon Placement: Dedicated loop fields on the top and sides are perfectly positioned for attaching IR strobes or IFF markers, making sure they have a clear line of sight.
A well-thought-out helmet cover eliminates “helmet spaghetti”—that tangled mess of cables and straps that can get you hung up at the worst possible moment. It streamlines your setup, making it clean, quiet, and snag-free.
A Platform Built from Experience
This modular approach didn't happen by accident; it's the direct result of hard-won lessons from the field. When the U.S. Army first issued 144,000 ACH units in 2003-2004, they were mostly bare. By 2020, procurement had ballooned to over 2 million.
This massive increase was driven by battlefield data showing that uncovered helmets had 15% higher snag rates. Covers not only improved concealment but also created a platform for essential accessories like Nitecore flashlights or Sightmark thermals, which are now vital for many hunters and professionals. You can dive deeper into the evolution of the advanced combat helmet market through recent industry analysis.
The design of the modern ACH helmet cover reflects this journey. Features like precision-cut openings for ARC rails mean you don’t have to choose between running a cover and mounting your ear protection or lights. Every loop panel, bungee cord, and cutout is placed with purpose, turning your helmet from a simple shell into a highly efficient piece of operational gear. It’s the framework that holds your entire head-borne system together.
Getting the Perfect Fit: Installation and Care
Getting your helmet cover on correctly is more than just about looks. A sloppy, loose cover can snag on branches, make noise when you move, and just generally get in the way. A proper, tight fit is silent, secure, and ensures your gear won't fail you when it counts. A little bit of care along the way also goes a long way in protecting your investment from the sun and abuse.
Think of it like this: the first step to a perfect fit is getting a clean slate. Before you even think about putting the cover on, strip everything off your helmet—rails, NVG shroud, counterweights, everything. This gives you a smooth, unobstructed surface to work with and makes lining everything up a whole lot easier.
Nailing the Installation
The goal here is a drum-tight fit with no wrinkles or slack. It’s a lot like stretching a canvas over a frame; you want to apply even tension from all sides to get a smooth, taut surface.
- Prep Your Helmet: Give the shell a quick wipe-down. Getting rid of any dust or grime ensures the hook-and-loop tabs inside the cover get a solid, reliable grip.
- Line It Up: Drape the cover over the helmet. The most important part is centering the cutout at the front perfectly over the holes for your NVG shroud. This is your anchor point, and getting it right makes every other step easier.
- Secure the Tabs: Start by pulling the cover tight and attaching the internal hook-and-loop tabs to the helmet’s pads. Do the front and back tabs first. Then, pull down firmly on the sides, working out any slack until the cover is completely snug against the helmet.
- Reinstall Your Gear: Once the cover is smooth and tight, it's time to put your hardware back on. Pro tip: use an awl or the tip of a sharp knife to carefully puncture the fabric where the screw holes are. This prevents the screws from catching and tearing the material when you reinstall your NVG shroud and ARC rails.
Keeping Your Cover Mission-Ready
Your helmet cover doesn't need much, but consistent care will keep it from fading and falling apart. You're mainly fighting fabric degradation and preserving the effectiveness of that camo pattern.
The two biggest enemies of any helmet cover are prolonged UV exposure and washing it the wrong way. Keep your gear out of direct sunlight when you're not using it, and clean it properly. That alone can easily double its lifespan.
When it's time for a cleaning, always hand wash it. Just use some cold water and a mild detergent, gently scrubbing any dirty spots. Rinse it out thoroughly and let it air dry. Whatever you do, don't throw it in a machine dryer. The heat will wreck the fabric, potentially shrink the cover, and ruin that perfect fit you worked to get.
If you get a small rip or tear in the field, it's an easy fix. A simple needle and thread or a dedicated fabric patch kit will get the job done. It's a good habit to give the seams and attachment points a quick look-over now and then to catch small problems before they turn into big ones.
Our Top ACH Helmet Cover Picks for 2026
The "best" ACH helmet cover is the one that’s right for your mission. Instead of just throwing a generic list at you, we’ve broken down our top picks based on how people actually use their gear in the real world. Every recommendation here is about matching the right features to the specific job at hand.
First, a quick but important reminder on taking care of your investment. It really boils down to this:
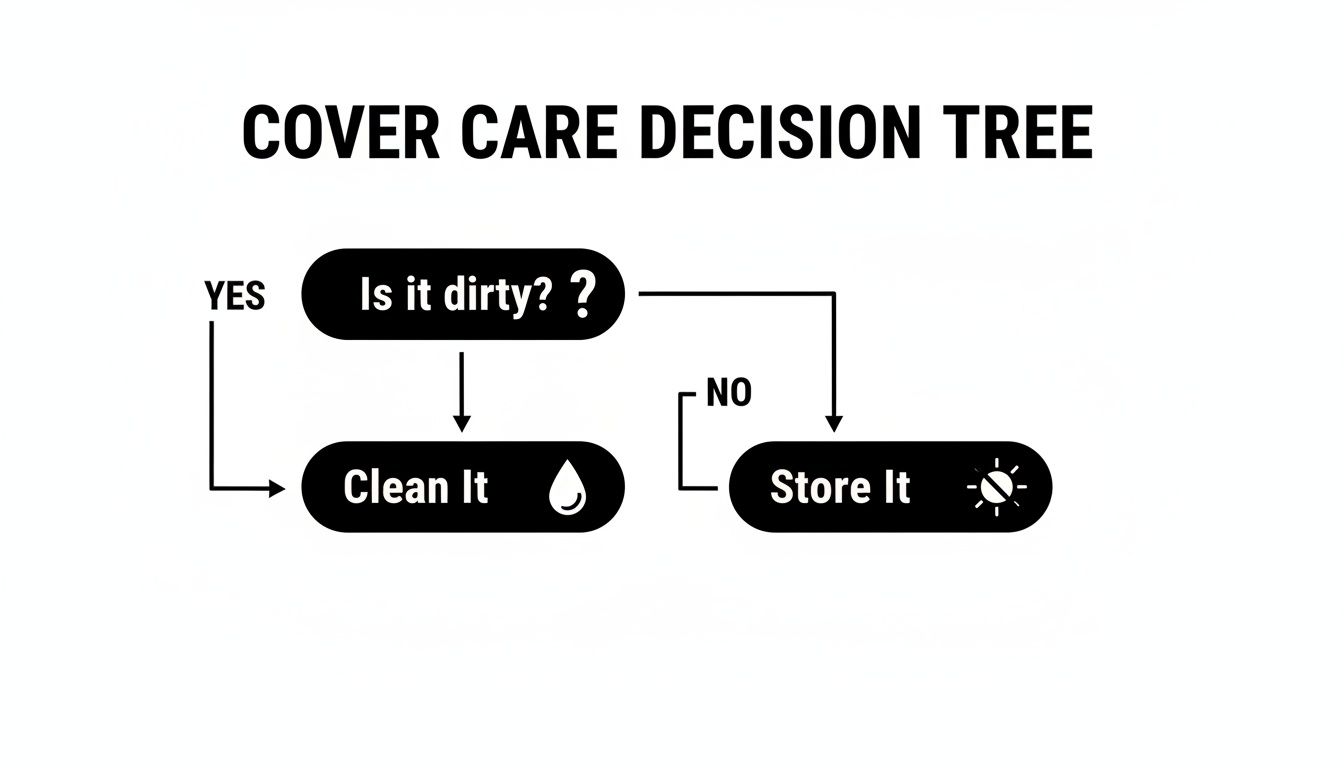
Keeping your cover clean and storing it correctly are the two most fundamental things you can do to make sure it lasts and performs when you need it.
For Law Enforcement and SWAT
When you're operating in a fast-paced urban environment, function is everything. We point tactical teams toward covers made from tough 500D Cordura in solid colors like black, ranger green, or coyote. The most critical feature here is generous loop panel real estate. You need plenty of space for large department identifiers, IR flags, and unit patches for clear IFF and command and control during an operation.
Another non-negotiable is clean, precise cutouts for ARC rails. Nothing should get in the way of mounting your comms headsets, strobes, or lights. A good cover integrates seamlessly, allowing you to adjust your gear on the fly without a snag.
For Hunters and Outdoorsmen
Out in the woods, staying undetected is the name of the game. Your best bet is a lightweight cover made from a quiet material like a NyCo ripstop or a soft-shell fabric that won’t make a racket scraping against branches. Camouflage is obviously the main event here, so pick a pattern that disappears into your local terrain, whether that’s MultiCam Tropic for thick forest or a good arid pattern for the high desert.
Look for a cover with built-in bungee cords or simple fabric loops. These are perfect for tucking in local vegetation to break up your helmet's outline, letting you truly melt into the background.
For Military and Security Professionals
For operators in the toughest roles, a helmet cover has to be bombproof and ready to carry a load. Our go-to recommendation is a cover built from heavy-duty 1000D Cordura nylon. This stuff offers maximum protection against the kind of abrasion and tearing that happens in the field.
Essential features include integrated channels for managing cables from comms and NVG battery packs, plus a rock-solid bungee retention system to lock down your expensive gear during dynamic movement. If you're running specialized headgear, you might also want to check out our guide on the Team Wendy helmet cover for its unique capabilities.
Common Questions About ACH Helmet Covers
Even after you've done your homework, a few specific questions always pop up when it's time to actually buy and use an ACH helmet cover. We've been there. This section tackles the most common ones with quick, no-nonsense answers to help you get your gear sorted out.
Will an ACH Cover Fit a MICH or ECH Helmet?
This is easily the question we get asked the most, and the answer isn't a simple yes or no. The ACH and the MICH 2000 helmets are built on nearly identical shells, which is great news. For all practical purposes, a cover made for one will fit the other perfectly.
The Enhanced Combat Helmet (ECH), however, is a different beast entirely. It has a slightly different cut and is noticeably thicker, which changes its outer dimensions. You might be able to wrestle an ACH cover onto an ECH, but the fit will be terrible—expect bunching, stretching, and misalignment with your accessories.
Key Takeaway: For a clean, snag-free fit, you have to match the cover to the helmet. An ACH cover is perfect for a MICH 2000, but it’s a no-go for an ECH. Always double-check the manufacturer’s compatibility chart before you buy.
How Do I Attach Gear If My Cover Has No Rail Cutouts?
Running a slick cover without cutouts for your ARC rails? Don't sweat it, this is a simple modification. The professional way to do it is to first install the cover on the bare helmet, getting it perfectly smooth and tight.
Once it's in place, use a sharp blade or an awl to poke small, clean holes right where your rail screws need to pass through the fabric. Then, just reinstall the rails right over the cover. This method sandwiches the material securely, giving you a custom-fit look without fraying the fabric or compromising the cover.
Can I Put My ACH Helmet Cover in the Washing Machine?
We strongly recommend you hand wash your helmet cover. Just use a little mild detergent in cold water and then let it air dry. It’s the best way to keep the colors from fading, stop the fabric from shrinking, and protect the hook-and-loop fasteners.
If you absolutely must use a machine, take a few precautions. Toss the cover in a mesh laundry bag, run it on a gentle cycle with cold water, and never put it in a high-heat dryer. That heat is the fastest way to damage the synthetic fibers and permanently ruin the cover’s fit.
At Superior Tactical LLC, we provide the mission-critical gear you need, from advanced optics to the accessories that complete your kit. Explore our full range of tactical equipment today. Find your tactical advantage at superiortac.com.