Peltor Helmet Mount: peltor helmet mount Essentials for Secure Fit
So, what exactly is a Peltor helmet mount? Simply put, it's an adapter that lets you attach your Peltor headset directly to a tactical helmet, ditching the original headband altogether. This simple piece of hardware is a game-changer, turning two separate items into one seamless, integrated unit.
Why a Helmet Mount Is a Critical Gear Upgrade
You might be wondering why you'd bother swapping out a perfectly good headband. The reason is all about transforming your gear from a clumsy pairing into a single, high-performance system. Anyone who's spent hours wearing a headset under a helmet knows the frustration—the pressure points, the shifting, the constant adjustments.
Think of it this way: wearing a headband under your helmet is like stuffing a thick winter hat under a baseball cap. It works, sort of, but it's awkward, uncomfortable, and never really sits right. It creates painful hot spots where the headband presses into your skull and can easily shift during movement, breaking your ear seal and your focus.
The Benefits of True Integration
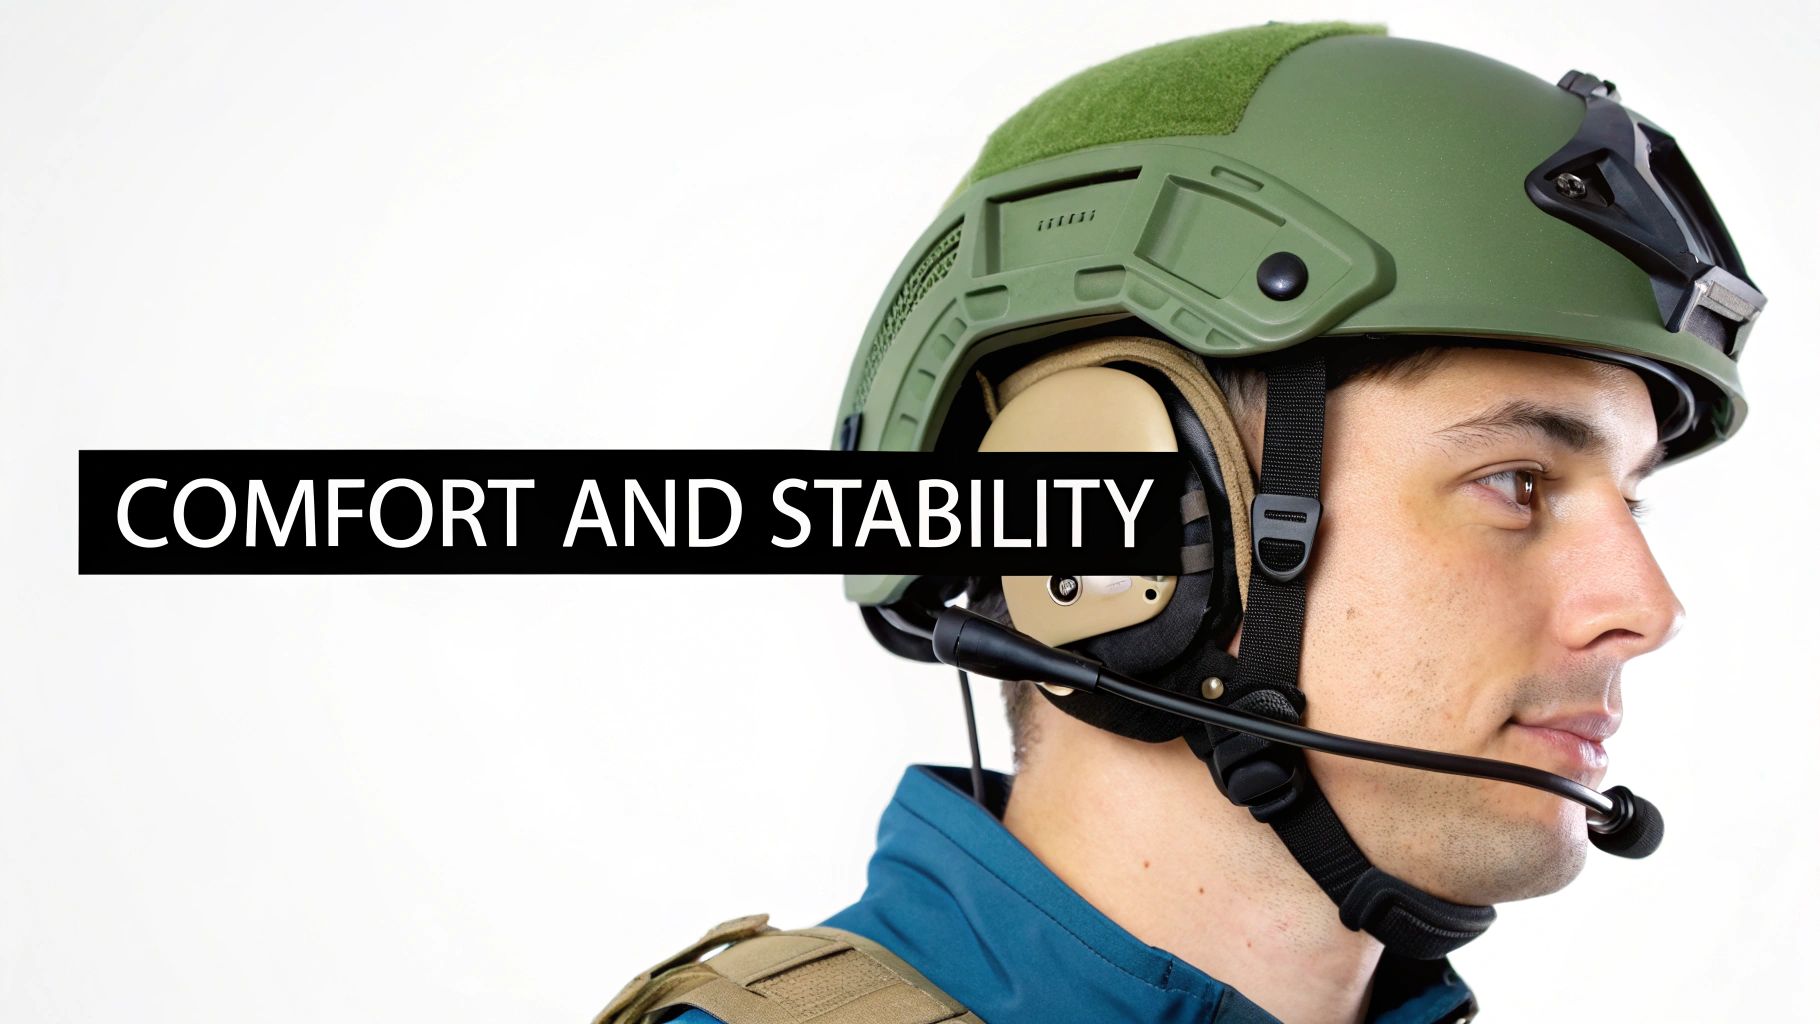
A Peltor helmet mount is the purpose-built solution to these problems. By connecting the earcups directly to your helmet's accessory rails, you immediately get a more stable, comfortable, and mission-ready setup.
Here’s what you gain with this upgrade:
- Superior Comfort: Instead of a tight band squeezing your head, the weight is distributed through the helmet's own suspension system. This means you can wear your comms for hours without discomfort.
- Enhanced Stability: The direct mount locks your headset in place. No more shifting or rotating, even when you’re moving fast. Your audio seal stays consistent and secure.
- Lower Profile: Getting rid of the bulky headband slims down your entire headgear profile. That means fewer snag hazards when you’re moving through brush or working in tight spaces.
This isn't just another accessory; it's a foundational upgrade for anyone serious about their kit. It stops you from fighting your gear and lets you focus on the task at hand.
This push toward integrated systems is a major trend in tactical equipment. In fact, the global military helmet market was valued at USD 5,445.68 million and is expected to grow as forces worldwide prioritize both protection and advanced situational awareness. You can read more about the growth in the military helmet market and what's driving it.
Mounting your comms directly is the professional standard for a reason—it’s all about efficiency and reliability. To find other ways to get the most out of your helmet, take a look at our guide on essential ballistic helmet accessories.
2. Decoding Mounts and Helmet Rail Systems
Stepping into the world of tactical helmets can feel a bit overwhelming, especially when you start looking at all the different ways to attach your gear. The key to it all is the rail system on your helmet. Think of it as a universal docking port, a standardized way to lock in everything from lights to your Peltor headset.
The most common system you'll run into is the ARC rail (Accessory Rail Connector). Originally an Ops-Core design, it's become the industry-wide standard, kind of like how Picatinny rails are the go-to for firearms. It’s designed for a simple and incredibly secure "slide-and-lock" attachment.
You can spot an ARC rail by its signature shape—a kind of dovetail groove that runs along the helmet's edge. The adapters on a Peltor helmet mount are specifically molded to slide right into that groove and clamp down, giving you a rock-solid fit that won't budge when you're on the move.
Understanding Different Rail Systems
Now, while ARC rails are king, they aren't the only game in town. A few other big players have their own proprietary systems, and you'll need the right adapter to make them work.
- Team Wendy EXFIL Rails: These use a distinct T-slot design. A standard ARC mount just won't work here. You have to get an adapter built specifically for the EXFIL rail system to mount your Peltors.
- M-LOK Rails: While more common on firearm handguards, you'll sometimes see M-LOK systems on helmets. Again, this requires its own unique adapter to connect your headset.
Getting this right from the start is crucial. Picking the wrong mount is like trying to fit the wrong key in a lock—it's just not going to happen. A mismatch means your gear will either be wobbly and unstable, or you won't be able to attach it at all. It's also worth noting these side-rail systems are completely different from the hardware used up front for night vision; you can learn more about those in our guide on dovetail mounts for night vision goggles.
Peltor Mount Compatibility Overview
To make things easier, here’s a quick-glance table to help you match your helmet's rail system with the correct type of Peltor mount adapter.
| Helmet Rail System | Common Peltor Adapter Type | Key Feature |
|---|---|---|
| ARC (Ops-Core, etc.) | ARC Rail Adapters | Slides into a dovetail-shaped groove |
| Team Wendy EXFIL | EXFIL Rail Adapters | Fits into a proprietary T-slot design |
| M-LOK | M-LOK Rail Adapters | Secures using M-LOK nuts and screws |
This table should help you quickly identify what you need, but always double-check your helmet's specifications before you buy.
Key Takeaway: Your helmet's rail system is the single most important factor in choosing a Peltor mount. Figure out if you have ARC, EXFIL, or something else before you buy an adapter. This one step will save you a world of headache and ensure your comms gear integrates perfectly with your helmet.
Installing Your Mount for a Perfect Fit
Getting your Peltor helmet mount set up isn't some complex, high-stakes surgery on your gear. It's more like clicking together a high-performance system. The whole point is to achieve a rock-solid, comfortable fit that makes your helmet and comms feel like a single, integrated unit.
This flowchart breaks down the critical compatibility checks you need to make. It all starts with the helmet, moves to the rail system, and ends with the right mount adapter to tie it all together.
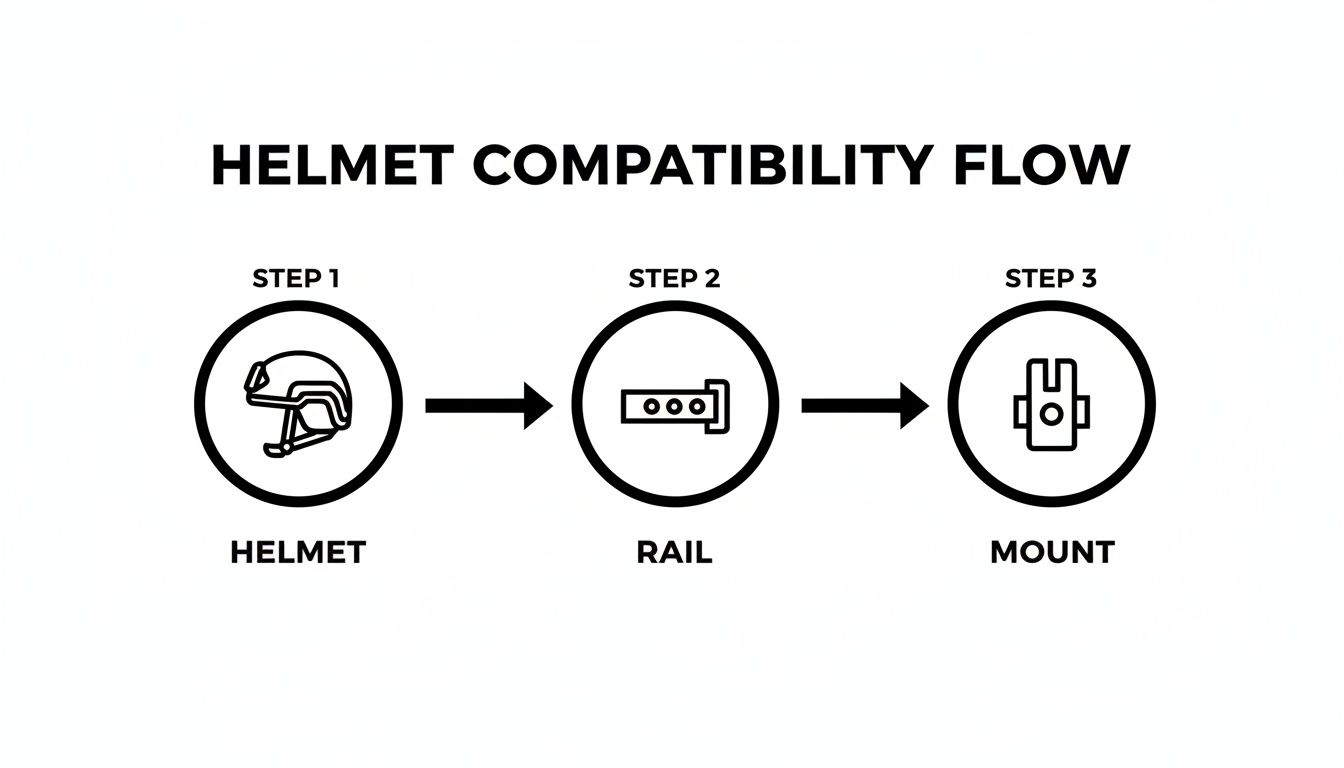
As you can see, getting a successful installation is all about making sure each piece in this chain is the right match for the next.
Prepping Your Headset for Mounting
First things first, you need to liberate the ear cups from their original headband. On most Peltor models, this is a clean break—no tools, no damage. You’ll just carefully slide or unclip the metal arms of the headband from where they attach to each ear cup.
Set the headband aside somewhere safe. The entire process is completely reversible if you ever decide to go back to the old setup. With the cups detached, you're ready to introduce them to their new adapters.
Attaching and Mounting the Adapters
With the ear cups free, it's time to install the new Peltor helmet mount adapters. This is where you create the foundation for a stable and secure fit, so don't rush it.
- Identify Left and Right: The adapters are side-specific. Take a second to match the correct adapter to its corresponding left or right ear cup.
- Clip on the Adapters: Line up the prongs on the adapter with the attachment points on the ear cup. You’re looking for a solid, satisfying click as they snap securely into place, just like the original headband did.
- Slide onto the Rails: Start at the back of your helmet’s ARC rail and slide the adapter forward until it’s roughly over your ear. We’ll dial in the exact position in a moment.
- Manage the Cable: The cable connecting the two ear cups needs a home. You can route it inside the helmet behind the pads, or run it externally under a helmet cover. Going external is usually the path of least resistance and avoids creating any weird pressure points inside.
The most common mistake I see is not getting the adapter fully seated on the rail. You need to hear and feel that positive "click" as it locks in. A wobbly mount completely wrecks your audio seal and stability.
Fine-Tuning for a Perfect Seal and Comfort
The final tweaks are what separate a professional setup from a sloppy one. If your mount is poorly adjusted, you won't get a good audio seal, which basically makes your expensive hearing protection useless.
- Adjust Vertical Position: Slide the entire mount assembly up or down on the rail until the ear cup is perfectly centered over your ear. You want your ear to be floating comfortably inside the cushion, not getting squished against the edges.
- Set the Ear Cup Pressure: The mount arms have a couple of distinct positions. The first "click" in is your active mode, pressing the cups firmly against your head for a tight seal. A second click outward lets them pop off your ears for ventilation.
- Master the Stow: You can rotate the ear cups up and back, parking them against the rear of the helmet. This gets them completely out of your way when you don't need them, without having to take them off the helmet entirely.
Taking the time to get this fit just right is absolutely critical, especially if you’re also running a helmet night vision mount. That extra weight up front changes the helmet's entire balance, and a perfect comms fit helps keep everything stable. Don't rush these final steps—make sure the whole system works together seamlessly.
Ensuring Your Gear Works Together Seamlessly
A great mount is completely useless if it doesn't play well with the rest of your kit. Think of building out your tactical setup like putting together a high-performance engine; every single part has to fit perfectly, or the whole system just won't run right. A Peltor helmet mount is that central connection point, but its real-world performance hinges on how it integrates with your specific helmet and headset.
The good news? These mounts are built from the ground up to integrate with popular high-cut helmets. Brands like Ops-Core, Team Wendy, and MTEK design their helmets to be part of a larger ecosystem, so adding accessories is part of the plan. This means a good mount won't get in the way of other mission-critical gear like your NVG shroud, counterweights, or strobes.
Matching Mounts to Headsets
Don't assume your Peltor headset is ready for a helmet mount right out of the box. You absolutely have to confirm your specific model is compatible.
- ComTac Series: Headsets like the ComTac III, V, and VI are the gold standard for helmet mounting. Their ear cups have specific attachment points designed for mount adapters to clip right in once you remove the factory headband.
- Rangeguard & Sport Tactical: While they're great for hearing protection on the flat range, many of these models are only meant for headband use. They often lack the physical connection points needed for a secure helmet mount. Always double-check before you buy.
A common mistake we see is people assuming any Peltor headset will just work. The whole mounting system depends on a very specific physical interface on the ear cup. Trying to force an incompatible model is a great way to break both your headset and the mount.
Simplifying Your Comms Setup
One of the biggest wins you get from a helmet-mounted system is clean cable management. With a headband, that wire connecting the ear cups almost always gets pinched between the helmet shell and pads, creating a nasty pressure point after a few hours. A direct mount solves this problem instantly.
You can neatly route the connecting wire inside the helmet behind the pads or run it externally under a helmet cover. This creates a snag-free path for your microphone and push-to-talk (PTT) system, so you don't have to worry about cables catching on your gear or passing branches. This kind of integration is exactly why modern ballistic helmets are designed the way they are.
The market for this gear is huge—the advanced combat helmet market was valued at USD 2.62 billion and is still growing. That growth is driven by the demand for helmets that support fully integrated systems, from comms to helmet-mounted displays. You can discover more about the trends in the advanced combat helmet market and see where the industry is heading. This massive investment in modularity is what ensures components like your Peltor helmet mount work as part of a cohesive system, not just as a clunky afterthought.
Keeping Your Mount Mission Ready
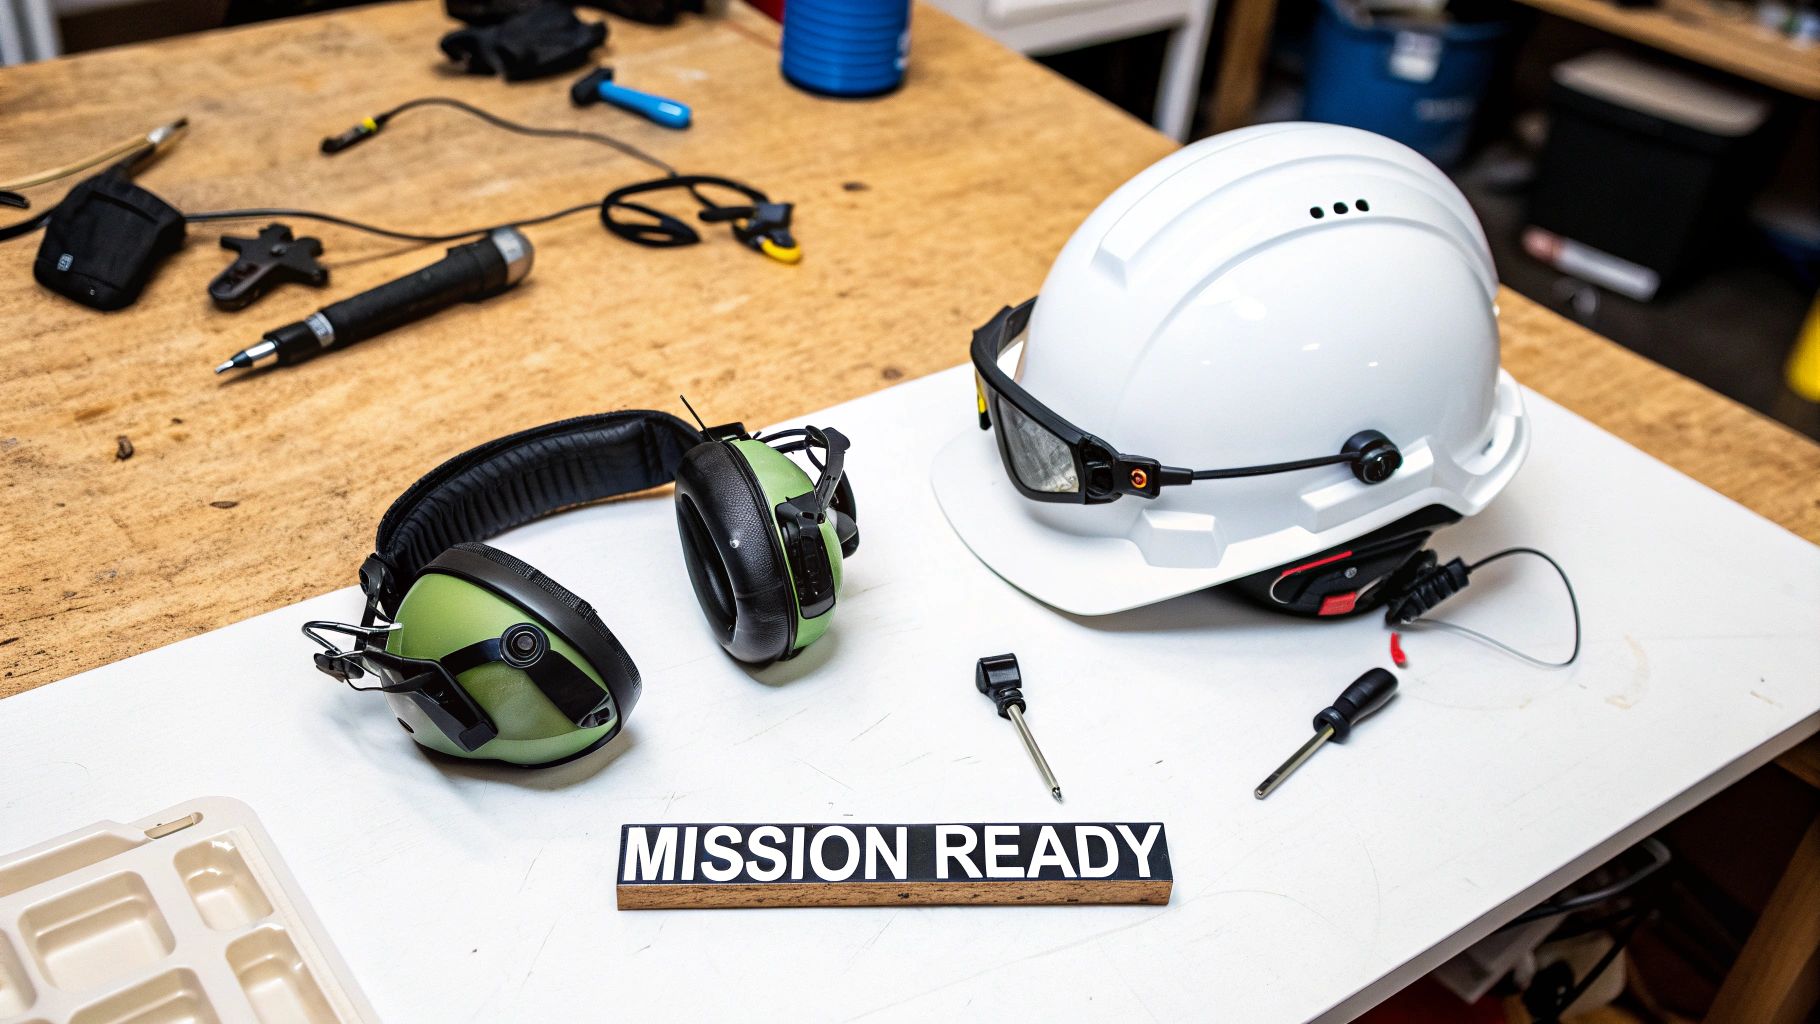
Your gear is a lifeline, not a set-it-and-forget-it accessory. A Peltor helmet mount takes a beating from constant movement, occasional impacts, and whatever the environment throws at it. Thinking ahead with simple maintenance is what separates a reliable piece of kit from something that fails you at the worst possible moment.
It’s just like checking the tires on your truck before a long haul. A quick, routine look-over can prevent a major headache down the road. This means regularly inspecting the mount arms for any hairline stress fractures, paying special attention to the hinge points and where they snap into the rail adapter.
Even tiny issues can snowball. Screws loosen with vibration, which can make the whole setup wobble and, more importantly, break that critical audio seal around your ear. A quick twist to make sure all your hardware is snug should be a non-negotiable part of your pre-mission checklist.
Routine Care and Inspections
Consistent upkeep is simple, but it's absolutely vital. After working in dusty, muddy, or wet conditions, take a minute to clean your mount. You'd be surprised how much grit can work its way into the moving parts of the rail adapter, making it a pain to slide or lock into place.
Here’s a simple routine to get into:
- Visual Inspection: Give the plastic components a once-over. Look for any cracks, chips, or signs of warping. Pay close attention to the small clips that secure the adapter to the ear cup itself.
- Hardware Check: Make sure every screw is tight. If you find one that constantly backs out, a dab of non-permanent thread locker is a smart move.
- Functional Test: Swing the ear cups back and forth. The movement should feel smooth but deliberate—no grinding, and definitely no excessive looseness or "slop."
Your gear only works as well as you maintain it. A five-minute check after each use can add years to the life of your Peltor helmet mount and ensure it performs flawlessly when you need it most.
Troubleshooting Common Problems
Even with the best care, things can go wrong. The good news is that most common issues are easy to diagnose and fix on the fly, without needing to buy a whole new setup.
Problem 1: The Mount Feels Loose on the Helmet Rail
This is a classic. If the adapter slides too freely or rattles in the ARC rail, the tension might be off or the interface is slightly worn. First, make sure it’s pushed all the way forward and fully seated in its locked position. If it’s still wobbly, clear out any dirt or debris from the helmet rail channel before you start thinking about replacing the adapter.
Problem 2: A Poor Audio Seal or Uneven Pressure
This is easily the most common complaint. If you're getting outside noise because the ear cup isn't sealing completely, you can gently bend the wire arms inward to dial up the clamping force. On the flip side, if the pressure is giving you a headache, carefully bend them slightly outward for a little relief. The key here is to make tiny, gradual adjustments until you find that sweet spot.
Making the Right Buying Decision
Picking the right Peltor helmet mount isn't about finding the "best" one on the market. It's about finding the best one for you and the job you need to do. Every operator's mission is different, so figuring out your primary use case is always the first step.
Think about it this way: a patrol officer's needs are worlds apart from a competitive shooter's. The cop might need to instantly break the ear seal to hear what's happening on a traffic stop, so a mount that lets them flip the earcups back quickly is a must-have. For them, smooth and reliable articulation is everything.
Defining Your Operational Needs
Now, take that competitive shooter. Their biggest concern is a rock-solid cheek weld for consistent, repeatable accuracy. They need a mount that locks down tight with zero wiggle. The slightest shift in an earcup could throw off their sight picture and ruin a stage.
Here’s a quick breakdown of how priorities can change based on the role:
- Patrol Officer: Needs to stow and re-engage earcups fast for situational awareness.
- SWAT Operator: Requires maximum stability and a low-profile, snag-free design for close-quarters work.
- Competitive Shooter: Demands a rigid platform that won’t interfere with their stock weld.
The Dangers of Counterfeit Mounts
As you start shopping, you’ll undoubtedly run into fakes. These knock-offs can look surprisingly close to the real deal, but they are a serious liability waiting to happen. They’re often built with cheap polymers that will crack under stress or simply fail to hold an adjustment.
That’s a failure you can’t afford when your hearing protection or comms are on the line.
Investing in a genuine Peltor helmet mount from a reputable dealer isn't about being a brand snob—it's a critical safety decision. Real gear has been put through the wringer to ensure it won't fail you when things get loud, fast, and dangerous.
The market for high-quality head protection is booming—it’s projected to hit USD 8.6 billion by 2035. You can learn more about the trends driving this market expansion if you're interested. But with that growth comes a flood of counterfeits. Always, always verify your source. Your safety is worth the extra step.
Frequently Asked Questions
Even after you've got the basics down, a few common questions always seem to pop up when you're getting ready to mount your Peltors. Let's tackle some of the most frequent ones so you can get your gear set up right and avoid any headaches down the road.
Can I Use a Peltor Mount on a Helmet Without ARC Rails?
This is a big one. While these mounts are built with ARC rails in mind, you're not out of luck if your helmet uses a different system. Adapters are readily available for other popular setups, like Team Wendy's EXFIL rails or even M-LOK.
What if your helmet has no rails at all? You can usually install bolt-on rail sections to give yourself a solid mounting point. The most important thing is to double-check that any adapter you buy is compatible with both your helmet and your specific mount before you click "buy."
Will a Helmet Mount Damage My Peltor Headset?
Not a chance—as long as you stick with a genuine mount kit. These systems are specifically designed to click into the same attachment points on the ear cups that the original headband uses.
The whole process is completely reversible. If you ever want to go back to the headband, you can swap it back in just as easily. Just take your time and use the right tools during the swap to avoid any minor scuffs.
People often think mounting their headset is a permanent, irreversible change. It's not. Think of it as a modular upgrade that gives you more options, not something that alters the headset itself.
How Do I Get a Better Seal With My Ear Cups?
Getting a perfect seal is everything for hearing protection. If you’re getting gaps, first try sliding the mount up or down on the rail until the ear cup is perfectly centered over your ear. If you still need a bit more pressure, you can carefully bend the wire arms inward just a touch to increase the clamping force.
For a serious improvement, the best thing you can do is swap out the stock foam pads for aftermarket gel ear cups. They mold to the shape of your head much better and do an incredible job of sealing the gaps that the arms of your eye protection can create. It's a game-changer for noise isolation.
Ready to upgrade your tactical setup? Superior Tactical LLC offers a wide selection of genuine helmet mounts and accessories to build your ideal system. Find what you need at the Superior Tactical official website.