A Guide to Night Vision Scope Gen 3 Technology
When you hear about a night vision scope gen 3, you’re hearing about the gold standard in low-light optics. It’s the difference between trying to make out shapes in a grainy, flickering green haze and seeing a crisp, detailed view, even on the darkest nights. This incredible leap in performance all comes down to its specialized image intensifier tube, which is a powerhouse at amplifying ambient light.
What Is a Gen 3 Night Vision Scope?
Picture yourself in a dense forest on a moonless night. To your naked eye, it’s just a wall of black. Now, look through a Gen 3 scope. That wall of black transforms into a clear, detailed landscape, revealing every tree, rock, and trail. That’s the power of Generation 3 technology—it was a massive leap forward that redefined what was possible in near-total darkness.
This guide will break down how this tech actually works, from the science inside the tube to how it performs in the real world. We’ll look at what really separates it from older generations and give you a practical roadmap for figuring out which device is right for you.
The Heart of Modern Night Vision
At the core of every night vision scope gen 3 is its advanced image intensifier tube, and the secret ingredient is a gallium arsenide (GaAs) photocathode. This material is spectacularly efficient at converting tiny particles of light, called photons, into electrons. It blows the materials used in Gen 1 and Gen 2 devices right out of the water.
Think of it like a hyper-sensitive solar panel. It can take the faintest starlight or moonlight and generate a strong electrical signal from it.
Gen 3 technology turns the night into a massive advantage by amplifying available light anywhere from 30,000 to 50,000 times. This is what allows you to see with incredible clarity in conditions where older systems would just show you static.
This wasn’t just a lab experiment; it was proven on the battlefield. Developed in the late 1980s, Gen 3 gear was famously deployed during the Gulf War, giving troops a decisive edge in night operations. That gallium arsenide photocathode was the key innovation that delivered such a dramatic boost in light amplification and image quality. If you’re interested in the backstory, you can learn more about the historical development of these systems and their tactical impact.
Why Gen 3 Is a Game-Changer
So, what does all that science mean when you’re actually out in the field? The benefits are very real and make a huge difference in performance.
- Unmatched Low-Light Performance: Gen 3 scopes truly shine in extremely dark conditions, like an overcast night with no moon. This is where older generations struggle to produce a usable image, but Gen 3 cuts through the darkness.
- Crisp Image Clarity: The high signal-to-noise ratio means you get a much cleaner, sharper image. There’s far less of that distracting “sparkle” or static that plagues lower-end devices.
- Serious Detection Range: With Gen 3, you can see targets from much farther away. More importantly, you can actually identify what they are with confidence, which is critical for everything from hunting to security.
- Built to Last: A modern Gen 3 tube is a long-term investment. They have an impressive operational lifespan, often exceeding 10,000 hours of use.
How Gen 3 Technology Turns Night into Day
Ever wondered how a night vision scope gen 3 can paint a clear, bright picture out of near-total darkness? It’s not magic—it’s a fascinating process of light amplification that happens faster than you can blink. The scope essentially grabs whatever little light is available and multiplies it thousands of times over, turning a few stray photons into a fully visible scene.
It all starts when the objective lens gathers the faintest traces of ambient light. This might be starlight from millions of miles away, a sliver of moonlight, or even the subtle glow from a distant town. These tiny particles of light, called photons, are the raw fuel for the entire process.
The Photon to Electron Conversion
Once those photons enter the scope, they make an immediate impact on a specialized surface called a photocathode. In a Gen 3 device, this isn’t just any surface; it’s crafted from gallium arsenide (GaAs), a material that’s exceptionally sensitive to light. The photocathode’s sole job is to act as a converter, instantly transforming light particles (photons) into electrical particles (electrons).
Think of it as an incredibly efficient solar panel, but for seeing in the dark. The gallium arsenide is so good at its job that it can kick out a strong stream of electrons from the weakest light sources, which is exactly why Gen 3 tech dominates in extremely low-light environments. This initial conversion is the bedrock of Gen 3 performance, directly influencing how bright and sharp the final image will be.
The Power of the Micro-Channel Plate
With the light now converted into electrons, the real amplification kicks in. These electrons are directed into a component called a micro-channel plate (MCP). The MCP is a wafer-thin disc, usually no bigger than a quarter, that’s jam-packed with millions of microscopic glass tubes, all tilted at a slight angle.
Picture a microscopic honeycomb designed to set off a massive chain reaction. When a single electron enters one of these channels, it zings against the wall, knocking loose thousands of new electrons. This growing cascade of electrons continues to bounce down the channel, multiplying exponentially with each impact.
It’s an incredible feat of controlled multiplication.
By the time the electrons burst out the other side of the micro-channel plate, the original signal has been amplified by tens of thousands of times. This is the heart of image intensification, turning a faint whisper of light into a powerful roar.
The MCP is what gives night vision its signature ability to illuminate a dark landscape without needing an external light source. The quality and engineering of this tiny plate are critical to the device’s overall performance. This process is broken down in the infographic below, showing how the scope transforms a dark scene into a crisp, usable image.
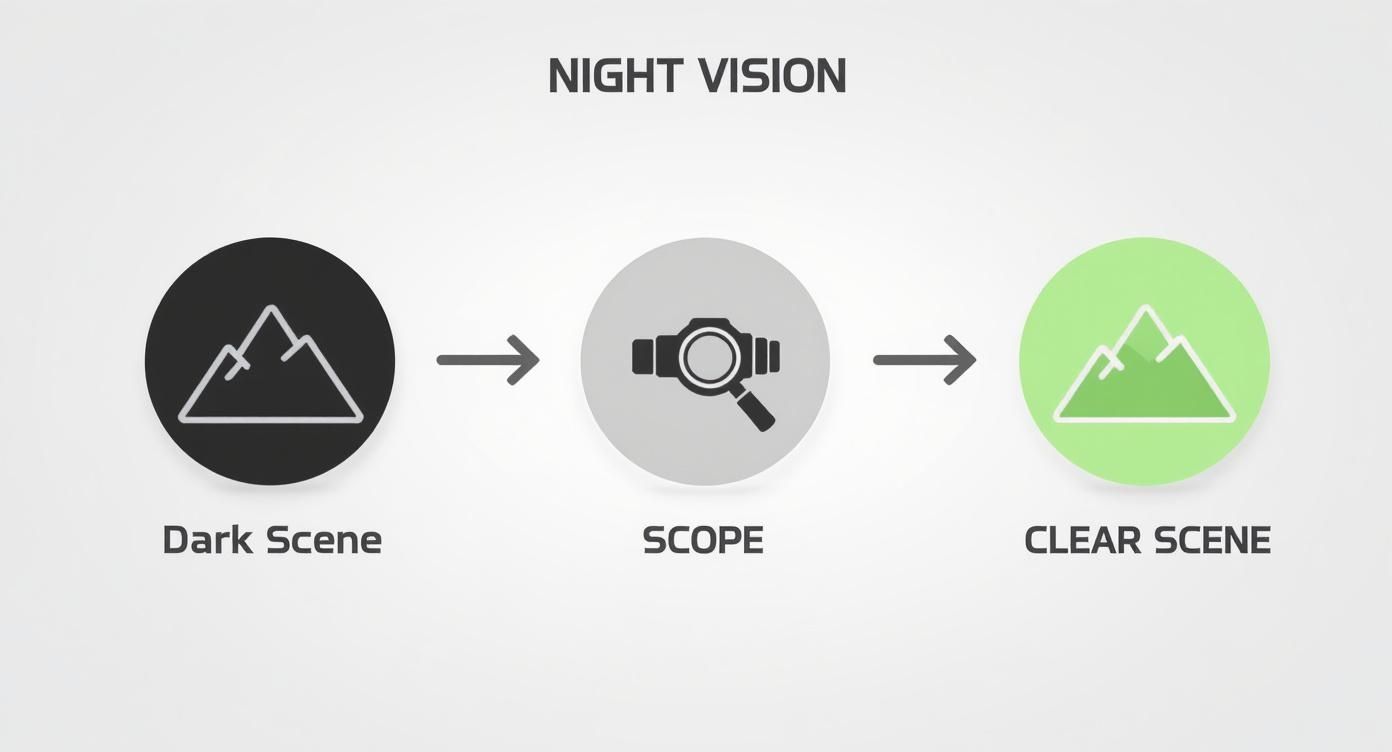
This visual guide walks you through the key stages inside the device, from the moment light enters the lens to the final intensified image you see.
Creating the Final Image
The last step is to turn all this activity into something your eye can actually see. The massive swarm of electrons, now carrying the amplified visual data, shoots across a tiny gap and slams into a phosphor screen.
When these high-energy electrons strike the screen, they cause the phosphors to glow, creating the visible image. It’s the same basic idea behind old-school CRT televisions, just miniaturized. The screen glows brighter where more electrons hit and dimmer where fewer electrons land, perfectly recreating the scene in shades of green or white.
- Green Phosphor: This is the iconic “night vision green.” Our eyes are naturally most sensitive to shades of green, which makes it a comfortable choice for reducing eye strain during long sessions.
- White Phosphor: A more modern alternative, white phosphor produces a black-and-white image. Many users feel it offers superior contrast and detail, making it easier to identify targets and navigate terrain.
Another crucial component in a Gen 3 tube is the ion barrier film, which acts as a bodyguard for the delicate photocathode. This film significantly extends the device’s lifespan to over 10,000 hours of operation. If you want to dive deeper into the technical differences, you can check out our complete guide comparing thin-filmed and unfilmed image intensifier tubes in night vision.
This whole intricate dance of physics and engineering unfolds in an instant, giving you the power to see what would otherwise be hidden by the night.
The Generational Leap: What Makes Gen 3 Night Vision Superior?
So, what really sets a Gen 3 night vision scope apart from older models? In a nutshell, it’s the massive jump in clarity, range, and performance when it matters most—in near-total darkness. While Gen 1 and Gen 2 devices opened the door to seeing at night, Gen 3 technology perfected it, turning a novelty into a decisive tool.
Let’s put that into practical terms. With a Gen 1 scope, you might make out a fuzzy, indistinct shape at 75 yards. A Gen 2 unit sharpens that view, letting you see a clearer figure at maybe 150 yards. But with a Gen 3 scope, you can often identify fine details on a target 200 yards away or more. It’s the difference between ambiguity and certainty.
The Power of Light Amplification
The core of night vision is its ability to multiply ambient light. This measurement, known as gain or photosensitivity, determines how well the scope can paint a bright picture from just a handful of photons. Each generation has taken a major step forward, but the leap to Gen 3 was enormous.
The numbers really drive this home. Gen 1 devices gave us a start, and Gen 2 offered a solid improvement. Gen 3, however, blew the doors off by achieving 30,000 to 50,000 times light amplification. This incredible efficiency is what lets Gen 3 devices cut through the darkness on moonless, overcast nights—conditions that would leave older tech struggling to produce a usable image. To see how we got here, you can explore the evolution of these amplification capabilities and trace the progress.
This massive boost is largely thanks to the gallium arsenide photocathode, the key innovation in Gen 3 tubes that converts light into an electronic signal with unmatched efficiency.
Image Quality and Clarity
Beyond just making the dark bright, Gen 3 technology produces a much cleaner and sharper image. This comes down to two critical specs: resolution and Signal-to-Noise Ratio (SNR).
- Resolution (lp/mm): Measured in line pairs per millimeter, resolution dictates how much fine detail you can resolve. Higher numbers mean a crisper image. Gen 2 devices are respectable, typically offering 45-54 lp/mm. A Gen 3 night vision scope, however, pushes this to 64 lp/mm or higher, letting you pick out small details at much greater distances.
- Signal-to-Noise Ratio (SNR): This tells you how clean the image is. The “noise” is that familiar grainy or sparkling effect you see in low light. A higher SNR means you get more “signal” (the image you want to see) and less noise. Gen 3’s advanced electronics deliver a much higher SNR for a clearer, less distracting view.
Think of it like a radio signal. Gen 2 is like a distant station with some static in the background. Gen 3 is like tuning into a crystal-clear broadcast with no interference, letting you hear every word perfectly.
Lifespan and Durability
A quality night vision scope is a serious investment, so you want it to last. Built for professional and demanding use, Gen 3 devices have a significantly longer operational lifespan than their predecessors.
The secret is an ion barrier film inside the image intensifier tube, which acts as a protective shield for the sensitive photocathode. This small addition dramatically reduces the wear and tear from normal use. The result? While Gen 2 tubes are typically rated for 2,500 to 5,000 hours, modern Gen 3 tubes are built to last for over 10,000 hours of service, making them a more cost-effective choice for anyone who uses their gear frequently.
Night Vision Generations Compared
To see all these differences side-by-side, this table breaks down the key performance metrics that establish Gen 3 as the top choice for any serious application.
| Feature | Generation 1 | Generation 2 | Generation 3 |
|---|---|---|---|
| Light Amplification | ~1,000x | ~20,000x | 30,000-50,000x+ |
| Typical Resolution | 20-38 lp/mm | 45-54 lp/mm | 64-72+ lp/mm |
| Effective Range | 75-100 yards | 150-200 yards | 200-300+ yards |
| Tube Lifespan | ~1,500 hours | 2,500-5,000 hours | 10,000+ hours |
| Low-Light Performance | Requires IR illuminator | Good, struggles in extreme dark | Excellent, excels in extreme dark |
In the end, Gen 3’s superiority isn’t just about one specific feature. It’s the powerful combination of immense light amplification, incredible image clarity, and rugged longevity that truly sets it in a class of its own.
Choosing the Right Gen 3 Night Vision Scope
Picking out the perfect Gen 3 night vision scope can feel overwhelming. You’re hit with a wall of technical jargon—FOM, lp/mm, SNR—and it’s tough to know what actually matters when you’re out in the field. Let’s cut through the noise and break down what these specs mean for your real-world experience.
Ultimately, the best scope is the one that fits your mission. A nocturnal hunter has different needs than a security professional on surveillance. Understanding a few core concepts will help you make a smart investment, not just a purchase.
Decoding the Spec Sheet
When you’re evaluating a Gen 3 device, the spec sheet is your window into its soul. It tells you everything about the performance of the image intensifier tube, which is the engine that makes night vision work. Don’t let the acronyms scare you off; they’re actually pretty simple once you know what to look for.
Three numbers will tell you most of what you need to know about the tube’s performance:
- Resolution (lp/mm): Standing for line pairs per millimeter, this is all about image sharpness. A higher number, like 64 lp/mm or more, means you get a crisper, more detailed picture. It’s the difference between seeing a vague shape in the dark and clearly identifying it as a coyote.
- Signal-to-Noise Ratio (SNR): This is your measure of image clarity. The “signal” is the clean image you want, while “noise” is that fuzzy, sparkling static you sometimes see in very low light. A high SNR means the image is clean and steady, not snowy, which is critical for picking out details.
- Figure of Merit (FOM): This is the quick-and-dirty score for overall performance. It’s calculated by simply multiplying the resolution by the SNR (Resolution x SNR = FOM). A higher FOM means a better-performing tube. For a quality Gen 3 device, you’ll want to see a FOM over 1800.
Think of it like buying a new TV. Resolution is like 4K vs 1080p—it determines how sharp the picture is. SNR is like how well the TV handles dark scenes without them looking grainy. FOM is the overall “picture quality” score that combines both.
Green Phosphor or White Phosphor
One of the first big decisions you’ll face is the color of the image you see through the scope. The classic green phosphor has been the standard for decades, but modern white phosphor is now a very popular alternative. The choice really boils down to your personal preference and how you plan to use it.
Green Phosphor (P43):
This is the iconic “night vision green” we all know. The human eye is incredibly sensitive to shades of green, which can make it feel more comfortable and less fatiguing to look at for long stretches. It’s a battle-tested technology that is often the more affordable option.
White Phosphor (P45):
This newer tech gives you a black-and-white image that many find more natural and detailed. Users often report that the grayscale display provides better contrast, making it easier to pick out a target against a complex background or spot subtle changes in terrain. It feels more like watching a high-quality black-and-white movie, but it usually comes with a higher price tag.
Essential Features and Considerations
Beyond the image tube itself, several other features can make or break a scope’s usefulness for your specific needs. If you’re trying to nail down exactly what you need, our article on how to choose the right night vision device for your needs offers some great additional guidance.
Before you pull the trigger, think about these practical elements:
- Autogating: This is a must-have for anyone operating in environments with changing light conditions. It acts like a super-fast dimmer switch, instantly reducing power when hit with a sudden bright light, like a muzzle flash or a car’s headlights. This protects the tube from damage and, more importantly, keeps you from being temporarily blinded.
- Durability and Mounting: Make sure the scope is built to handle your world. Is it shockproof enough to handle recoil? Is it sealed against rain and dust? You also need to confirm that its mounting system, whether it’s for a Picatinny or Weaver rail, will work with your firearm or helmet.
- Budget: Let’s be honest, Gen 3 gear is a serious investment. Prices can run anywhere from $3,000 to over $10,000. It’s important to set a realistic budget, but don’t cut corners on the features that matter most for what you do. Investing in the right specs from the start will pay off in the long run.
Protecting Your Investment and Ensuring Longevity
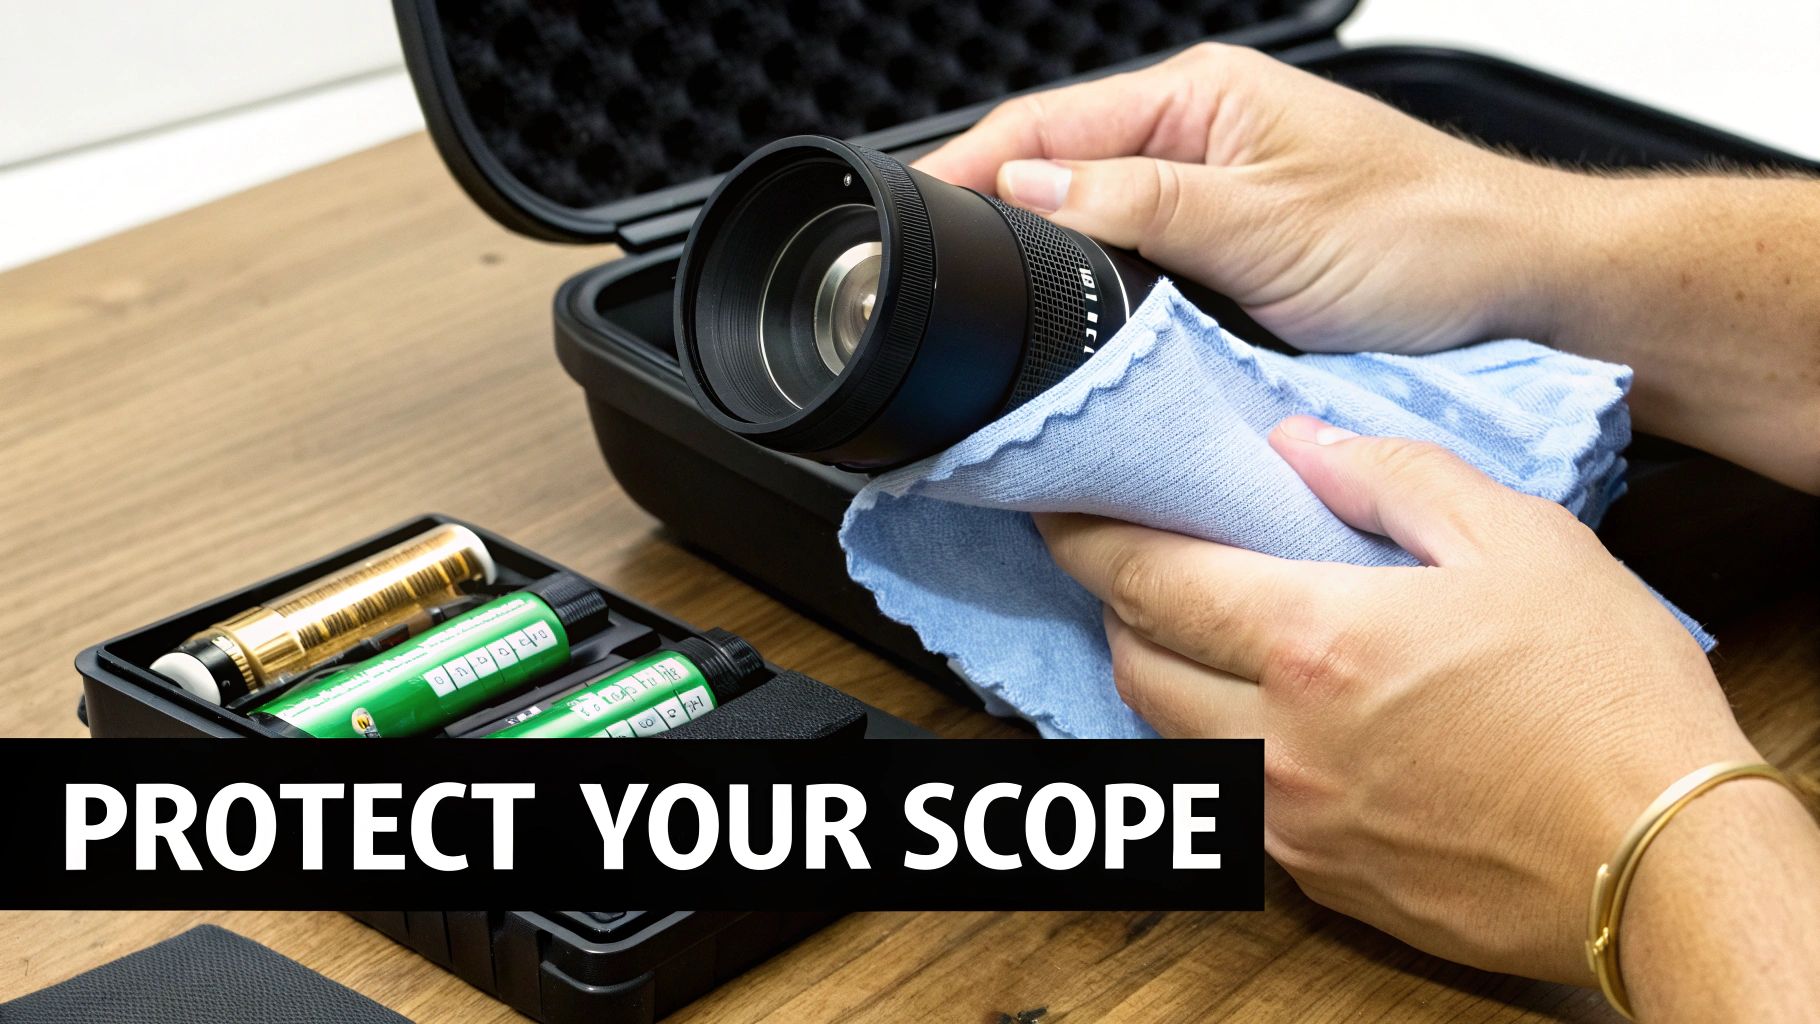
A night vision scope gen 3 is a serious piece of equipment, and treating it right is the secret to getting years of flawless performance. Proper maintenance isn’t rocket science, but it’s absolutely vital for protecting the sophisticated tech inside and making sure your scope is ready to go when you are.
Think of it like any other high-end tool—it needs specific care to stay at the top of its game. A few simple habits will safeguard your investment and keep it running for a long, long time.
Preventing Burn-In from Bright Light
The number one enemy of any night vision device is bright light. Period. Direct sunlight, car headlights, even a bright flashlight beam can permanently damage the image intensifier tube. This creates permanent blemishes or “burn-in” spots in your view.
Always, always keep the daylight lens cap on when you’re not actively using the scope in the dark. These caps aren’t just for protecting the glass; they have a tiny pinhole that allows you to safely function-check the unit in daylight without flooding the tube.
Never point your scope at a bright light source without the protective cap on. It only takes a split second of direct exposure to cause permanent, irreversible damage to the tube.
Routine Maintenance and Storage
Good habits go beyond just avoiding bright lights. Your regular care routine should cover three key areas to keep your gear in mission-ready shape.
- Lens Cleaning: Treat the glass with respect. Use only a soft, lint-free microfiber cloth or proper lens cleaning tissues. Never use your t-shirt or harsh chemicals, as they can easily scratch the specialized anti-reflective coatings.
- Battery Management: Stick with high-quality batteries and—this is important—take them out before you put the scope away for any extended period. Leaky batteries are a fast way to ruin the electronics with corrosion.
- Proper Storage: When you’re done, store the scope in its protective case somewhere cool and dry. Avoid big temperature swings and high humidity, because moisture is the enemy of all electronics.
Even with the best care, accidents can happen. If you do run into trouble, knowing about common night vision gear problems and how repairs can help can get your scope back in service quickly. The good news is that modern Gen 3 tubes are built tough. While early Gen 1 tubes might have fizzled out after just a few hundred hours, today’s units regularly last for over 10,000 hours of use.
Common Questions About Gen 3 Night Vision
Diving into the world of Gen 3 night vision is a big step, so it’s only natural to have a few questions. This isn’t your everyday piece of gear, and getting the details right is crucial before you invest. Let’s tackle some of the most common things people ask.
We’ve put together this quick-reference guide to give you straight answers. From legal questions to practical use, this is what every potential owner needs to know.
Is It Legal for Civilians to Own a Gen 3 Scope?
Absolutely. Here in the United States, it is 100% legal for a civilian to buy and own a Gen 3 night vision device. The main regulation you need to be aware of is the International Traffic in Arms Regulations (ITAR), which heavily restricts their export.
What does that mean for you? You simply can’t take or ship your scope outside of the U.S. without jumping through some serious licensing hoops. While it’s always smart to double-check your local and state regulations, for the vast majority of Americans, ownership is not a problem.
What Is the Difference Between Green and White Phosphor?
The difference really comes down to the color of the image you see when you look through the eyepiece. This is largely a personal preference, but there are some real-world performance differences to consider.
- Green Phosphor (P43): This is the classic “military” look everyone recognizes from movies. Green is a great choice because the human eye is incredibly sensitive to its shades, which can make long observation sessions less fatiguing.
- White Phosphor (P45): This technology renders the image in black and white. Many seasoned users argue that this provides better contrast and depth perception, making it easier to spot a target against a busy background.
You’ll generally pay a premium for white phosphor, but for many, the added clarity and detail are well worth the extra cost.
Can I Use a Night Vision Scope During the Day?
This is a hard no. You should never, ever power on your night vision scope in daylight or bright light without its protective lens cap securely attached. Exposing the internal image intensifier tube to that much light can—and will—cause permanent damage.
Think of the intensifier tube like the retina of your eye, but without an eyelid to protect it. A sudden blast of bright light will literally burn a permanent black spot onto the tube, ruining your view forever.
Every scope comes with a lens cap that has a tiny pinhole in the center. This lets in just enough light to safely function-check the device or even zero it during the day, but that cap should stay on until you’re truly in the dark.
Ready to see the night in a new light? The experts at Superior Tactical LLC can help you choose the perfect Gen 3 night vision scope for your mission, backed by a 10-year warranty and in-house support. Find your scope on our website.