A Guide to Night Vision Lights and IR Illuminators
Ever tried using night vision in a place with absolutely zero light? It doesn't work. Think of a flashlight beam that only your night vision gear can see—that's the simple idea behind a night vision light. They're the tools that let you see when there's literally nothing to see.
Seeing the Unseen: How Night Vision Lights Work
To really get a handle on this, you need to know that night vision devices (NVDs) have two modes of thinking, so to speak. Most of the time, they operate using passive illumination. They're basically light vacuums, sucking in the tiniest bits of ambient light from stars, the moon, or even distant city glow and amplifying those photons thousands of times to paint a picture.
But what happens when you're in a windowless basement, a deep cave, or out in the sticks on a moonless, overcast night? In those situations, there's no ambient light to amplify. Your high-tech NVDs are effectively blind because they can't make something out of nothing.
The Power of Active Illumination
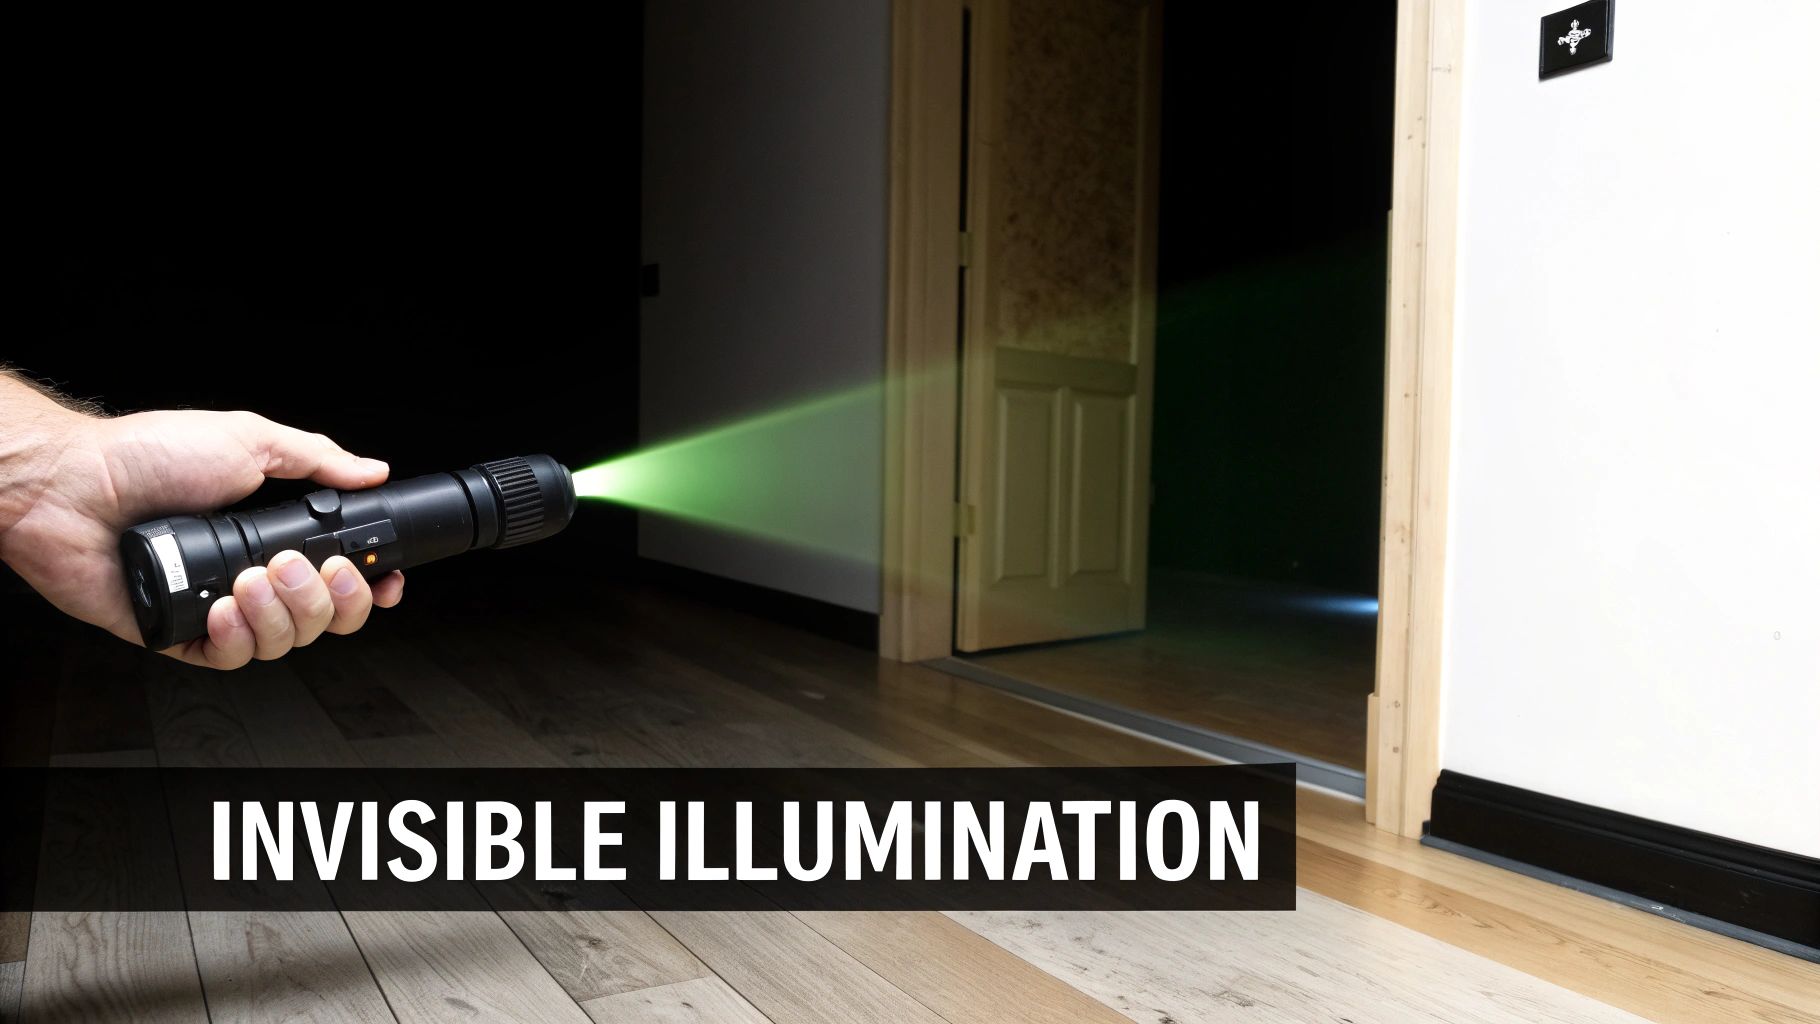
This is precisely where night vision lights, or IR illuminators, save the day. They provide active illumination by throwing out a beam of infrared (IR) light that’s completely invisible to the naked eye but shows up bright and clear in your NVD. It’s your own personal, invisible spotlight.
This IR energy hits objects in the environment, bounces back to your device, and gives it the information needed to build a crisp image from what was just pitch-black a moment ago.
The concept isn’t new, either. The earliest night vision systems, developed back in the late 1920s and early 1930s, were entirely dependent on active IR. They used bulky scopes paired with near-infrared projectors. World War II pushed the technology forward, leading to German Panther tanks with Gen 0 optics and the American "sniperscopes" that came with massive IR searchlights. If you're interested in the nuts and bolts, you can find a more detailed account of early night vision history and see how these pioneering systems worked.
An IR illuminator turns your passive light-gathering device into an active seeing system. It's the difference between straining to hear a whisper across a quiet room and just asking a question to get a clear answer.
An Essential Force Multiplier
Because they create their own light, IR illuminators are much more than just an add-on; they are a true force multiplier. They give you the power to own any environment, no matter how dark, turning a potential weakness into a massive tactical edge.
Whether you're clearing a building or navigating a trail in the middle of nowhere, an illuminator ensures your NVD is always working at its full potential. Grasping this difference between passive light amplification and active IR illumination is the first and most important step to mastering work in the dark.
Decoding The IR Spectrum And Wavelengths
To really get a handle on night vision lights, you first have to understand the light spectrum. Picture it like a giant radio dial. The slice of that dial our eyes can see—all the colors of the rainbow—is tiny. Just past the red end of that visible slice is a whole world of invisible light: the infrared (IR) spectrum. This is where IR illuminators do their work.
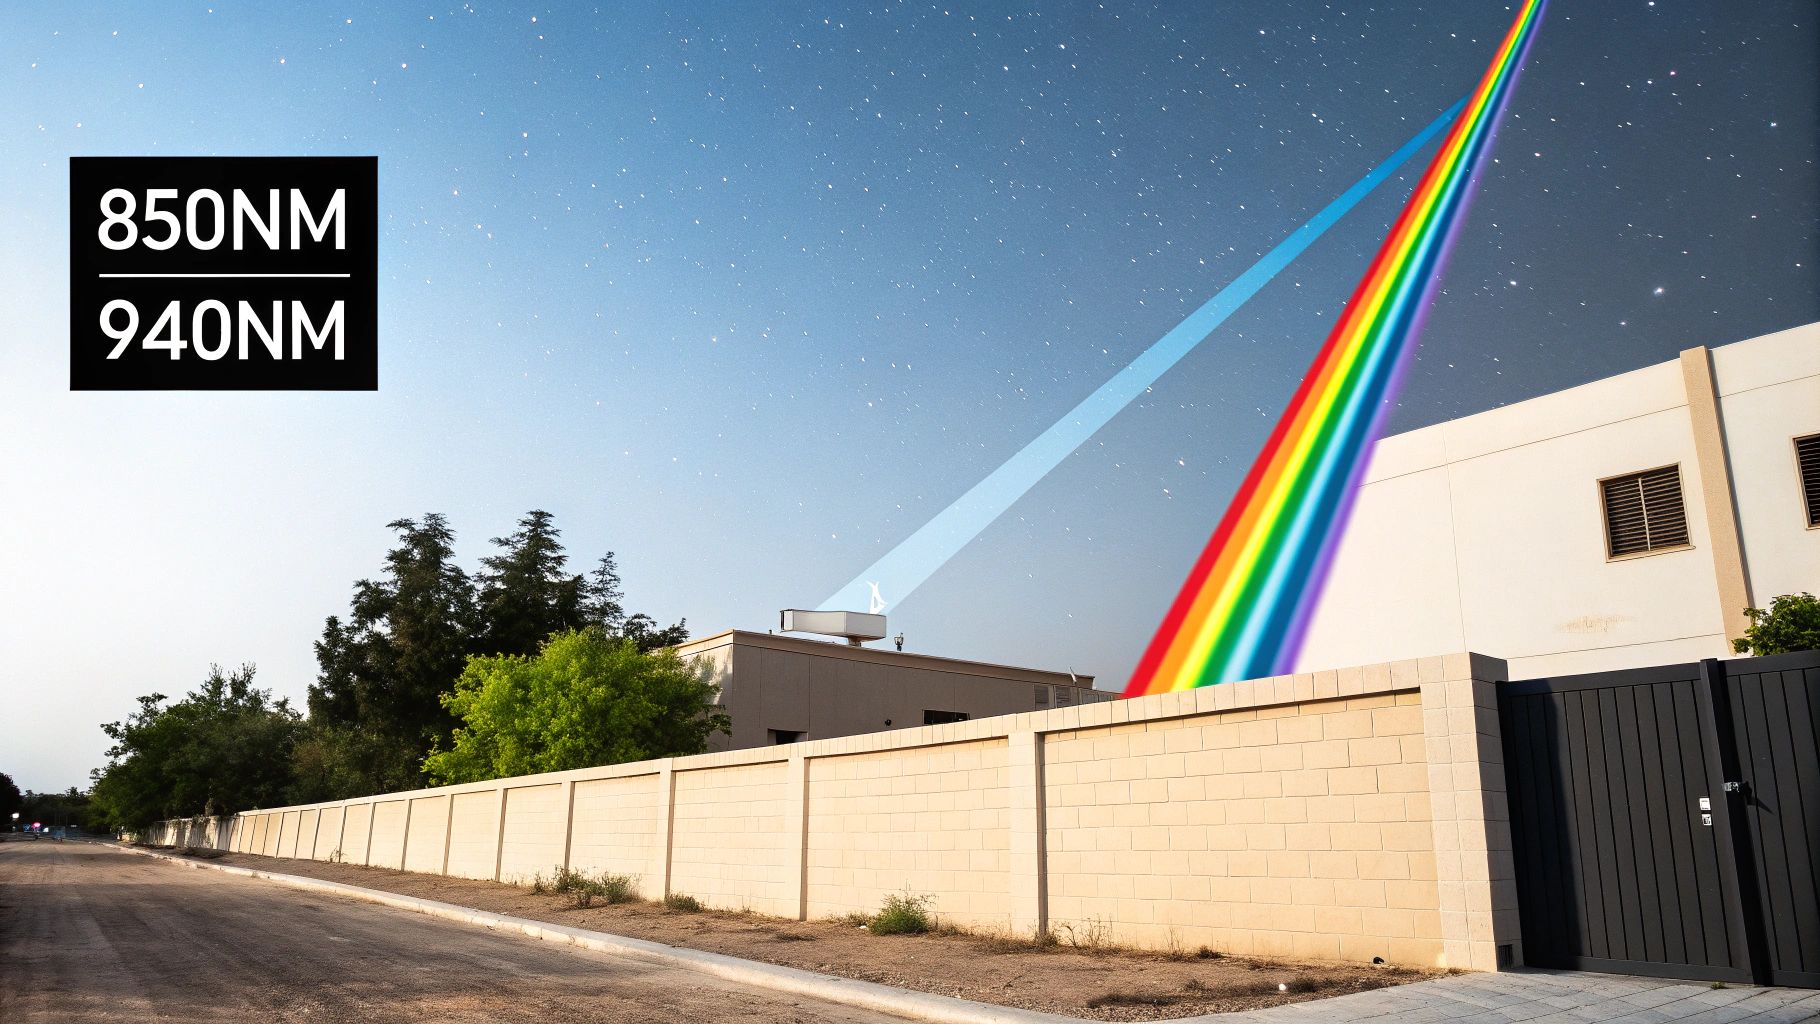
These devices aren't just blasting out random infrared energy, though. They operate on very specific wavelengths, which are measured in nanometers (nm). Just like tuning your radio to a specific station for a clear signal, picking the right wavelength is everything. In the world of night vision, the choice almost always comes down to two key "stations" on the IR dial: 850nm and 940nm.
The 850nm Wavelength: The Powerhouse
When you need maximum reach and brightness, 850nm is the industry standard. Think of it as the high-power broadcast station. It pumps out a ton of invisible light, letting your night vision device see farther and with greater clarity. It's the go-to for most applications.
But there's a small catch. While the beam itself is invisible, the LED that creates it glows with a faint, dull red. You'd have to be looking right at the source to see it, but in a tactical situation where every detail matters, that tiny signature could give you away.
The 940nm Wavelength: The Covert Option
For missions where staying completely undetected is the top priority, you turn to 940nm. This is your stealth frequency. The emitter on a 940nm illuminator is completely invisible to the naked eye, even if you stare right at it. It offers true covert capability.
That level of stealth comes with a trade-off, however. The light produced at 940nm is less potent. You'll typically see a 25-40% drop in effective range and overall brightness compared to a similar 850nm light. It just doesn't have the same horsepower.
Deciding between 850nm and 940nm boils down to a classic tactical choice: performance versus stealth. For most users, the raw power of 850nm is the clear winner. But for those who absolutely cannot afford to be seen, 940nm is the only real option.
The table below breaks down the key differences to help you decide which is right for your mission.
850nm vs 940nm IR Illuminators A Tactical Comparison
| Feature | 850nm IR Illuminator | 940nm IR Illuminator |
|---|---|---|
| Visibility | Emitter has a faint, dull red glow visible to the naked eye. | Emitter is completely invisible to the naked eye. 100% covert. |
| Range & Performance | Maximum range and brightness. Delivers the best possible image quality. | Reduced range and brightness (approx. 25-40% less). |
| Best For | General use, long-range identification, hunting, and most security scenarios. | Covert operations, special forces, and situations where zero signature is required. |
| Night Vision Compatibility | Excellent with all generations (Gen 1, 2, 3, Digital). | Best with high-sensitivity Gen 3 or Digital NV. Less effective with Gen 1/2. |
As you can see, the choice isn't about which is "better," but which is better for a specific job.
How Different Night Vision Generations "See" IR Light
The final piece of the puzzle is how your night vision device itself perceives these different wavelengths. The generation of your image intensifier tube plays a massive role here.
Gen 1 and Gen 2 Devices: These tubes are less sensitive to light overall. They desperately need a powerful illuminator to function well in total darkness, making the bright output of an 850nm light almost essential for getting a clear, usable image. A 940nm light will often look disappointingly dim and grainy through these older devices.
Gen 3 and Above Devices: Modern Gen 3 tubes are a different story. They are incredibly sensitive to light, especially in the near-infrared part of the spectrum. They can make much better use of the dimmer 940nm light, allowing an operator to go fully covert without a huge sacrifice in performance. An 850nm illuminator still looks brighter, but the ability to effectively use 940nm is a key benefit of premium night vision.
If you're trying to figure out the best fit for your gear, our guide to IR illuminators for night vision goes into even more detail.
Ultimately, you have to think of your night vision device and your illuminator as a system. The goal is to create a perfect pairing where your light source gives your optic exactly what it needs to own the night.
Choosing Your Tool: IR Lasers vs. LED Illuminators

Okay, so you get why infrared light is crucial for night vision. Now comes the practical part: picking the right tool to throw that light downrange. This isn't a one-size-fits-all situation. Your two main choices are LED illuminators and laser illuminators, and they are built for entirely different jobs.
Think of it like choosing a lens for your camera. An LED illuminator is your wide-angle lens, giving you the big picture up close. A laser is your telephoto, zeroing in on a single subject way out in the distance. Knowing when to use which is the key to mastering the dark.
The Workhorse: LED Illuminators
Most of the IR lights you’ll run into are based on LEDs. They work just like a regular flashlight but kick out a cone of IR energy instead of visible light. The big win here is that they produce a soft, usable glow that fills up a space, making them fantastic for general navigation and just seeing what's around you.
The most important decision you'll make with an LED illuminator comes down to its beam pattern. You've got two flavors: flood and spot.
Flood Beams for Situational Awareness
A flood beam is all about painting a wide area at close-to-medium range. It gives you a big, even circle of light that’s perfect for clearing a room, scanning a field, or just walking a trail without tripping over roots. You're not trying to spotlight one thing; you're trying to see everything in your immediate area without any annoying hot spots or dark patches. That wide view is critical for preventing tunnel vision and keeping your bearings.
Spot Beams for Long-Range Identification
A spot beam is the exact opposite. It uses specialized optics to wring out every bit of power from the LED and focus it into a tight, intense beam. All that concentrated energy lets the light punch out much farther, giving you the reach to positively identify a shape or potential threat hundreds of yards away. You give up that wide peripheral view, but you gain the ability to see clearly at a distance.
The Specialist: IR Lasers
When you absolutely, positively have to put a point of light on something far away, you need an IR laser. Unlike an LED, which scatters light, a laser produces a highly "collimated" beam. In simple terms, all the light particles travel in a tight, parallel line, so the beam holds its intensity and shape over incredible distances with almost no spread.
An LED illuminator is like a shotgun blast of IR light—great for covering an area. An IR laser is like a rifle shot—delivering a precise point of energy exactly where you need it, no matter how far.
This makes IR lasers the undisputed king of long-range targeting. A soldier can "paint" a target for aircraft, or a hunter can get a perfect aiming point for a tough shot under NODs. That clean, bright dot you see through your night vision is unmistakable and provides a far more precise aiming reference than any illuminator can at range. Many of the more advanced tactical units, often called aiming lasers or PEQs, cleverly package an IR laser pointer and an IR illuminator into one device for ultimate versatility.
The All-Rounder: Dual-Spectrum Lights
What if you need to work in both light and dark environments? That’s where dual-spectrum lights come in. You'll often hear them called "Vampire" lights because they have two modes. These units pack both a standard white-light LED and a separate IR LED into a single head. With a simple twist of the bezel or flip of a switch, you can instantly go from a visible flashlight to a covert IR illuminator.
This is a game-changer for a cop moving from a lit street into a dark alleyway or a hunter getting set up before dawn. You don't have to carry two separate lights, which saves weight and precious rail space on your rifle. It gives you the tactical flexibility to adapt to changing light conditions on the fly without fumbling around with your gear.
Pairing Illuminators with Your Night Vision Gear
An illuminator is useless if your night vision device can't see its light. Think of your NVD and your infrared (IR) light as a team—they have to work together perfectly. This synergy is everything, because different generations of night vision tubes react to IR illumination in completely different ways.
Older Gen 1 devices, for instance, are incredibly thirsty for light. Their light amplification is pretty weak, so they lean heavily on a powerful IR illuminator to even produce a usable image in the dark. Without a strong IR source, the view is often a grainy, limited mess.
On the other hand, modern Gen 3 units are so sensitive they can paint a clear picture from just a handful of photons. They don’t always need an illuminator, but they rely on one for peak performance when the ambient light completely vanishes.
Understanding the Generational Leap
The performance gap between these devices is staggering, and it's all thanks to their technological evolution. The real game-changer came with the development of Gen 1 and 2 technology during the Vietnam War. Deployed in dense jungles, early Gen 1 systems gave snipers the ability to spot targets at 200-300 meters on a quarter-moon night. But the image was fuzzy, and performance fell apart on moonless nights. The arrival of Gen 2 in the 1970s, with its microchannel plates (MCP), boosted light amplification to a massive 20,000x, sharpening the image and making the devices far more reliable. This history is the foundation for today's advanced gear; you can read more about the fascinating history of night vision to see just how far we've come.
This constant progression means a modern Gen 3 tube sees IR light completely differently than its predecessors. It's so sensitive, in fact, that blasting it with too much IR can be just as bad as having none at all.
Avoiding Blooming and Autogating
When you hit a night vision tube with too much light, it kicks in protective measures that can completely wreck your view. It's a common headache when pairing a high-output illuminator with a sensitive NVD.
- Blooming: This is what happens when a bright light source overwhelms the image intensifier tube. It creates a huge, washed-out halo that obscures everything around it—like when a camera flash hits a mirror and whites out the picture.
- Autogating: Most modern NVDs have a built-in feature that rapidly cycles the power on and off to protect the tube from damage. If your IR beam is too intense, it can trigger this response, causing the image to flicker, dim, or even shut off for a moment.
The goal is to provide just enough supplemental IR to see into the shadows without overpowering the tube. You're trying to enhance your vision, not blind yourself with your own equipment.
The classic rookie mistake is to just blast an area with the most powerful IR beam you have. The real skill is in finessing the light—using only what you need to paint a clear picture without giving away your position or washing out your target.
Techniques for Balancing Your Light
Mastering your illuminator is about more than just flipping a switch. You need to actively manage its output to match the environment and your NVD's sensitivity. Getting this balance right is critical, and our deeper dive on the essentials of an infrared illuminator for night vision covers this in more detail.
Here are a few hands-on techniques to get it just right:
- Adjust the Beam Focus: Many quality illuminators let you shift between a tight spotlight and a wide flood. Always start wide, then slowly focus the beam down until you have the perfect blend of range and area lighting.
- Use Diffusers: A simple diffuser cap that fits over the lens can soften the light and kill any harsh hot spots. This is a lifesaver for close-quarters work where a focused beam would be way too much.
- Feather the Light: Instead of aiming the beam directly at your target, point it at the ground just in front of it or at a nearby wall. This "splash" illumination uses reflected IR to gently brighten the whole scene without causing that dreaded blooming effect.
By pairing the right illuminator with your device and learning to use these techniques, you'll ensure your night vision lights do what they're supposed to: turn absolute darkness into your greatest advantage.
Picking the Right Night Vision Light for Your Mission
Choosing the right night vision light isn't about grabbing the most powerful one off the shelf; it's about matching the tool to the job. The perfect illuminator for a hunter scanning a field is a world apart from what a law enforcement officer needs to clear a building. Getting it right means taking a hard look at what you actually do in the dark and understanding how the specs translate to real-world performance.
Think of this as a practical framework to cut through the noise. By breaking down the key decision points, we can turn abstract numbers and jargon into choices that make sense for you. The goal is to build a setup that makes you more capable, not one that gets in the way.
Wavelength: Power or Stealth?
Your first big decision comes down to the wavelength. As we've covered, this is a classic trade-off: do you want the raw illuminating power of 850nm or the complete invisibility of 940nm?
- 850nm: Go with this for maximum punch and range. If seeing and positively identifying targets at a distance is your top priority, and you can live with a faint red glow from the emitter, 850nm is the workhorse.
- 940nm: Choose this when being seen is not an option. It's the only way to be truly covert, but you have to accept a significant hit in effective range. A high-end Gen 3 or sensitive digital NVG helps make up for this performance drop.
For most people, starting with a quality 850nm light is the most versatile move, unless your specific role absolutely demands total stealth.
This simple decision tree helps visualize when you really need to flip that switch.
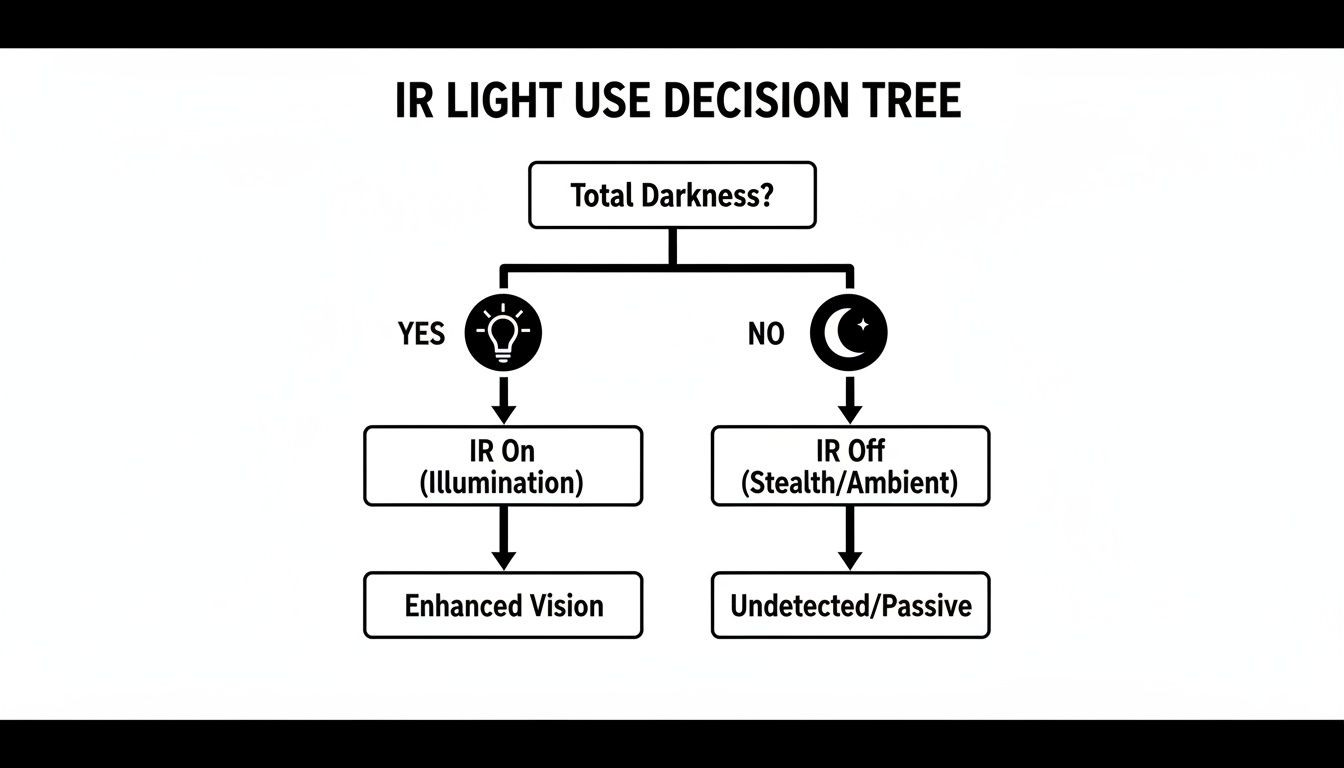
The key takeaway here is simple: in places with zero ambient light, an IR illuminator isn't just an accessory—it's essential gear.
Beam Pattern and Range Requirements
Next up, how do you need the light to behave? Are you lighting up a whole room or trying to pinpoint something way out there? The beam pattern and output power need to line up with your typical engagement distances.
An officer clearing rooms needs a wide flood beam to see everything at once and avoid the dreaded tunnel vision. On the flip side, a hunter trying to spot a coyote across a pasture needs a tight, focused spot beam that can cut through the darkness and get a positive ID at 300+ yards. Many of the best lights today have an adjustable focus, letting you switch between flood and spot on the fly.
Power Source and Mounting System
How you power and mount your light are just as important as its performance. These practical details can make or break your setup when you're actually using it.
Power Source: The battery world is dominated by two main players: CR123As and 18650s. CR123s are famous for their long shelf life and reliability in bitter cold, which is why they're a staple for military and police. Rechargeable 18650s, however, give you much better run times and are way more cost-effective if you train a lot, making them a favorite for hard-use civilians.
Mounting System: Where you put the light matters.
- Weapon-Mounted: This is the go-to for tactical use. Your light points where your muzzle points—simple as that.
- Helmet-Mounted: Fantastic for navigating, working on gear, or any task where you need your hands free. For a deep dive, check out our ultimate guide to helmet-mounted lights.
- Handheld: Gives you the most flexibility for general-purpose use, whether you're scanning an area or signaling a teammate.
Frequently Asked Questions About Night Vision Lights
When you first dive into the world of night vision, a lot of questions pop up. It's completely normal. Getting solid, no-nonsense answers is the key to choosing the right gear and, more importantly, using it well. Let's tackle some of the most common questions we hear about IR illuminators and lasers.
Can I Use a Regular Flashlight with Night Vision?
That’s a hard no. A standard white-light flashlight will instantly overwhelm your night vision device. The bright, visible light creates a massive "blooming" effect—a blinding white halo that washes out the entire image. This will almost certainly trigger your tube's auto-gating or auto-cutoff protection, effectively leaving you blind.
To add light, you need a dedicated IR illuminator. It puts out light in a specific infrared wavelength that your NVD can see, but you can't. It's the difference between helping your NVD see and completely shutting it down.
What Is the Difference Between an IR Illuminator and an IR Laser?
Think of it like a floodlight versus a laser pointer. An IR illuminator is your invisible flashlight. It throws a beam of infrared energy to light up a whole area, which is perfect for moving around, scanning your surroundings, and just generally seeing what's going on.
An IR laser, on the other hand, projects a single, tight dot of IR light. Its job is all about precision—aiming your rifle or designating a specific target for others. Many of the best aiming devices for firearms actually combine both into one unit, giving you the best of both worlds for wide-area illumination and pinpoint targeting.
How Far Can an IR Illuminator Reach?
This is the classic "it depends" question, but for good reason. The real-world range of an IR light is a balancing act between several factors.
- Illuminator Power and Wavelength: An 850nm illuminator will almost always have more reach than a 940nm unit of similar size and power. The 850nm wavelength is just more efficient for the NVD to pick up.
- Beam Focus: You can twist the head on most illuminators to focus the beam. A tight, focused "spot" can punch out hundreds of yards, while a wide "flood" beam is designed for up-close work.
- Night Vision Device Quality: This is a big one. A high-end Gen 3 device is incredibly sensitive to IR light and will see the beam from an illuminator much farther away than any Gen 1 or digital unit ever could.
A good weapon-mounted illuminator can reliably light up targets from 100 to over 300 yards. More powerful, dedicated illuminators can push that range out even further.
Critical Safety Note: Just because you can't see it doesn't mean it can't hurt you. While the IR light from illuminators is generally considered eye-safe, the concentrated energy from an IR aiming laser can cause permanent eye damage. They are rated by class for a reason. Always follow the manufacturer's safety instructions and never point an IR laser at anyone.
At Superior Tactical LLC, we stock the night vision lights and accessories you need to own the night. Check out our hand-picked selection of illuminators and lasers to find the right tool for your mission.