ir illuminator for night vision: Expert Buying Guide
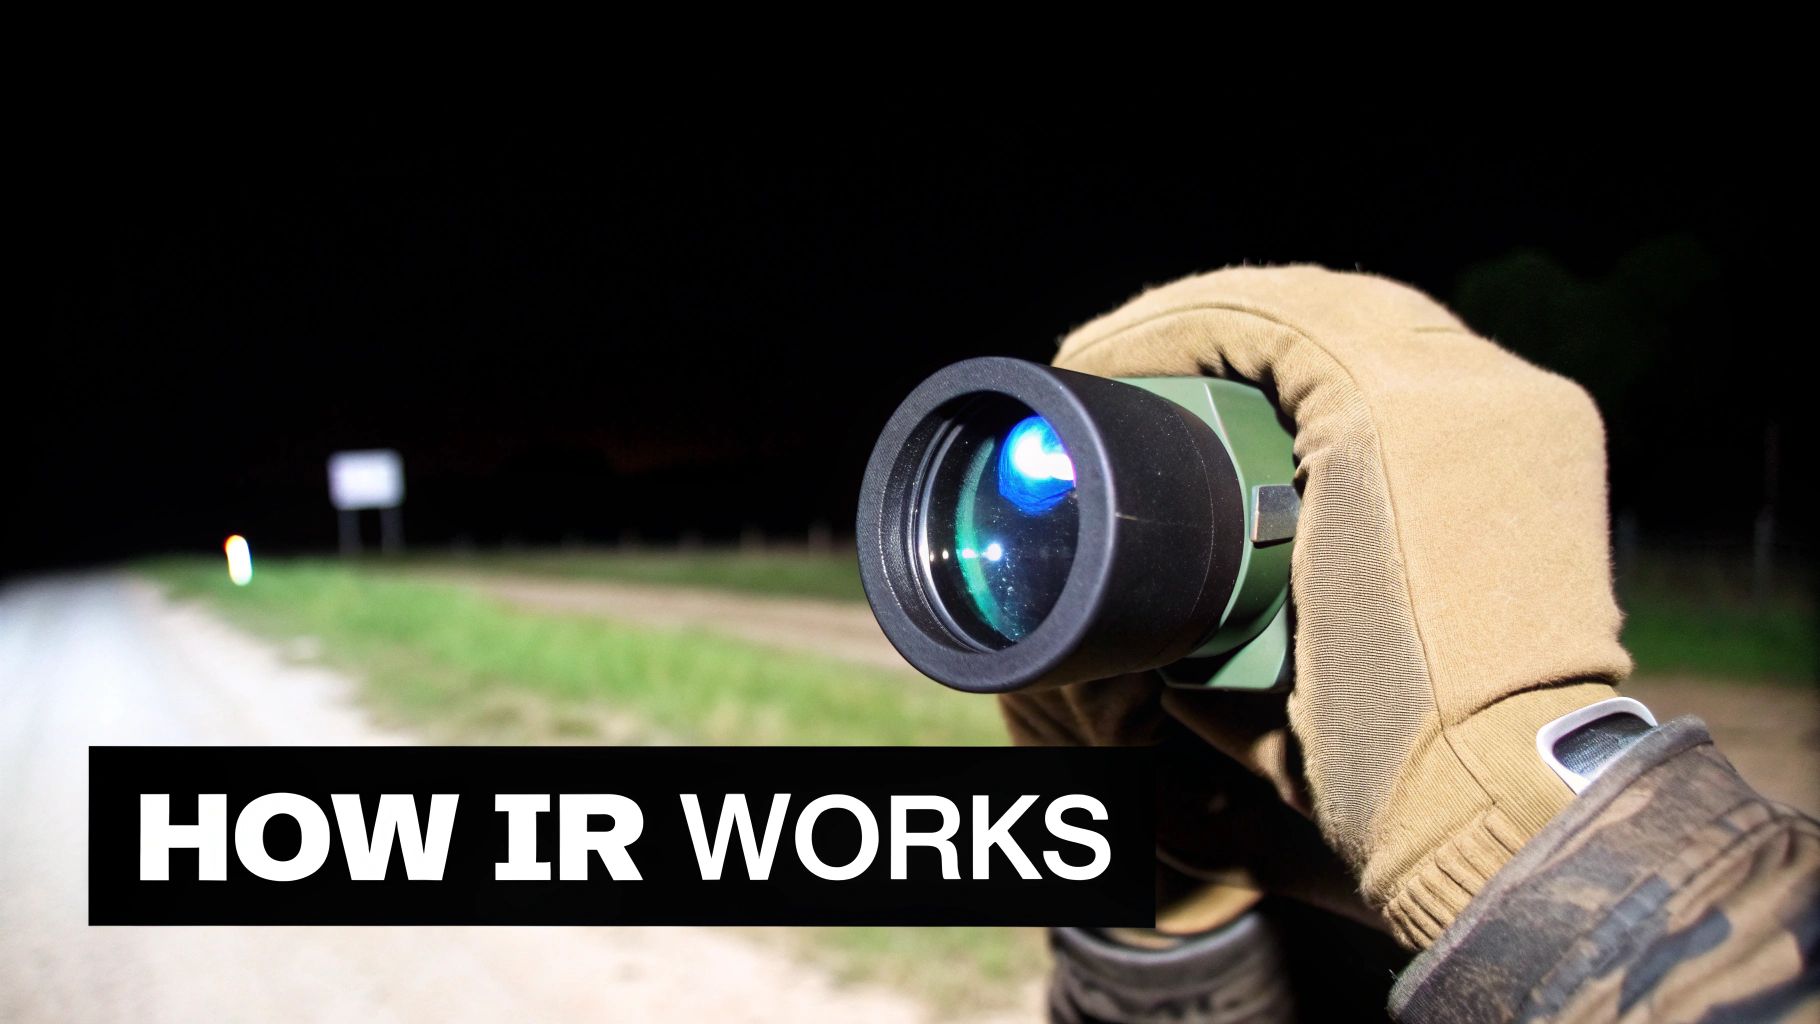
Think of an IR illuminator for night vision as a high-tech flashlight, but with a twist. It pumps out a powerful beam of infrared light—a wavelength totally invisible to the naked eye, but as bright as day to your night vision gear. It actively paints the environment with light, letting you see with perfect clarity even when there’s no ambient light to be found.
How an IR Illuminator Works with Night Vision
To really get why an IR illuminator for night vision is so crucial, imagine you’re in a basement with no windows, lights, or power. It’s absolute, pitch-black darkness.
A standard night vision device is a light multiplier. It takes tiny amounts of existing light—starlight, moonlight, a distant city glow—and amplifies it thousands of times. But in that pitch-black basement, there’s zero light to amplify. Your expensive NVD is effectively blind.
This is where the illuminator saves the day. It acts just like a flashlight would in that scenario, but instead of visible white light, it throws a concentrated beam of infrared (IR) energy. This invisible light floods the area, bounces off everything in its path, and reflects back toward your night vision device.
Turning Invisible Light into a Clear Picture
Your night vision goggles, monocular, or scope is built to see light in this specific infrared spectrum. The device’s image intensifier tube or digital sensor collects all that reflected IR light and translates it into the crisp, green-or-white image you see through the eyepiece.
The illuminator is literally painting the scene with invisible light, giving your gear everything it needs to create a bright, detailed picture out of what was just an abyss of black.
The core idea is simple: Standard night vision is passive—it gathers existing light. An IR illuminator is active—it provides its own light. It doesn’t just enhance a dim scene; it creates the illumination from scratch, guaranteeing you can see no matter what.
The Decisive Advantage in Total Darkness
This ability to provide its own light source is what gives you a massive advantage in the toughest conditions. Without an illuminator, clearing a windowless building, moving through a thick forest on a cloudy night, or exploring a deep cave is a non-starter.
The illuminator cuts through the deepest dark, allowing for positive target ID, safe movement, and total situational awareness when others are completely blind.
Mastering this relationship is the first step to owning the night. To get a better handle on the gear itself, check out our guide explaining the differences between night vision technologies like thermal, digital, and analog. Knowing how your device sees the world is the key to picking the illuminator that will unlock its full potential.
A Brief History of Infrared Illumination
The sleek, powerful IR illuminator for night vision we use today is a precision instrument. But it wasn’t always that way. The journey to “owning the night” started with groundbreaking, yet dangerously flawed, active systems that were anything but stealthy.
It all began back in the late 1930s with the first real-world steps into active infrared night vision. These early “Generation 0” systems were pretty straightforward: they paired a massive infrared spotlight with a scope that could see the IR light bouncing off a target. They didn’t amplify existing light; they had to create their own.
By World War II, this tech saw action. The U.S. military fielded devices like the M1 “snooperscope,” which strapped a bulky illuminator and viewing scope right onto a carbine. For the first time, a soldier could see and engage targets in what looked like pitch-black darkness to the naked eye.
The Problem with Painting a Bullseye on Yourself
But there was a catch—a big one. While the infrared beam was invisible to the unaided eye, it screamed “I’m right here!” to anyone else with night vision. Firing up one of these early illuminators was like switching on a giant lighthouse that only the enemy could see.
This created a deadly game of cat and mouse. The very tool that gave you a nighttime advantage also painted a giant target on your chest. An enemy sniper with a simple IR detector could easily spot the illuminator’s glow from a distance and send rounds your way with pinpoint accuracy.
This fundamental weakness drove a massive shift in military research and development. The risk of being detected was so severe that it pushed the focus away from “active” illumination and toward “passive” systems that could work by just amplifying faint starlight and moonlight.
The Move to Passive Night Vision
Throughout the Cold War, the mission objective changed: see without being seen. This new priority led to the development of the image intensifier tubes we know today (Gen 1, Gen 2, and Gen 3). These tubes were masters at gathering and multiplying whatever ambient light was available. For decades, the active IR illuminator was considered a tactical non-starter and was mostly shelved for any serious military use.
This new generation of passive gear was a huge leap forward. It allowed operators to move, observe, and engage with a much lower chance of giving away their position. The old idea of projecting a detectable beam of energy just didn’t fit with the core principles of stealth and surprise.
The IR Illuminator Makes a Comeback
So, if passive was so good, why did the IR illuminator for night vision stage such a massive comeback? The answer is a mix of smarter technology and a more sophisticated understanding of modern tactics. Even the best night vision device can’t amplify light that isn’t there to begin with.
Think about operating deep inside a windowless building, in a subterranean tunnel, or on a moonless, overcast night in a dense forest. In these “zero light” situations, even the most advanced passive night vision is effectively blind. The absolute need for positive target identification in these environments brought the illuminator back into the fight.
Today’s illuminators are a world away from their clumsy ancestors. They are compact, powerful, and packed with features like adjustable beam focus and multiple wavelength options for enhanced stealth. Their use is no longer a clumsy necessity but a deliberate tactical decision. An operator now weighs the need for a crystal-clear picture against the potential risk of detection, using the illuminator in short, controlled bursts to “paint” a target or clear a tricky obstacle.
From its origins as a hazardous spotlight, the IR illuminator has evolved into an indispensable tool, giving the modern operator total control over the darkness when it matters most. You can learn more about the early days of this tech in this detailed history of night vision development.
Decoding Wavelengths, Beams, and Power Specs
Picking the right IR illuminator for night vision can feel a bit like learning a new language. You’re hit with spec sheets full of terms like nanometers (nm), milliwatts (mW), and beam angles. But once you crack the code, you’ll see these aren’t just technical jargon; they’re the key to understanding exactly how an illuminator will perform out in the field.
These numbers tell you the real story: how bright it is, how far it reaches, and critically, how stealthy it keeps you.
The technology has come a long way. Early IR systems were clunky and easily spotted, a far cry from the sophisticated tools we rely on today for serious night operations.
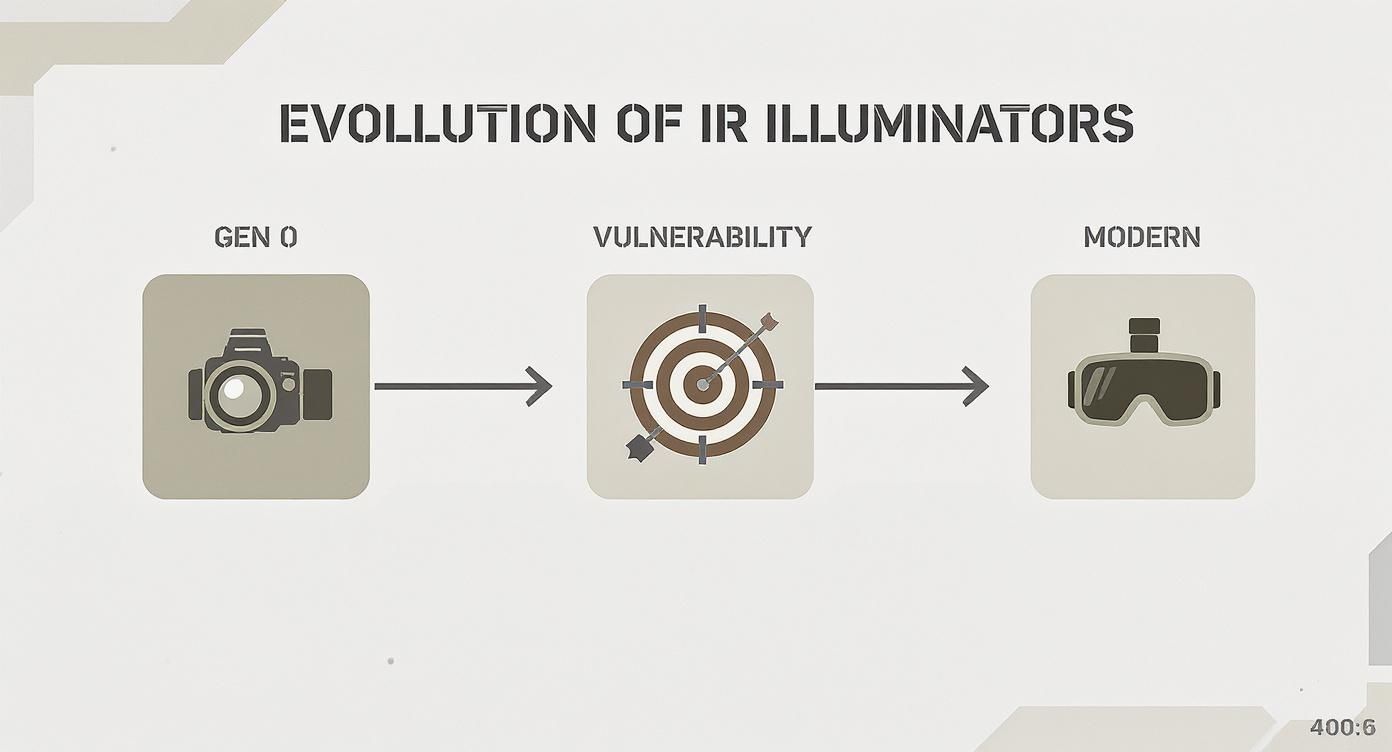
This jump from detectable Gen 0 illuminators to today’s versatile units is what makes modern night vision so effective.
Understanding Wavelengths: 850nm vs. 940nm
The first, and arguably most important, spec you’ll encounter is the wavelength, measured in nanometers (nm). This number dictates the fundamental trade-off between raw power and total stealth. The two industry standards are 850nm and 940nm.
Your choice here really boils down to your mission priorities. Do you need maximum illumination range, or is staying completely off the visual spectrum more important?
To make it simple, here’s a direct comparison of the two main players:
IR Wavelength Comparison: 850nm vs. 940nm
| Feature | 850nm Wavelength | 940nm Wavelength |
|---|---|---|
| Visibility | Faint, dull red glow visible to the naked eye up close | Completely invisible to the human eye (covert) |
| Performance | Maximum brightness and range for most NVDs | Reduced performance; roughly 30-40% less range |
| NVD Sensitivity | High sensitivity; most tubes see this wavelength very well | Lower sensitivity; NVDs work harder to see this light |
| Best For | Hunting, Search & Rescue, long-range observation | Law Enforcement, tactical ops, counter-surveillance |
Ultimately, 850nm is the high-performance workhorse. It gives you the most bang for your buck in terms of brightness and distance, which is why it’s the go-to for hunters and SAR teams who need to light up targets far away.
On the other hand, 940nm is the covert operator. When absolute stealth is non-negotiable, the complete lack of a visible signature makes it the only real choice for LE and security professionals. You sacrifice some reach, but you gain total invisibility to the naked eye.
Beam Patterns: Flood vs. Spot
Just like a quality handheld flashlight, a good IR illuminator for night vision lets you shape the beam. By twisting the head, you can adjust the beam pattern to fit the situation perfectly.
Flood Beam (Wide Angle)
Think of this as the “wide spray” setting. It casts a broad, even circle of light that’s perfect for lighting up your immediate surroundings.
- When to Use It: Clearing a building, scanning an open field, or just general navigation where you need to see what’s to your left and right.
- The Payoff: It gives you great situational awareness and fills the entire field of view of your NODs.
- The Catch: Spreading the light out means it won’t punch out to long distances.
Spot Beam (Tight Focus)
This is your “jet stream” setting. It concentrates all the illuminator’s power into a tight, intense beam designed for long-range work.
- When to Use It: Identifying a potential target hundreds of yards out or cutting through atmospheric haze.
- The Payoff: You get the maximum possible throw and can see things well beyond the range of your device’s built-in illuminator.
- The Catch: You get a serious case of “tunnel vision,” losing all that valuable peripheral awareness.
Thankfully, you don’t have to choose. Most quality illuminators have an adjustable focus, letting you smoothly transition from a wide flood to a tight spot and back again.
Power Output and Beam Distance
Finally, let’s talk power. You’ll see an illuminator’s output listed in milliwatts (mW). While it’s tempting to assume more mW is always better, that number alone doesn’t tell the whole story.
The real-world performance depends just as much on the efficiency of the emitter, the quality of the lens, and how well the beam focuses. A well-designed 300mW unit can easily outperform a poorly made 500mW unit.
A more practical number to look for is the manufacturer’s stated beam distance. This is usually given in yards or meters and represents the maximum effective range under ideal conditions. Just remember to take that number with a grain of salt—humidity, fog, and even bright moonlight can impact how far you can actually see. Your needs dictate the choice here. A hog hunter might want 300+ yards of reach, but for home defense, 50 yards is more than enough.
Matching an Illuminator to Your Night Vision Device
An IR illuminator is a serious force multiplier, but it’s definitely not a one-size-fits-all piece of kit. The performance you squeeze out of it hinges entirely on how well it plays with your specific night vision device. Pairing the right illuminator with your gear is like choosing the right ammo for your rifle—it’s the difference between just getting by and getting exceptional results.
The trick is understanding that different night vision technologies see supplemental infrared light in fundamentally different ways. A Gen 1 tube has completely different needs than a high-spec Gen 3 unit, and a digital scope sees the world differently than both. When you make the right match, you’re amplifying your device’s strengths instead of just fighting its limitations.
Generations and Their Thirst for IR Light
Not all night vision is created equal, especially when it comes to amplifying whatever faint ambient light is available. This single factor directly determines how much of a boost you’ll actually get from an external IR illuminator.
- Generation 1: These are the most IR-dependent devices out there. With fairly low light amplification, they really struggle in anything less than a bright, full moon. An external illuminator isn’t just helpful; it’s practically mandatory. It turns a grainy, short-range picture into something you can actually use.
- Generation 2: A huge leap in performance, Gen 2 units are far more capable in low light. They still get a massive benefit from IR in true darkness, though, especially for positive identification at ranges where the device would otherwise be running out of gas.
- Generation 3: This is the gold standard for a reason. Gen 3 devices are exceptional at gathering and amplifying light. The need for an illuminator here is purely situational, saved for those “zero light” environments like deep inside a building or out in the sticks on a moonless, overcast night. For Gen 3, an illuminator isn’t for basic function—it’s for pushing performance to the absolute ragged edge.
The whole evolution of night vision was driven by the need to be stealthy. As the passive tech got better, the reliance on active IR illuminators—which can give away your position—became less necessary. Today’s top-tier NODs can amplify ambient light by over 50,000 times, a world away from the early systems. You can find some great background on the history of these enhancements on x26.com.
Wavelength Sensitivity: What Your Device Likes to See
Beyond just the generation, the specific sensitivity of your image intensifier tube or digital sensor is a huge deal. This is never more true than when you’re choosing between an 850nm and a 940nm illuminator.
Most modern Gen 3 tubes, especially the white phosphor ones, are significantly more sensitive to 850nm light. They can see 940nm, but not nearly as well. The result is a real, noticeable drop in brightness and effective range. If you want to get the most out of your PVS-14 or a similar high-end unit, an 850nm illuminator is almost always the right call.
On the other hand, many digital night vision scopes and monoculars are built with sensors that are actually very sensitive to the 940nm wavelength. This lets them take full advantage of the stealthier 940nm light without the big performance hit you’d see in an analog tube. Always, always check your device’s spec sheet to see which IR wavelength it prefers.
Getting It Mounted: Physical Integration
Finally, how you physically attach the illuminator is just as critical as its electronic compatibility. An illuminator that’s wobbling around is completely useless. You need a rock-solid, repeatable setup that guarantees your IR beam is pointed exactly where your optic is looking.
Thankfully, most modern illuminators are designed for standard mounting systems:
- Picatinny (MIL-STD-1913): This is the bread and butter. It’s the most common rail system, offering a tough, universal way to mount illuminators on a weapon.
- M-LOK: A very popular, lightweight option that lets you attach accessories directly to a compatible handguard, cutting down on bulk and snag points.
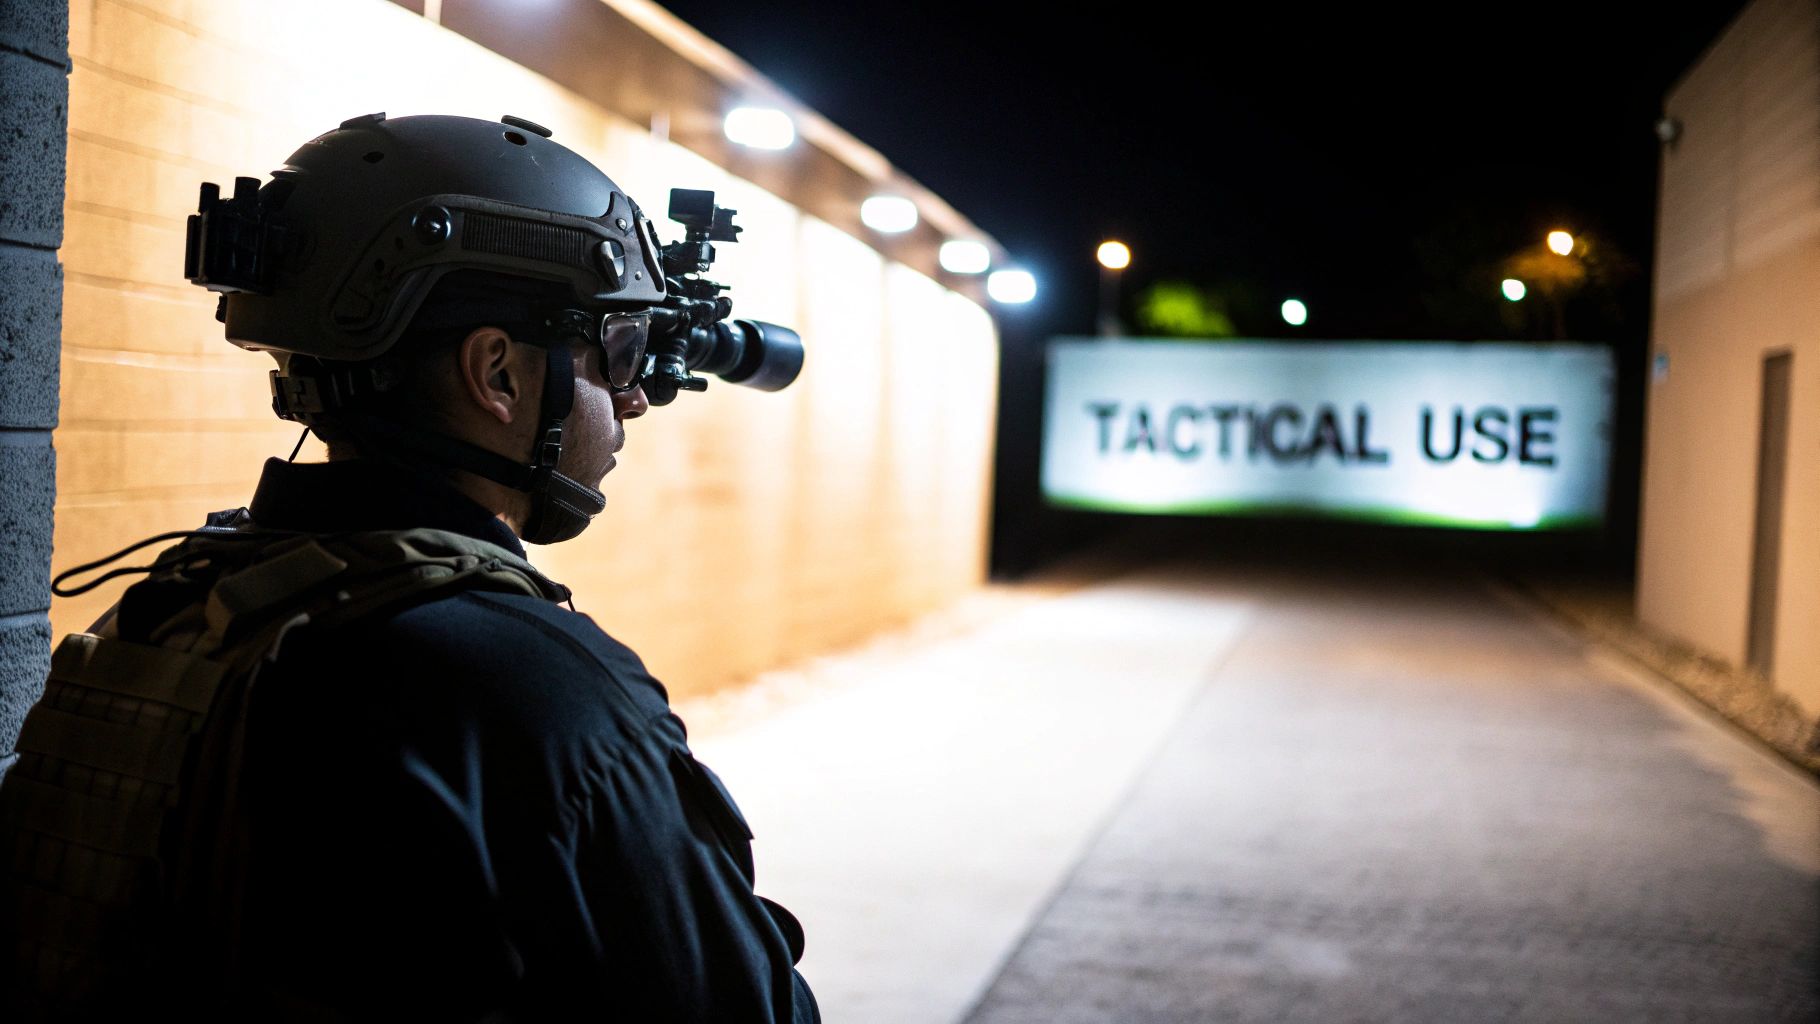
- Helmet Mounts: These are specialized mounts for attaching an illuminator right to your helmet, which is perfect for keeping it aligned with your head-mounted goggles.
Making sure your illuminator and your night vision device are properly co-aligned is a non-negotiable step. If your beam is off-center, you’re just lighting up the ground in front of you or the trees to your right—wasting power and leaving your actual target in the dark. For more on getting your whole system set up right, check out our expert tips on how to choose night vision accessories online.
By thinking through your device’s generation, its preferred wavelength, and your mounting needs, you can build a seamless system that turns darkness into a real tactical advantage.
Effective Field Use and Tactical Tips
Having a solid IR illuminator for night vision is a great start, but knowing how to actually use it in the field is what really makes the difference. This is where we move past the spec sheets and get into what separates the pros from the amateurs: proper setup, smart tactics, and a real-world understanding of how invisible light works.
Getting this right turns your illuminator from a simple accessory into a true force multiplier. It’s the key to making sure your gear gives you the advantage, not away your position.
Mounting and Aiming for Peak Performance
First thing’s first: you need your illuminator and your optic looking at the same spot. If they aren’t aligned, you’ll get frustrating “dead zones” in your field of view where your night vision can see but your illuminator is pointing somewhere else entirely. It’s a waste of light and capability.
The goal is to co-align the center of the IR beam with the center of your optic’s view. Get the illuminator mounted as close to your scope or monocular as you can. Then, find a dark night and a flat surface about 50 yards out—the side of a barn or a large wall works perfectly. Light it up and adjust the illuminator mount until the brightest part of the beam, the “hotspot,” is dead center in your sight picture. Don’t skip this step; it’s absolutely critical.
Mastering Light Discipline
In any tactical or hunting situation, light is information. It tells you what’s out there, but it can also tell everything out there where you are. Running your IR illuminator constantly is like screaming your position through a bullhorn. This is where light discipline becomes non-negotiable.
The secret is to use your illuminator in short, controlled bursts. Instead of leaving it on, you “paint” an area for just a second or two. This lets you confirm a target, check a shadowy corner, or scan a tree line without giving away your location with a constant beacon.
Scenario-Based Illumination Tactics
How you use your illuminator will depend entirely on the job at hand. A hog hunter’s needs are a world away from a SWAT officer clearing a building.
- For the Hunter: You’re all about distance. Use a tight, focused “spot” beam to get positive identification on game far away. A good spot beam can mean the difference between seeing a vague shape and clearly identifying a boar from a sow at 200 yards out, ensuring you take a clean, ethical shot.
- For Law Enforcement/Security: When clearing a room, you need total situational awareness. Switch to a wide “flood” beam to light up the entire space and kill the shadows. Pro tip: you can also bounce the IR beam off the ceiling or a wall for soft, diffused light. This cuts down on harsh glare and prevents your NVDs from getting washed out in close quarters.
- For Search and Rescue: Versatility is key here. Start with a flood beam for searching wide areas. When you spot something interesting, you can instantly snap to a tight spot beam to get a better look and investigate from a distance.
Powering Your Mission
Don’t overlook your batteries. Your power source directly affects your illuminator’s brightness and runtime, and the two main players are CR123A batteries and rechargeable 18650 cells.
CR123As are famous for their long shelf life and rock-solid performance in extreme cold or heat, making them perfect for a go-bag or emergency kit. On the other hand, 18650s tend to deliver a higher, more consistent power output. This keeps your illuminator running brighter for longer, which can be a lifesaver on extended ops.
Whatever you choose, the rule is simple: always carry spares.
Troubleshooting Common Illuminator Problems
Even the most bomb-proof gear can have a bad day, and your IR illuminator is no different. The key isn’t having gear that never fails—it’s knowing what to do when it does. A little preventative maintenance and a solid troubleshooting process will keep you in the fight when the lights go out.
The best fix is the one you never have to make. Keep your illuminator’s lens clean with a microfiber cloth; smudges and dust can scatter the beam and kill your range. Every once in a while, pop the battery cap and check the terminals for corrosion. A quick wipe with a cotton swab and a dab of isopropyl alcohol will ensure you’re getting a clean, solid connection.
When something goes wrong out in the field, don’t just start mashing buttons. Take a breath and work the problem. Most issues have a surprisingly simple fix.
Diagnosing Field Issues
A flickering or inconsistent beam is probably the most common headache. Before you start cursing the manufacturer, check the simple stuff first. Is the battery cap screwed on tight? Are the batteries seated properly? A loose connection is the root cause 90% of the time.
If the illuminator’s beam seems weak or dim, your first thought should always be the batteries. Power-hungry illuminators chew through them, and a dying battery is the most likely culprit. Swap in a fresh set and see if that brings it back to life. If it’s still dim with fresh batteries, you might be looking at a failing LED emitter, which is a job for a pro.
For more complex issues that might not be just the illuminator, digging into common night vision gear problems can help you figure out if another part of your system is the real problem.
Another rookie mistake is using way too much power up close. Cranking a high-output illuminator to full blast inside a room will cause massive “blooming” or “washout” in your NODs. It’s like staring into a spotlight—your entire image gets flooded with light, and you can’t see a thing.
This over-saturation is a big reason why modern digital night vision systems are so popular for security work. They often have automatic gain control that can handle bright light sources, turning a powerful IR illuminator for night vision into an asset instead of a liability.
The CCD and CMOS sensors in these digital systems have come a long way, making them a go-to in the commercial security world. You can get a deeper understanding of the technical evolution of these devices and their components to see how they manage intense light.
To fix washout with your analog device, just dial back the illuminator’s power setting or switch to a wider flood beam. This spreads the light out and prevents it from overwhelming your tubes.
Common Questions About IR Illuminators
When you’re getting serious about night vision, questions about the gear that lights up the dark are bound to come up. Getting straight answers is the only way to build a setup you can truly rely on. Let’s tackle some of the most common questions we hear about using an IR illuminator for night vision.
We’ll clear up everything from safety concerns to legal limits, giving you the critical details every operator needs before heading out.
Will an IR Illuminator Damage My Night Vision Tube?
This is probably the most common—and most important—question people ask. The short answer is no, a standard IR illuminator is not going to damage your night vision device.
Image intensifier tubes are built to amplify available light, and the infrared light from an illuminator is exactly what they’re designed to see. It’s just feeding the tube more of what it’s hungry for.
That said, you can temporarily overwhelm the tube by hitting it with a super-powerful, focused beam in a small space, like inside a room. This causes a “blooming” or “washout” effect, which is the tube’s self-preservation kicking in. Think of it like looking at a bright streetlight—it’s overwhelming, but it doesn’t cause permanent damage. Just dial back the illuminator’s power or widen the beam, and you’ll be good to go.
What’s the Real Difference Between Laser and LED Illuminators?
The main distinction is in the technology they use to create and throw that invisible light. This has a huge impact on both performance and price.
- LED Illuminators: These are the workhorses of the IR world. They use a simple light-emitting diode to create a wide spectrum of IR light, which a lens then focuses into a beam. They’re tough, affordable, and give you a very clean, even beam with almost no graininess or “laser speckle.”
- Laser Illuminators (VCSEL): This is the high-performance option. They use a specialized laser (a Vertical-Cavity Surface-Emitting Laser, or VCSEL) to produce an incredibly focused and efficient beam of IR light. This tech lets you pack a serious long-distance punch into a much smaller unit. If you need to positively identify targets way out there, this is the tool for the job.
The bottom line: LEDs are fantastic all-around illuminators perfect for most situations. Lasers are the premium choice for when you absolutely need maximum range and power efficiency, and they usually come with a higher price tag to match.
Are There Legal Restrictions on IR Illuminator Power?
This is where things can get a little tricky, but it’s simple once you understand the distinction between illuminators and lasers.
For the most part, there are no federal restrictions on the power output (measured in milliwatts, or mW) of a civilian-owned, LED-based IR illuminator for night vision in the United States. They’re treated like high-powered flashlights.
However, the rules for IR lasers—the kind used for aiming—are much tighter. The FDA regulates all laser products to ensure eye safety. That’s why you’ll see “Class 1” or “Class 3R” ratings on civilian-legal aiming lasers; their power is capped by law. Since an illuminator’s job is to “flood” an area with light and a laser’s is to “point,” the regulations are very different.
Always a good idea to double-check your local and state laws, especially if you plan on using IR for hunting, as specific regulations can definitely vary from place to place.
At Superior Tactical LLC, we’re committed to providing the mission-critical gear and no-nonsense advice you need to own the night. Take a look at our curated collection of high-performance night vision and accessories to build your ideal low-light system. Find your tactical advantage at superiortac.com.