A Complete Guide to Gen 1 Night Vision
Gen 1 night vision is where it all began. It's the most common and affordable type of night vision out there, and for a good reason. Think of it as the original technology that first cracked the code on seeing in the dark without needing a giant, power-hungry infrared spotlight.
This accessibility is precisely why it remains a go-to starting point for hobbyists, homeowners, and anyone curious about the world of night vision.
Understanding the Original Night Vision Breakthrough
To really get a handle on the night vision we have today, you have to go back to the beginning. The very first systems, which we now call Gen 0, were massive, clunky pieces of gear. More importantly, they were active systems, meaning they had to blast an area with a powerful infrared (IR) illuminator—basically an invisible flashlight—to see anything. The big problem? Anyone else with a night vision device could see that IR beam shining like a beacon right back to you.
Generation 1 changed the game entirely by introducing passive image intensification. For the first time, a device could actually gather the tiny bit of existing light from the moon and stars and multiply it, turning a pitch-black scene into that classic, green-glowing image we all recognize.
A Leap in Nocturnal Capability
That jump to passive technology was a huge deal. Gen 1, which came onto the scene in the mid-1960s, could amplify ambient light by about 1,000 times. This completely did away with the need for those always-on IR searchlights that made Gen 0 users such easy targets. You can dive deeper into the history of night vision technology to see how each generation built on the last.
This new capability made Gen 1 a fantastic tool for simple observation and getting a feel for your surroundings in the dark. It’s like the difference between needing a blinding flash for every photo versus having a camera sensor so sensitive it can take pictures by candlelight.
Key Takeaway: Gen 1's real breakthrough was its ability to passively amplify existing ambient light. This simple but powerful function made covert nighttime observation a reality for the first time, and at a price people could actually afford.
To give you a quick rundown, here's a look at the essential characteristics of Gen 1.
Gen 1 Night Vision At a Glance
This table breaks down the core features, advantages, and limitations of Gen 1 technology, giving you a clear snapshot of what to expect.
| Characteristic | Description |
|---|---|
| Light Amplification | ~1,000x (requires some ambient light or an IR illuminator) |
| Resolution | Lower than later generations; noticeable image distortion/fisheye effect. |
| Operational Lifespan | Approximately 1,500 hours before performance degrades. |
| IR Illuminator | Almost always requires a built-in or separate IR light for total darkness. |
| Cost | The most affordable entry point into night vision. |
| Image Quality | Susceptible to "blooming" from bright lights and has a characteristic hum. |
As you can see, it's a technology of trade-offs, but its affordability keeps it incredibly relevant.
Why It Still Matters Today
Even with more advanced tech on the market, Gen 1 is far from obsolete. Its simple, cost-effective design makes it the perfect entry point for anyone who doesn't need military-grade performance.
For many practical, everyday situations, it’s more than enough to get the job done. It’s an excellent choice for:
- Home Security: Checking on that strange noise in your backyard without flipping on all the floodlights.
- Wildlife Observation: Watching for nocturnal animals without scaring them off with a flashlight.
- Camping and Hiking: Navigating a familiar trail or finding your way around the campsite after dark.
- Short-Range Pest Control: Spotting raccoons or other pests within 50-75 yards.
Understanding where Gen 1 came from helps you set realistic expectations. It was never built for high-stakes, fast-moving scenarios. It was designed to do one thing: give us a way to see in the dark. For countless users today, it still does that job perfectly.
How the Image Intensifier Tube Works
Every night vision device has an engine, and that engine is the image intensifier tube (IIT). This is the component that does all the heavy lifting, taking a scene that's pitch black to your eyes and turning it into that familiar green-glowing image.
Think of it as a three-stage relay race for light particles. It starts when the faintest bit of ambient light—maybe from the moon or stars—enters the objective lens of your gen 1 night vision unit. The lens gathers that weak light and focuses it right onto the front of the IIT, kicking off the whole process.
Stage 1: The Photocathode Conversion
When those light particles, called photons, hit the front of the tube, they strike a special surface known as a photocathode. In Gen 1 tubes, this is usually an S-20 material. The photocathode's job is simple but absolutely critical: it converts the light energy from each photon into electrical energy by kicking out a single electron.
It’s a bit like tossing a pebble into a calm pond. The pebble (the photon) vanishes, but its impact creates a ripple (the electron). The photocathode essentially creates an electronic copy of the light image that came through the lens.
Stage 2: Acceleration Without Amplification
Once those electrons are free, a high-voltage field zaps them across a vacuum inside the tube. Now, this is where gen 1 night vision really differs from later generations. If this were a more advanced unit, you'd find a Micro-Channel Plate (MCP) here, ready to multiply each electron by the thousands.
The Missing Piece: Generation 1 tubes do not have a Micro-Channel Plate. This one missing component is the single biggest reason for their performance, their price point, and their unique image quirks. Without an MCP, you just don't get a massive multiplication of electrons.
Instead, the electrons are simply sped up and focused. This is why a Gen 1 device gives you a light gain of around 1,000x, while Gen 2 and Gen 3 units can hit 20,000x to 50,000x or more. If you're curious about how those newer tubes achieve such massive gains, you can get the full story by comparing thin-filmed and unfilmed image intensifiers.
This diagram breaks down the simple, three-step journey light takes through a Gen 1 tube.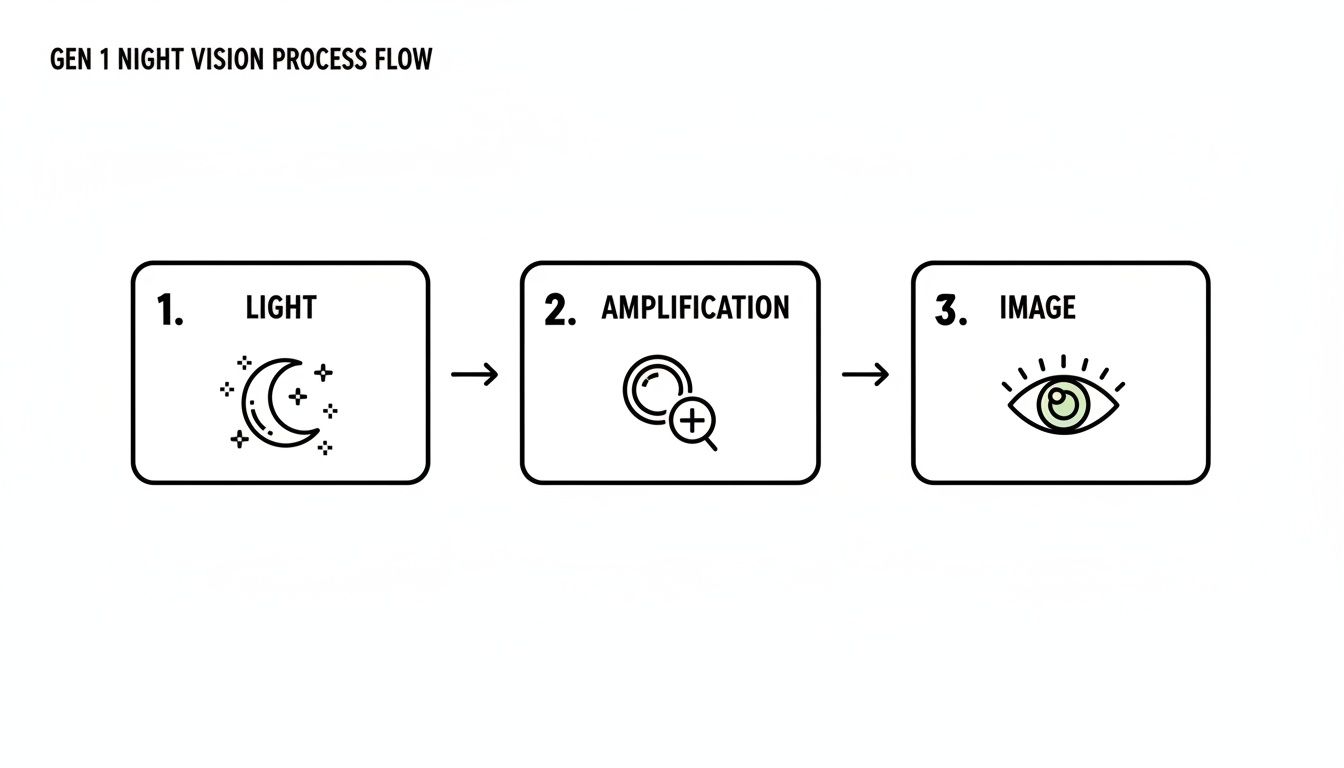
As you can see, it's a direct conversion and acceleration process—straightforward, but effective for what it is.
Stage 3: The Phosphor Screen Glow
The final leg of the relay race is the phosphor screen. After getting accelerated across the vacuum, the electrons slam into this screen at the back of the tube. The screen is coated in phosphors that light up brightly when hit by high-energy electrons, turning that invisible electron pattern back into a visible image you can see.
This is what creates that iconic green picture. The human eye is most sensitive to shades of green, so this color was chosen to help us pick out more detail and reduce eye strain over long periods of use.
But the way Gen 1 tubes focus electrons also leads to a few well-known visual issues.
- Geometric Distortion: You'll notice the image is sharpest in the middle but gets stretched and blurry toward the edges. People often call this a "fisheye" effect.
- Blooming: Point it near a bright light, and that light source will overwhelm the tube, creating a big, bright halo that washes out everything around it.
- Image Persistence: If you quickly look away from a bright object, you might see a faint ghost of that image linger on the screen for a moment.
Knowing how this process works—from photon to electron and back to light—is the key to understanding what gen 1 night vision can do, and just as importantly, what it can't.
Real-World Performance and Limitations
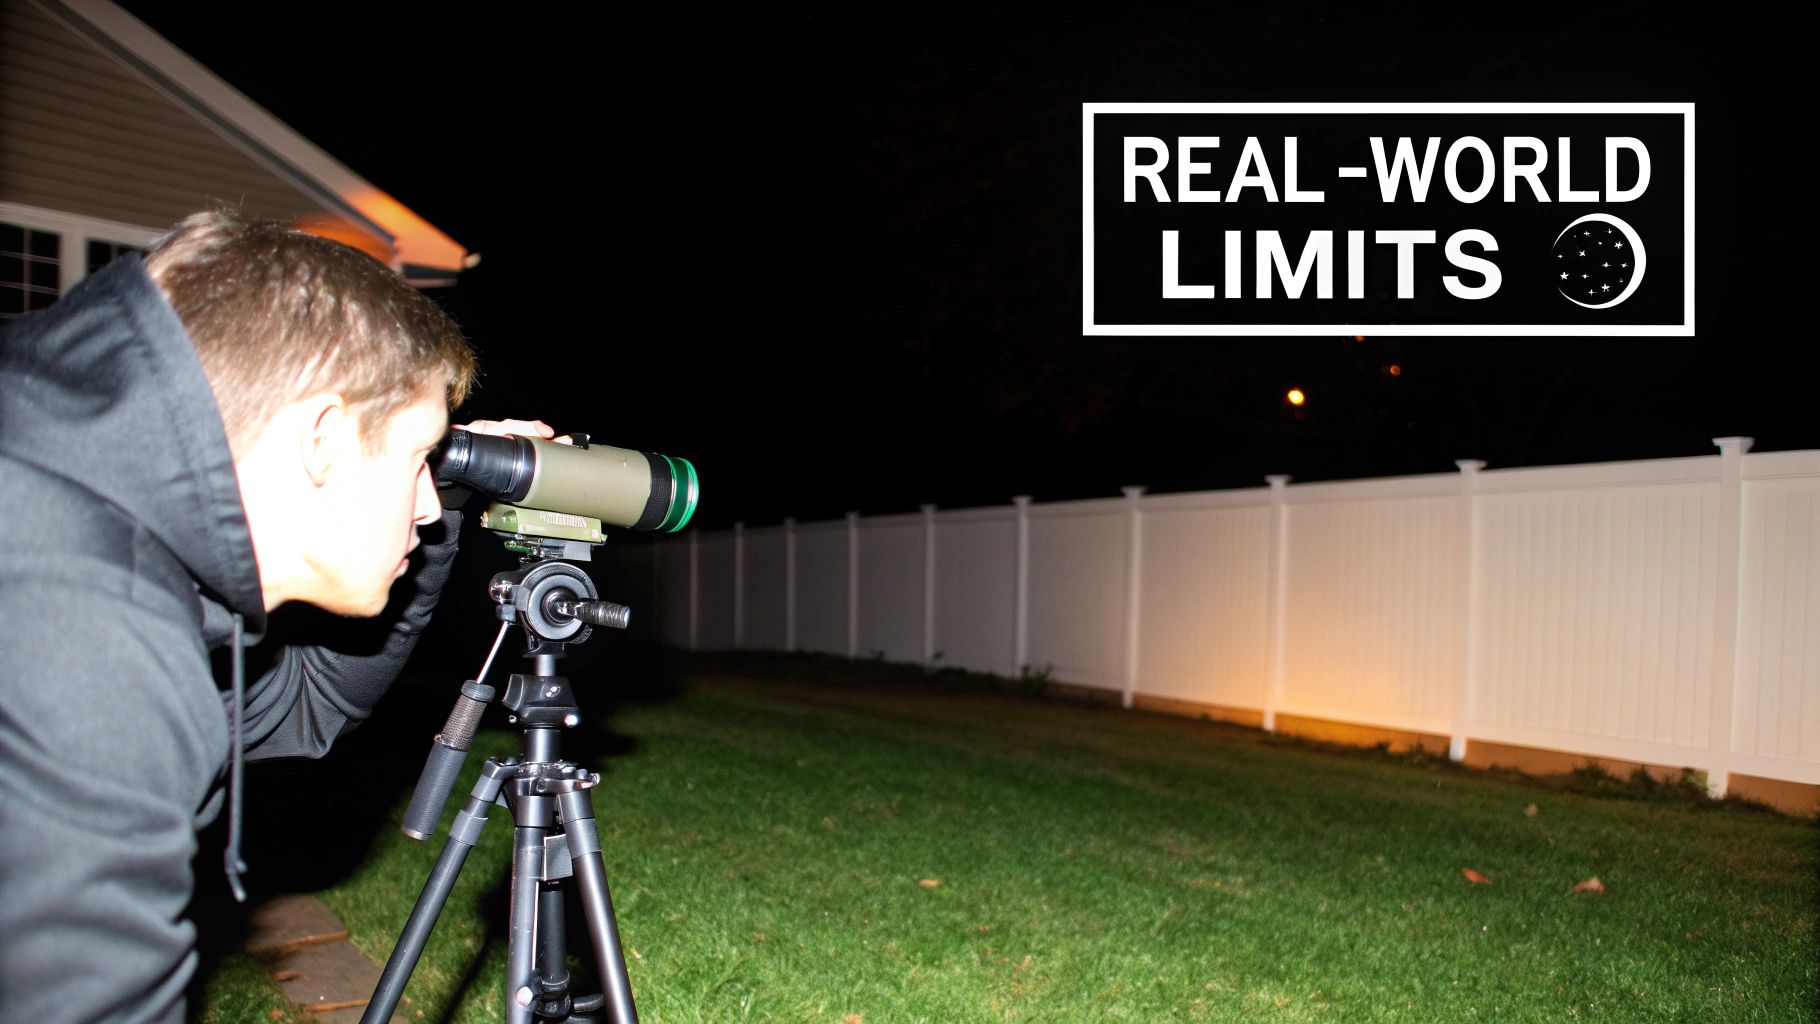
Alright, let's talk brass tacks. You’ve got your Gen 1 unit, and you're seeing those classic glowing green images. But what can you really see, and how far can you see it? This is where we need to set some realistic expectations.
In ideal conditions—think a clear night with a good moon—you can realistically identify a man-sized target at about 75 yards. Any further, and you're just seeing shapes. The image itself will be somewhat grainy, and you'll notice a distinct distortion around the edges, almost like looking through a fisheye lens. The center of your view might be reasonably clear, but the periphery will be warped.
This is a critical point: Gen 1 gear is not for precision work at a distance. If you're trying to make a pinpoint shot at 100 yards, you're going to be disappointed. The performance hinges almost entirely on how much ambient light is available.
With a full moon overhead, you might comfortably spot things out to 75 yards. But take that moon away or add heavy cloud cover, and your effective range plummets. That’s when the built-in infrared (IR) illuminator becomes your best friend.
- Effective Identification Range: Up to 75 yards with good moonlight.
- Typical Resolution: Around 20–30 line pairs per millimeter in the center.
- Common Image Issues: Edge distortion, blooming from lights, and a "snowy" or grainy picture.
- Optimal Conditions: A bright, clear night or when using an IR illuminator.
Understanding Effective Range
Your actual working range with a Gen 1 device will change based on the light and the environment. In a familiar backyard, you might easily spot movement out to 75 yards, but positive identification—knowing what you're looking at—is a different story. That's more like a 50-yard game.
In wide-open fields, things get tougher. Past that 50-yard zone, objects become vague silhouettes without much definition. A good way to think about it is to compare a Gen 1 tube to an entry-level camera sensor trying to take a picture in the dark. It can capture the basic outlines but simply doesn't have the high-resolution detail of a professional setup.
Keeping that analogy in mind helps manage the transition from crystal-clear daylight optics to the murky green world of night vision.
| Condition | Realistic Identification Range |
|---|---|
| Full Moon | 75 yards |
| Starlight Only | 30 yards |
| With IR Illuminator | 60 yards |
| Dense Foliage | 25 yards |
The Role of Ambient Light and Illuminators
On a bright night, a full moon is the perfect natural illuminator for a Gen 1 tube. It provides plenty of photons for the tube to amplify passively.
But when it's pitch black—a new moon or a stormy night—you have to bring your own light. This is where your IR illuminator, essentially an invisible flashlight, comes into play. Flipping it on can bring your useful range right back up to around 60 yards, cutting through the darkness.
Expert Insight: Gen 1 is an excellent tool for observation and situational awareness, like scanning a property line or watching for pests. It's not built for high-speed navigation or precision targeting where a split-second clear image is non-negotiable.
One major weakness to be aware of is blooming. If you point the device at a bright light source like a porch light or a car's headlights, the tube will be overwhelmed. The light will "bloom" into a bright halo, washing out everything around it and temporarily blinding you. A securely mounted IR illuminator, perhaps angled slightly away from your direct line of sight, can help minimize this effect from your own light source.
Managing Expectations in the Field
So, where does Gen 1 shine? It's perfect for slower-paced activities. Think of a night watchman doing rounds on foot or a hunter scanning a bait site from a blind. For these tasks, it works great.
But if you're thinking about navigating a vehicle at speed or running a dynamic shooting course, you'll quickly find the limits of this technology. Gen 1 tubes just can't refresh the image fast enough or provide the clarity needed for high-speed scenarios.
The best advice is to practice with your gear in a safe, familiar place before heading into the unknown. Get a feel for its capabilities and limitations.
- Avoid looking directly at streetlights or flashlights to prevent blooming.
- Always try to keep your target in the center of the view, where the image is sharpest.
- Using a stable tripod or mount can make a huge difference in compensating for the lower resolution.
- Be smart with your IR illuminator; use just enough power to see what you need, which helps reduce glare and save batteries.
Tips for Improving Performance
You can squeeze a surprising amount of performance out of a Gen 1 unit with a few simple tricks.
- Adjust the Gain: If there's a lot of moonlight, turning down the gain (if your unit allows) can reduce blooming and sharpen the image.
- Feather the IR: Instead of blasting your IR on full power, start low and gradually increase it. This prevents washing out your target.
- Keep it Clean: A clean lens is a clear lens. Smudges and dirt will degrade the already limited image quality.
- Practice Makes Perfect: Get out and practice acquiring targets at known distances. This builds the muscle memory needed to work effectively within the system's limits.
Mastering these small details will help you push your Gen 1 gear as far as it can go.
Ready to see how this stacks up against the next level? Next, we'll briefly compare Gen 1 with Gen 2.
Comparing Gen 1 to Newer Generations
To really get a feel for what Gen 1 brings to the table, you have to look at where it came from and where the technology went after. It’s not just about specs on a data sheet; it’s about understanding what you’re actually getting for your money and picking the right tool for the job.
We can’t really talk about Gen 1 without a quick nod to its granddaddy, Gen 0. These were the big, clunky units from the WWII era. They were "active" systems, meaning they absolutely required a powerful, built-in infrared (IR) illuminator to see anything at all. Think of it like a flashlight only you can see—except anyone else with night vision could see your giant IR beam from a mile away, painting a huge target on your back.
Gen 1 was the answer to that problem. It was the first truly passive system, capable of gathering and amplifying the faint, ambient light from the stars and moon. A huge leap forward.
The Gen 2 Revolution: Enter the Micro-Channel Plate
The biggest difference between Gen 1 and Gen 2 comes down to one incredible piece of tech: the Micro-Channel Plate (MCP). This component completely changed the game.
Think of an MCP as a tiny, super-thin disc riddled with millions of microscopic glass tubes. When a single electron from the photocathode hits the wall of one of these tubes, it knocks loose thousands of new electrons in a chain reaction. This simple addition boosts light amplification from Gen 1's roughly 1,000x to a staggering 20,000x or more.
The real-world difference is night and day:
- Brighter, Sharper Images: Gen 2 gives you a much cleaner view, cutting out a huge amount of the grainy "snow" you see in Gen 1.
- No More Fisheye: The MCP flattens the image, almost entirely getting rid of the weird edge distortion common in Gen 1 optics.
- True Low-Light Power: A Gen 2 unit can see clearly in much darker conditions, often without ever needing to turn on an IR illuminator.
Gen 3 and the Modern Standard
Gen 3 was another massive jump, this time thanks to a new photocathode material: Gallium Arsenide (GaAs). This stuff is way more efficient at turning light (photons) into electrical signals (electrons), especially in the near-infrared spectrum where the night sky has plenty of energy.
This incredible sensitivity means Gen 3 produces stunningly bright and crisp images, even on overcast nights with almost no moon. Light amplification jumps again, often hitting 30,000x–50,000x. For a much deeper look at how these technologies stack up, check out our complete guide on the different generations of night vision. Gen 3 also brought us must-have features like auto-gating to protect the tube from bright light flashes.
Key Takeaway: The leap from Gen 1 to Gen 2 was all about the Micro-Channel Plate (MCP), which massively increased gain and image quality. The jump to Gen 3 was driven by the Gallium Arsenide (GaAs) photocathode, which supercharged light sensitivity and overall performance.
To see it all laid out, this table breaks down the major differences you can expect from each generation.
Night Vision Generations Performance Showdown
| Feature | Gen 0 | Gen 1 | Gen 2 | Gen 3 |
|---|---|---|---|---|
| Operation | Active (Requires IR) | Passive | Passive | Passive |
| Light Amplification | N/A | ~1,000x | ~20,000x | 30,000x – 50,000x+ |
| Resolution (lp/mm) | Low | 20-30 | 45-54 | 64+ |
| Tube Lifespan (Hours) | 1,000 | ~1,500 | ~5,000 | 10,000+ |
| Cost | Obsolete | Low | Medium | High |
At the end of the day, Gen 1 still holds an important place as the most affordable and accessible entry into the world of night vision. It can't compete with the raw performance of newer generations, but its price point keeps it a viable option for a lot of folks who don't need military-grade capability.
Practical Applications for Gen 1 Gear

Knowing the technical specs of Gen 1 night vision is one thing, but what really matters is where you can actually put it to work. Despite being an older technology, Gen 1 gear is still a solid, budget-friendly choice for a lot of activities where you don't need military-grade performance. Think of it as the perfect tool for static observation and tasks up close.
For example, a homeowner can scan their backyard for an intruder or figure out what’s making that strange noise without giving away their position with a flashlight. Just having the ability to see in the dark—even with some limitations—is a huge leg up for home security and gives you real peace of mind.
Casual and Recreational Uses
One of the most common places you'll find Gen 1 night vision is in the great outdoors. Campers and hikers can use it to get around familiar trails or set up a tent after the sun goes down, all without ruining their night-adjusted vision.
Wildlife enthusiasts get a ton of value out of these devices, too. You can spot nocturnal animals like raccoons, owls, or deer from a comfortable distance without blasting them with a bright light and sending them running. It opens up a whole new way to experience the outdoors after dark.
- Wildlife Observation: Watch animals in their element without disturbing them.
- Camping and Hiking: Safely navigate familiar campsites and trails.
- Backyard Security: Keep a discreet eye on your property for any unusual activity.
- Livestock Monitoring: Check on your animals in the barn or pasture from afar.
The real beauty of Gen 1 is its accessibility. It gives you basic night vision for situations where seeing something is infinitely better than seeing nothing, and it does it without the sky-high price tag of more advanced gear.
This technology got its start in observation. The first time it was used on a massive scale was during the Vietnam War, where U.S. troops deployed tens of thousands of units like the AN/PVS-2 Starlight scope. That experience proved that passive night vision could completely change how battles were fought after sunset. You can learn more about its journey from military hardware to civilian hands and explore the evolution of night vision technology.
Short-Range Hunting and Pest Control
For hunters, a Gen 1 device is a great entry point, especially for short-range situations. It’s perfect for hog or varmint hunting over a bait site, where your shots are almost always within the 50 to 75-yard effective range of the technology.
Whether you mount it on a rifle or use it as a handheld scanner, it lets you identify and target pests before they ever know you're there. If you're a farmer trying to stop a predator from getting to the chicken coop or a rancher protecting newborn calves, a Gen 1 monocular has all the capability you need to get the job done without breaking the bank.
Know When Not to Use It
It’s just as important to know when Gen 1 night vision is the wrong tool for the job. The lower resolution, the fisheye-like distortion around the edges, and its tendency to "bloom out" from bright lights make it a poor choice for any high-stakes tactical scenario.
You should definitely avoid using Gen 1 gear for these things:
- High-Speed Navigation: Trying to drive a vehicle or run through unfamiliar woods is a recipe for disaster. The limited field of view and image lag just can't keep up.
- Precision Long-Range Shooting: The image simply isn’t clear enough to reliably identify and hit targets much beyond 75 yards.
- Dynamic Environments: In a place with rapidly changing lights, like a city street, the blooming effect can temporarily flash-blind you, which is the last thing you want.
Ultimately, picking a Gen 1 device comes down to matching the tool to the mission. For casual observation, managing your property, and close-range hunting, it delivers incredible value. When you understand its strengths and weaknesses, you can put it to work effectively in all sorts of real-world scenarios.
Getting the Most Out of Your Gen 1 Gear
Having a Gen 1 night vision device opens up a whole new world after dark, but knowing how to handle it properly is what really makes the difference. Think of it like any other specialized piece of equipment—a little care and the right add-ons can completely change its performance and how long it lasts.
First, and this is the golden rule: protect the image intensifier tube from bright light. Seriously. Never, ever power it on in daylight without the lens cap firmly in place. You'll also want to avoid pointing it directly at bright sources like streetlights, car headlights, or even a roaring campfire. Blasting the tube with intense light can cause permanent damage, leaving you with ugly black spots in your view or, even worse, a completely fried unit.
Proper storage is just as critical. When you're done for the night, always take the batteries out. This prevents any chance of leakage and corrosion, which can absolutely wreck the electronics. Keep the device in its protective case and store it somewhere cool and dry to protect it from bumps and moisture. These simple habits are the key to getting the full 1,500 hours of operational life from the tube.
Essential Add-ons and Mounting Setups
If there's one accessory that will completely transform your Gen 1 experience, it's a quality external infrared (IR) illuminator. Most Gen 1 units come with a small built-in IR, but frankly, they're usually pretty weak. A powerful, focusable external IR torch acts like a spotlight that only night vision can see, dramatically boosting your range and sharpening the image. It can take a grainy, almost useless picture and make it bright and clear.
Pro Tip: Upgrading your IR illuminator is the single best bang-for-your-buck improvement for any Gen 1 device. You're basically giving the intensifier tube more "fuel" to work with, letting you punch out farther and see with way more detail in pitch-black conditions.
For anyone wanting to go hands-free, mounting your monocular to a helmet or head harness is a game-changer. It’s perfect for things like short-range pest control around the property or just navigating a familiar campsite without fumbling with your gear. Just don’t forget the limitations of Gen 1—that slight image lag and fisheye distortion mean it’s not built for running and gunning.
- Rifle Mounting: For static hunting from a blind or fixed position, a solid rifle mount can work well. Just make sure it’s rated to handle your firearm's recoil.
- Helmet Mounting: A basic helmet shroud and a mount arm will get you hands-free capability for observation.
- IR Illuminators: A good external illuminator can easily double your effective viewing distance. To find the right fit for your needs, you can explore our guide on selecting an infrared illuminator for night vision.
Knowing When It's Time to Upgrade
Even a perfectly maintained Gen 1 unit will eventually hit a wall. So, how do you know when you’ve pushed your gear as far as it can go? The signs are usually pretty obvious and pop up when your needs start to outpace what the technology can deliver.
It's probably time to consider an upgrade if you find yourself in these spots:
- You’re Constantly Pushing for More Range: If you find you always need to identify things beyond that practical 75-yard limit of Gen 1, it’s time to start looking at Gen 2 or higher.
- The Image Just Isn't Clear Enough: When the classic Gen 1 graininess and distorted edges are making it tough to positively identify what you're looking at, a jump to a higher-gen unit with better resolution is the only real solution.
- You're Dealing with Mixed and Changing Light: If you’re moving through areas where you get hit with sudden bright lights, the “blooming” or halo effect of Gen 1 becomes a real problem. An auto-gated Gen 3 device handles those transitions without missing a beat.
- You Need to Stay Hidden: Leaning heavily on your IR illuminator is great, but remember, that IR glow is a beacon to anyone else with night vision. Upgrading to a more sensitive tube lets you operate passively, without giving away your position.
At the end of the day, your Gen 1 unit is an incredible tool for learning the ropes of operating in the dark. Once your missions demand better clarity, more distance, and faster response, you'll know you're ready to invest in more advanced technology.
Answering Your Top Gen 1 Questions
Alright, we've covered the basics, but I know you've still got some practical questions bouncing around. Let's dig into the common "what ifs" and "how fars" to give you a real-world feel for what it's like to actually own and use a Gen 1 unit.
How Far Can I Realistically See?
This is the big one, and the honest-to-goodness answer is: it all comes down to the amount of ambient light.
On a perfect night with a big, bright full moon, you might be able to positively identify a human-sized figure out to about 75 yards. That’s pretty decent for spotting something in an open field.
But take away that moonlight? On a cloudy night with just a bit of starlight, your effective range could shrink down to 30 yards or even less. This is precisely why a good IR illuminator isn't just an accessory; it's a critical part of any Gen 1 setup.
Do I Really Need an IR Illuminator?
One hundred percent, yes. While Gen 1 devices are technically passive (meaning they amplify existing light), their amplification power has its limits. In true darkness, like a basement with no windows or a forest on a moonless, overcast night, there's practically no light for the tube to work with.
The Bottom Line: Your IR illuminator is like a flashlight that only your night vision can see. It paints the scene with invisible light, giving the tube something to amplify. A solid external IR can easily double your effective range and make the image significantly clearer.
What’s the Lifespan of a Gen 1 Tube?
Most Gen 1 image intensifier tubes are built to last for about 1,500 hours of runtime. That might not sound like a lot, but for the average person who uses it for a few hours here and there, that translates to years of service.
The single biggest enemy of your tube is bright light. Exposing it to daylight or pointing it directly at a streetlight or headlight can cause permanent burn spots. Just remember to keep the lens cap on when it's not in use, and you'll go a long way toward preserving its life.
How Tough Are These Things, Anyway?
Durability can be a mixed bag and often depends on the brand, but generally, Gen 1 devices are made for civilian and recreational activities. They'll hold up just fine for camping, spotting coyotes, or basic property surveillance, but they aren't built to the same bomb-proof standards as military gear.
Here’s a quick breakdown of what to expect:
- Water Resistance: Most units are weather-resistant, meaning they can handle some rain. They are definitely not waterproof, so don't go dropping one in a creek.
- Recoil Rating: This is a big one for hunters. If you plan to mount it on a rifle, you absolutely must check the manufacturer's recoil rating. Many Gen 1 scopes are only rated for smaller calibers.
- Impact Resistance: The image intensifier tube is a sensitive piece of vacuum-sealed glass and electronics. Dropping your unit on a hard surface is a great way to break it, so treat it with care.
A little common sense in how you handle and store your gear will make sure it’s ready to go when you need it.
Ready to explore the night? Superior Tactical offers a curated selection of reliable night vision and tactical gear to get you mission-ready. Check out our collection and find the perfect optics for your needs at https://superiortac.com.