The Ultimate Guide to the ARC Rail Peltor Adapter
So, what exactly is an ARC rail Peltor adapter? Think of it as a specialized mounting bracket that lets you attach your Peltor communication headset directly to the ARC rails on your tactical helmet. It completely replaces the standard headband, giving you a much more stable, comfortable, and streamlined setup for your comms and hearing protection. For anyone running serious kit, this simple upgrade is a non-negotiable piece of gear.
Why an ARC Rail Peltor Adapter Is a Tactical Game Changer
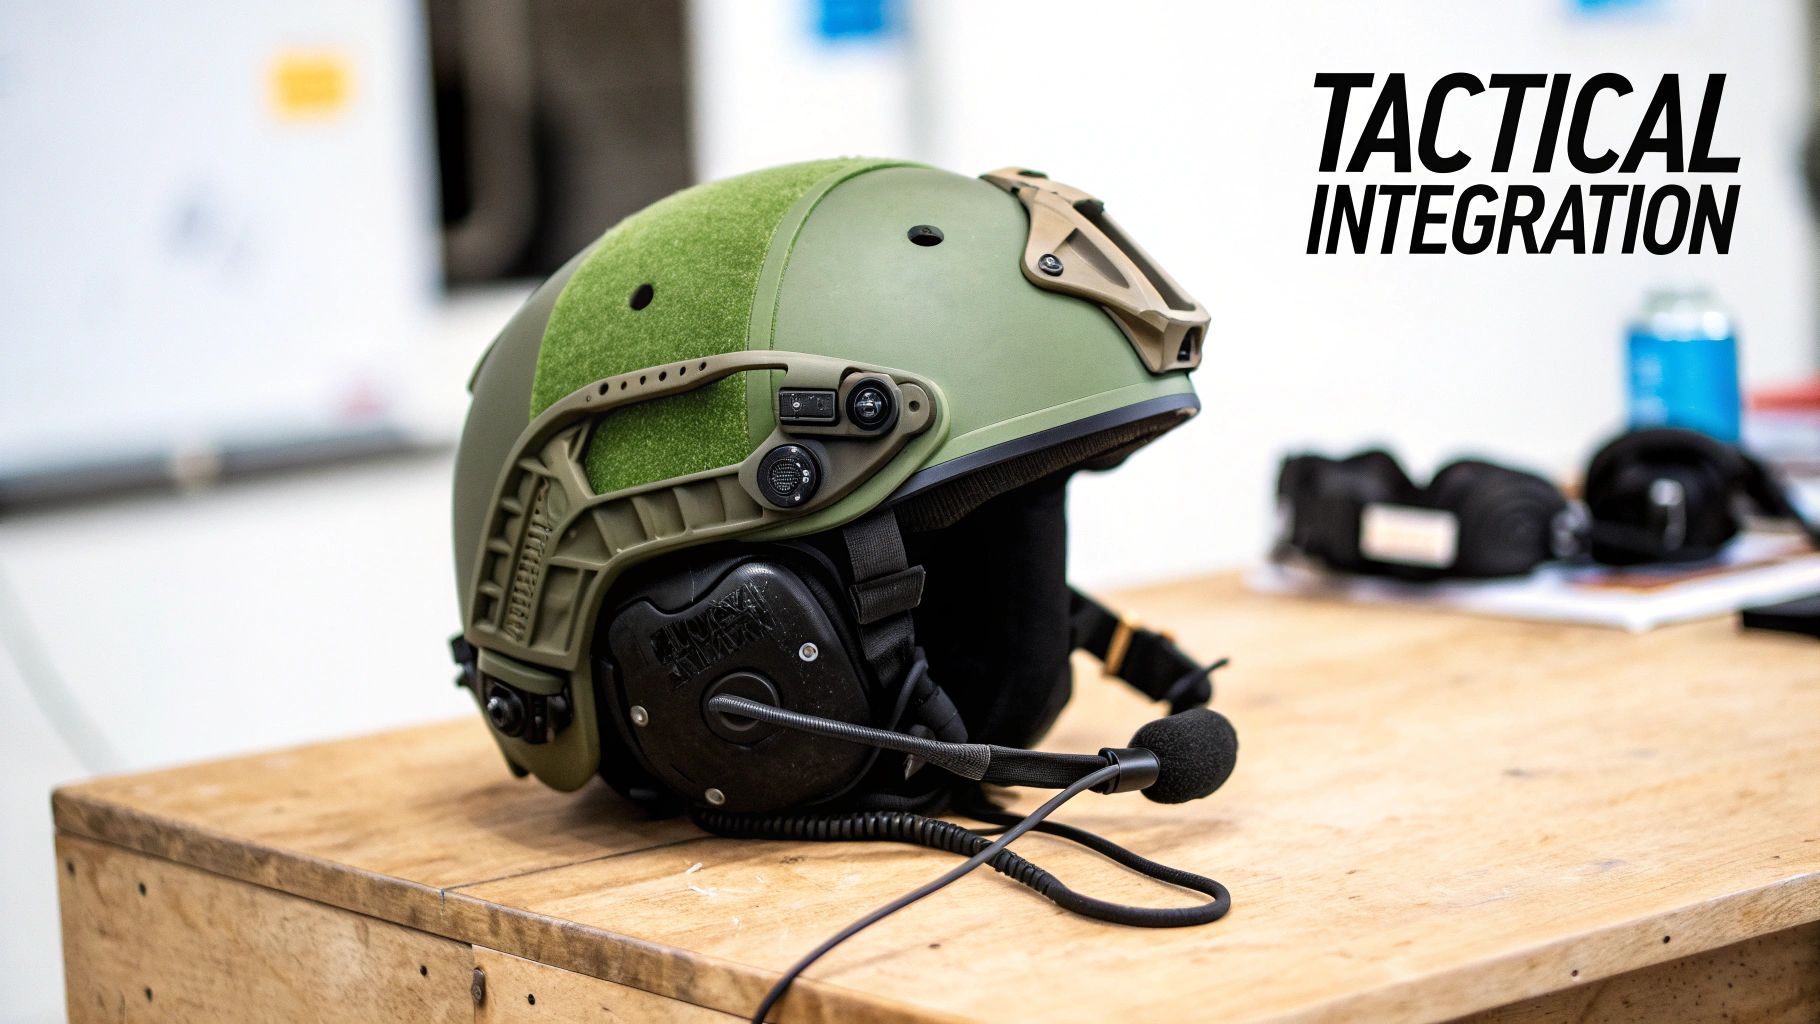
Picture your helmet, night vision, and comms headset as three independent systems. Without the right interface, they’re constantly fighting each other for space. The headset’s headband creates nasty pressure points under the helmet shell—something you really feel after a few hours—and it often gets in the way of your night vision mount. The ARC rail adapter is the bridge that finally unites these components into one single, functional unit.
Ditching Discomfort for Stability
The first thing you’ll notice is the freedom from that bulky headband. Instead of being mashed between your head and the helmet pads, the earcups now "float" on articulating arms. It might seem like a small change, but the impact on long-term comfort and operator fatigue is massive.
Even more critical is the boost in stability. When you're moving, jumping, or in an awkward position, a headset with a headband can slip around, breaking the ear seal you need for hearing protection and clear comms. The adapter locks the headset right onto the helmet's frame, making sure it stays put no matter what the mission throws at you.
The core function of an ARC rail adapter is to transform your headset from a standalone accessory into an integral part of your helmet system. This integration improves comfort, stability, and operational speed.
Enhancing Operational Readiness
This integrated setup makes gearing up a whole lot faster. Instead of putting on a helmet and then wrestling with a separate headset, your entire headborne system is good to go as one piece. The adapter arms are designed for quick adjustments on the fly, allowing you to:
- Seal: Pop the earcups down for instant hearing protection and clear comms.
- Vent: Click the earcups outward to get some airflow and hear your surroundings without taking your helmet off.
- Stow: Rotate the earcups to the back of the helmet to keep them secure and out of the way when not in use.
In the world of tactical operations, the 3M Peltor ARC Rail Adapter has become the go-to for professionals mounting headsets on helmets like the Ops-Core FAST system. These adapters hit the scene around 2015 as part of the Accessory Rail Connector (ARC) ecosystem and quickly became standard issue. They allow for a clean, hassle-free integration of Peltor Comtac headsets, which already dominate 65% of the U.S. tactical communications market. You can learn more about how these industry-standard adapters changed the game.
Navigating Helmet and Headset Compatibility

Getting your headset mounted to your helmet seems simple, but this is where a lot of people trip up. The key is understanding that the arc rail peltor adapter isn't a one-size-fits-all part. It's a bridge, and for it to work, it has to connect perfectly to your specific helmet rail on one side and your exact headset model on the other. Get this combo right, and you’re golden. Get it wrong, and you're in for a wobbly, frustrating time.
What Kind of Rails Are On Your Helmet?
First things first, you need to identify your helmet's rail system. Think of it like a train track—you can't run a maglev train on old-school iron rails. The gold standard, and what these adapters were originally built for, is the Accessory Rail Connector (ARC) rail. You’ll find true ARC rails on helmets from top-tier brands like Ops-Core.
But not every helmet uses ARC rails. Team Wendy, for instance, has its own EXFIL rail system. You'll also see a lot of helmets using the M-LOK system, which has become incredibly popular. The good news is that the market has caught on, so you can almost always find a specific adapter or bridge piece to make your Peltor headset play nice with these non-ARC rails.
Which Headset Are You Actually Running?
Just as crucial is knowing your exact headset model. "Peltor" is often used as a catch-all term, but it's a brand with a huge lineup. The standard 3M Peltor ARC adapters are made to fit their legendary Comtac and SWAT-TAC series—the ones you see most military and law enforcement professionals running.
If you're using something else, like a Peltor Sport Tactical or a headset from another great brand like Sordin or Howard Leight, the standard adapters won't work. You'll need to hunt down a third-party solution. Luckily, several companies have stepped up to make high-quality mounts for these other popular models, so you're not out of luck.
Since Ops-Core first introduced them, 3M Peltor ARC Rail Adapters have become the go-to solution for mounting comms. Over 750,000 kits have been issued to operators globally, and they now account for 55% of all helmet-mounted headset setups in the US. This popularity means there’s a massive ecosystem of parts available, including adapters for Crye Airframe helmets and third-party mounts that expand compatibility to cover 85% of common headset models. You can dive deeper into the history of these pioneering rail attachments.
Helmet and Headset Compatibility Checklist
Use this quick reference guide to confirm if your gear is compatible with standard ARC Rail Peltor adapters or requires additional components.
| Helmet Model or Rail Type | Headset Series | Direct Compatibility | Notes or Adapter Needed |
|---|---|---|---|
| Ops-Core (FAST, Sentry) | 3M Peltor Comtac/SWAT-TAC | Yes | Natively designed for ARC rails. |
| Team Wendy (EXFIL) | 3M Peltor Comtac/SWAT-TAC | No | Requires Team Wendy-specific Peltor adapters. |
| M-LOK Rail Helmets | 3M Peltor Comtac/SWAT-TAC | No | Requires an M-LOK to ARC rail adapter section. |
| Crye Precision (Airframe) | 3M Peltor Comtac/SWAT-TAC | No | Requires the Crye Airframe-specific ARC rail kit. |
| Any ARC Rail Helmet | Howard Leight/Sordin | No | Requires a third-party adapter (e.g., from Unity Tactical). |
This table should help you avoid the common headache of ordering the wrong part. Always double-check your specific models before you click "buy."
Your Quick Sanity Check
To save yourself time and money, just run through this mental checklist before you purchase an adapter. If you can't confidently answer all three, pause and do a bit more research.
- What rail is on my helmet? Is it ARC, M-LOK, EXFIL, or something else entirely?
- What headset do I own? Is it a genuine Comtac, or another model or brand?
- Does the adapter match both? The product description should explicitly name your rail system and your headset series.
Taking a few minutes to confirm these details will pay off when you have a solid, perfectly integrated setup. Once you've got your comms sorted, you might want to explore other essential ballistic helmet accessories to round out your kit.
A Step-by-Step Guide to a Flawless Installation
Getting your ARC rail Peltor adapter installed is a simple job that completely changes your helmet setup for the better. Think of it less like a complex surgery and more like snapping together a high-end model kit—every piece is made to fit perfectly. Following these steps will give you a rock-solid fit, a perfect audio seal, and a streamlined rig that's ready to go.
The whole thing should take you less than 15 minutes. Before you start, grab a clean, well-lit spot and lay out your helmet, headset, and the new adapter arms. Keeping things organized from the get-go makes the process a lot smoother and frustration-free.
Preparing Your Headset
First things first, you need to get the Peltor earcups off their original headband. This is probably the most delicate part of the whole process, but it's easy if you just take your time.
-
Detach the Headband Wires: Look for the small plastic clips holding the earcup wires to the headband. Gently pop the wires out; they should come loose with a bit of careful pressure.
-
Remove the Earcups: Now, focus on the thin metal posts where the headband connects to each earcup. These are made of spring steel and can be carefully pried out. A small flathead screwdriver can be a big help here, but go easy to avoid scratching up the plastic.
-
Inspect the Connection Points: With the headband off, take a second to clean out the little openings on the earcups where the new adapter arms will plug in. Make sure there’s no gunk or debris left behind.
Pro Tip: When you're prying the headband posts out, use steady and even pressure. Don't twist or yank on them, as that's a good way to damage the earcup housing. A little finesse is all it takes.
Assembling the Adapter Arms
With the earcups free, it's time to connect the new adapter arms. They are almost always marked for left and right, so double-check that you’re matching them up correctly.
The arc rail peltor adapter arms have metal posts that look just like the ones on the old headband. They slide right into the same slots you just cleared out on the earcups. You should hear and feel a solid "click" when they lock in. That's your confirmation that they're seated properly. Give them a light tug just to be sure the connection is solid.
This is also the perfect time to give the adapter arms themselves a quick once-over. They usually come ready to go, but it never hurts to check that the small screws at the pivot points are snug. A stable comms setup is the foundation for everything else; for example, it creates a more balanced platform for your helmet night vision mount.
Mounting to the Helmet Rails
Your headset now has its new arms, so the last step is to get the whole assembly onto your helmet's ARC rails.
-
Position the Adapters: Simply slide the mounting base of each adapter arm onto the ARC rail. You can move them forward or backward along the rail to get the perfect fit for your head.
-
Lock Them in Place: Once you've found that sweet spot, tighten down any locking screws if your particular adapter model has them. The adapters should glide smoothly on the rail but feel completely secure once you've set them, with zero play or wobble.
-
Test the Fit and Seal: Put the helmet on and give everything a test run. Swing the earcups down into the "on" position and make sure they create a firm, even seal all the way around your ears. Then, check the vent and stowed positions to ensure they click into place smoothly. Keep tweaking the rail position until the comfort and seal are absolutely perfect.
Mastering Your Setup in the Field
Getting your ARC rail Peltor adapter on the helmet is just the start. The real magic happens once you learn how to use the system on the move. Unlike a clunky old headband, these adapters make your ear pro a flexible part of your kit, one that can change as your situation does.
When you first get it set up, the goal is to have the earcups pressing firmly and evenly against your head. This creates the acoustic seal you need for proper hearing protection and crystal-clear comms. If you notice any gaps or one spot pressing harder than another, just slide the adapters along the ARC rail. A little nudge forward or back is usually all it takes to get that perfect, all-day comfort.
Before you can fine-tune it in the field, you have to get it installed. This diagram walks through the basic three steps to get you up and running.
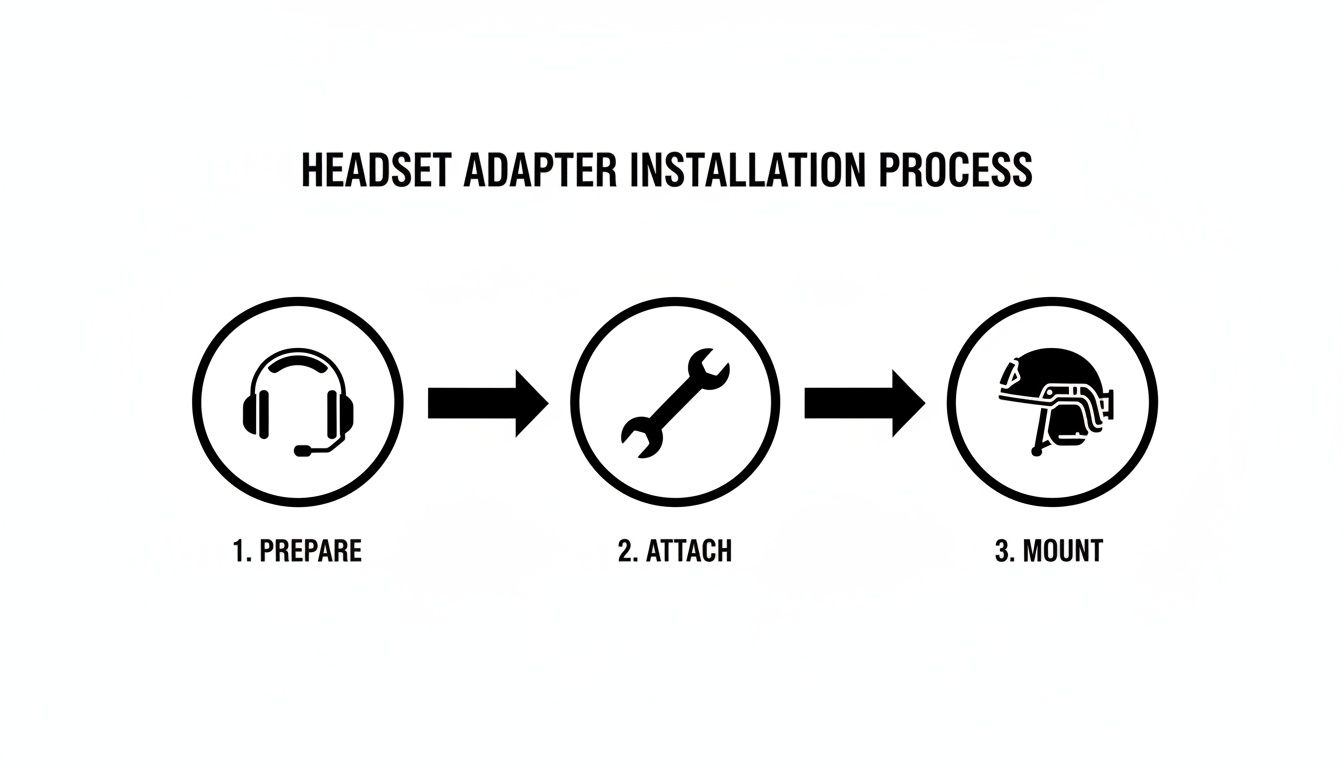
This process—getting the headset ready, snapping on the adapters, and sliding them onto the helmet—is what unlocks all the practical, in-field benefits.
Using the Three Positions to Your Advantage
The whole system is built around three core positions. Learning to flow between them is what makes these adapters an absolute game-changer.
-
Sealed Position: This is your "go-to" mode. The earcups are clamped down, creating that vital seal over your ears. The articulating arms are designed to keep that pressure consistent even when you're turning your head, looking up, or going prone, so your hearing protection never quits.
-
Vented Position: With a simple outward click, the earcups pop away from your head just enough to break the seal. This is perfect for letting your ears breathe on a hot day or for having a quick, face-to-face chat without yelling. It instantly brings your situational awareness back to normal levels when you don't need active protection.
-
Stowed Position: Rotate the arms all the way back, and the earcups will tuck neatly against the back of your helmet. This gets them completely out of the way for times when you're in a vehicle, doing admin work, or need to use a phone.
Being able to flip between sealed, vented, and stowed without ever taking your helmet off is the single biggest tactical advantage of an ARC rail adapter. It keeps you comfortable, focused, and ready.
This simple, fluid system means you're not constantly messing with your gear. Instead of pulling your entire helmet off just to cool down or hear a quiet command, a quick click or twist is all it takes. That efficiency saves time, keeps you safer, and makes a small piece of hardware feel like essential operational equipment.
ARC vs. M-LOK: Understanding the Helmet Rail Landscape
Before you can even think about which ARC rail Peltor adapter to buy, you need to know what you're mounting it to. Think of your helmet's rail system like the Picatinny rail on a rifle—it's the foundation for everything else. Get this part wrong, and nothing else matters. The two big players on the field are ARC and M-LOK, and they come from very different schools of thought.
The Accessory Rail Connector (better known as ARC) was the original standard, pioneered by Ops-Core for their high-end tactical helmets. It’s a dovetail-style rail, which means accessories slide on and lock into place with incredible security. For years, if you were running serious gear, you were running it on an ARC rail. This made it the go-to for military and law enforcement, and a huge ecosystem of compatible accessories grew up around it.
The Rise of an Open-Source Competitor
Then came M-LOK. Developed by Magpul for firearms, M-LOK entered the helmet world as a super-versatile, open-source competitor. Its biggest advantage is its low-profile, direct-mount design that cuts down on snag hazards. Because Magpul made the system open-source, any helmet manufacturer could use it without paying licensing fees, which led to it showing up on all sorts of different helmets.
This essentially created a fork in the road. Do you go with the battle-proven, purpose-built ARC system or the more flexible, open-standard M-LOK?
The core difference is specialization versus versatility. ARC was purpose-built for helmets from the ground up, while M-LOK was a highly successful firearm system adapted for headborne use.
The market has since adjusted to this split. With a massive 300% jump in helmet-mounted comms adoption among U.S. tactical professionals between 2018 and 2024, the demand for cross-compatibility exploded. This pushed innovators to create M-LOK-to-ARC bridges, which grabbed 25% of the accessory market by 2023. At the same time, major helmet makers integrated open-rail systems on 40% of their top-tier models. You can read more about how these rail systems compare.
Bridging the Gap for Maximum Flexibility
So, which side do you choose? The best answer is: you don't have to. The smartest play is to build a system that can handle both. Thanks to simple bridge adapters, you’re no longer locked into one ecosystem. You can easily mount an ARC rail Peltor adapter onto an M-LOK helmet by just adding a small M-LOK-to-ARC rail section.
This approach is all about future-proofing your kit. It means that no matter what helmet you’re running today—or what new piece of gear comes out tomorrow—you can make it all work together. This idea of interoperability is absolutely critical, especially when you start adding complex equipment like the systems we cover in our guide on dovetail mounts for night vision goggles. Knowing both rail types inside and out lets you make much smarter gear choices down the line.
Keeping Your Gear in the Fight: Maintenance and Troubleshooting
Your ARC rail adapter isn't just a piece of plastic; it's the critical link between your helmet, your hearing, and your comms. Taking care of it isn't about just making it last longer—it's about making sure it doesn't fail you when the stakes are high.
Think of it like checking the oil in your truck. A few minutes of preventative care can save you from a massive headache down the road, or worse, in the middle of an operation. These adapters are tough, but they're not indestructible. The polymer arms and pivot points see a lot of stress, so a little attention goes a long way.
The Two-Minute Pre-Flight Check
Before you head out, and after you get back, run through this quick inspection. It’s simple, fast, and will catch most problems before they have a chance to start.
- Check for Cracks: Give the polymer arms a good look-over, paying close attention to the pivot points and where they attach to your earcups. You're looking for tiny hairline cracks or white stress marks.
- Torque Check: Make sure all the screws on the adapter are snug. Constant movement, running, and jumping can vibrate things loose over time. No tools needed, just a quick check with your fingers.
- Clean the Mating Surface: Wipe down the part of the adapter that actually slides into the ARC rail. A little bit of grit, sand, or dirt in there can make it a nightmare to mount or cause it to sit improperly.
One of the first things to go is often the connection between the adapter arm and the earcup itself. Before you even put the helmet on, give each earcup a little wiggle. If there's any play, address it immediately.
Common Problems and How to Fix Them
Even the best gear can have issues. Here are the most common snags you'll run into with your adapters and the no-nonsense fixes to get you back up and running.
| Problem | The Likely Culprit | The Fix |
|---|---|---|
| Loose or Wobbly on the Rail | Debris in the rail or the mounting screw has backed out a bit. | Pop the adapter off and clean both the helmet rail and the adapter's mounting surface. Tighten the screw until it's snug—don't crank on it. |
| Bad Seal Around Your Ears | Adapter isn't positioned right, or your earcup pads are shot. | Slide the adapter forward or backward on the rail until you get even pressure. If that doesn't work, it's time to upgrade to gel earcups. |
| Won't Slide on the Rail Easily | Dirt, sand, or grime is gumming up the works. | Use a stiff nylon brush to clean out the rail channel. If it's still sticky, a tiny bit of dry lubricant like graphite powder can help. |
| Earcup Won't "Click" Up or Down | The detent is worn out, or there's junk in the pivot. | A quick blast of compressed air into the pivot joint can clear out debris. If it's still not locking, the arm is likely worn and needs to be replaced. |
Running through these quick checks will keep your comms system solid, reliable, and ready for action. It's the small details that ensure your gear works every single time you need it.
Your ARC Rail Adapter Questions Answered
When you're getting your kit dialed in, a few key details can be the difference between a rock-solid setup and a night of frustration. Let's tackle the most common questions about the ARC rail Peltor adapter so you can get your gear squared away with confidence.
Can I Use an ARC Adapter on a Non-ARC Helmet?
Short answer: no. A standard ARC adapter is purpose-built for the specific dovetail shape of the Accessory Rail Connector (ARC) system. It simply won't lock into other rail types like M-LOK or the proprietary rails on a Team Wendy EXFIL helmet.
Luckily, this is an easy fix. If your helmet uses a different rail, you just need a small bridge adapter. For example, you can get an M-LOK-to-ARC adapter that bolts right onto your helmet, giving you a solid little section of ARC rail to mount your headset. Just be absolutely sure what kind of rail system your helmet has before you click "buy."
Will Installing an Adapter Void My Peltor Warranty?
Generally, you're in the clear. The official 3M Peltor ARC Rail Adapters are authorized accessories made specifically for their Comtac and SWAT-TAC headsets. The installation is totally non-destructive—you're just swapping one factory part for another, and you can always switch it back.
The only time you might hit a snag is with cheap, uncertified third-party adapters. If a knock-off mount breaks and damages your headset's wiring or housing, 3M probably won't cover that repair under warranty. To be safe, stick with genuine 3M parts or adapters from reputable aftermarket companies known for quality manufacturing.
Using manufacturer-approved accessories is the best way to ensure you keep your full warranty coverage. The swap is designed to be a simple, reversible upgrade that improves functionality without any risk.
Do These Adapters Work with Non-Peltor Headsets?
The 3M Peltor ARC adapters themselves? No, they're built only for specific Peltor models. The mounting points and dimensions are unique to their design.
The good news is that the ARC rail has become the industry standard, so plenty of other companies make their own ARC-compatible arms for different headsets. You can easily find high-quality adapters for popular ear pro like the Howard Leight Impact Sport or various models from the Sordin Supreme Pro-X lineup. The key is to check the product description carefully and make sure the adapter is explicitly listed as compatible with your exact brand and model.
For a complete selection of genuine tactical accessories, including helmet mounts and adapters, trust Superior Tactical LLC to equip you with reliable, mission-ready gear. https://superiortac.com