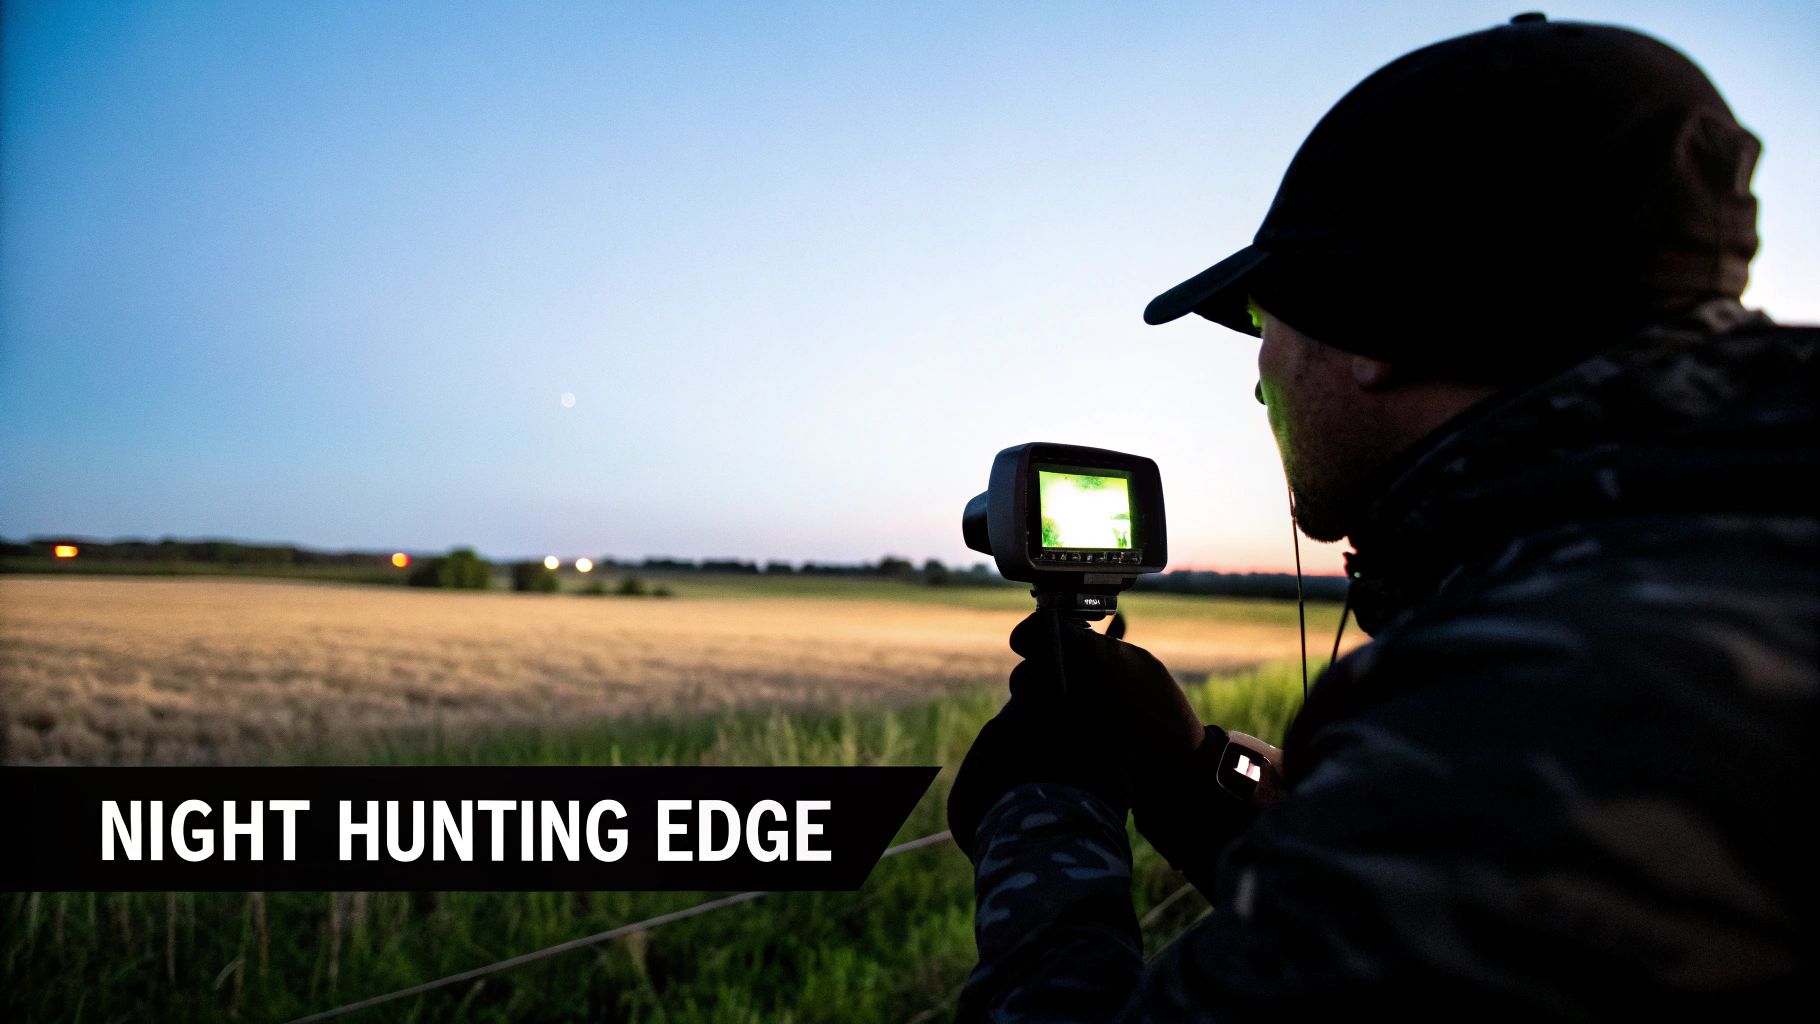
Mastering the Night with a Hunting Thermal Monocular
Picture this: you're scanning a field in total darkness, and suddenly, the distinct, glowing silhouette of your target appears in the brush. That's the power of a hunting thermal monocular. It's a handheld device that reads infrared energy—heat—and turns it into a clear image, letting you see animals and other objects when your own eyes can't. This tech is a true game-changer for scouting, tracking, and recovery, giving you a serious leg up on traditional optics.
Gain the Ultimate Night Hunting Advantage
This guide isn't about throwing a bunch of technical jargon at you. It's about giving you a practical, real-world understanding of how thermal imaging completely transforms the hunt. We’ll get into how this technology lets you spot heat signatures through pitch-black darkness, dense fog, and even light foliage, leading to more ethical, efficient, and successful hunts.
Think of this as your go-to manual for turning hidden opportunities into successful harvests. Whether you're scouting a new piece of land or tracking that buck after the sun goes down, a quality thermal device is an essential piece of kit.
Why Thermal Vision Is Essential for Modern Hunters
A lot of people confuse thermal with night vision, but they're fundamentally different. Night vision needs some ambient light to work—it just amplifies it. Thermal imaging, on the other hand, reads temperature differences. This gives you some incredible advantages out in the field.
- See in Absolute Darkness: Thermal doesn't care if there's a full moon or no moon at all. It works in zero light, revealing targets on the blackest nights or deep inside a shadowy barn.
- Cut Through Obscurants: It sees what you can't. Heat signatures can be detected right through visual barriers like fog, smoke, and light brush, exposing game you would have walked right past.
- Improve Situational Awareness: You can scan huge areas in seconds to find animals, check the makeup of a herd, or spot predators without ever giving away your position with a flashlight.
This incredible capability is exactly why the market for these devices is blowing up. Valued at roughly $500 million in 2025, it's on track to grow by a solid 12% each year through 2033. Big advancements in technology have brought prices down dramatically, with good entry-level units now available for under $1,000, making them accessible to way more hunters. It's no surprise that adoption is soaring—recent surveys show that 25% of U.S. hunters now own thermal optics, a huge jump from just 5% back in 2015. You can dig into more of the market data over on Datainsightsmarket.com.
A thermal monocular doesn't just let you see at night; it fundamentally changes how you perceive the environment, revealing a hidden world of heat and activity.
Once you really get a feel for the technology, you start making smarter, more informed decisions in the field. This guide will give you the know-how to pick the right thermal monocular and use it like a pro. Pairing this tool with the right techniques is key, and understanding how thermal spotters enhance your vision is a great place to start.
How Thermal Monoculars See a World of Heat
Ever wondered how a small, handheld device lets you peer into total darkness? It's not some kind of black magic—it's thermal science, and the principle behind it is actually pretty straightforward. Forget everything you know about normal cameras that need light to work. A hunting thermal monocular is built to see a world made of heat.
Every single thing in the environment, from a warm-blooded coyote to a cool rock, is constantly giving off invisible infrared energy. The warmer something is, the more of this thermal energy it radiates. Your monocular is designed specifically to pick up on this hidden layer of reality and turn it into a picture you can see.
This is the key difference that separates thermal imaging from traditional night vision. While night vision needs some ambient light to function—like from the moon or stars—which it then amplifies, thermal technology is completely independent. It works perfectly in zero-light environments because it's not looking for light at all. It's looking for heat.
The Journey from Heat to Image
So, how does that invisible heat signature get turned into a crisp image on your screen? It’s a slick process that happens in a split second, giving you a serious edge out in the field.
It all starts with a specialized lens made from germanium. Unlike regular glass, this material is almost completely transparent to infrared radiation but blocks visible light. It acts like a funnel, gathering all the heat signatures from the scene and focusing them.
From the lens, that focused infrared energy hits a highly advanced sensor called a microbolometer. Think of this as a grid made up of thousands of tiny, heat-detecting pixels. When thermal energy hits one of these pixels, it heats up, which changes its electrical resistance. The device measures that change with incredible accuracy.
The monocular’s onboard processor then takes the raw data from every single one of those pixels and assigns a color or shade of gray to it based on its temperature reading. This creates a detailed heat map, called a thermogram, which is then displayed on the small, high-resolution screen you look at. What you get is a clear, real-time image of the thermal landscape right in front of you.
What you're seeing on the screen isn't a "picture" in the traditional sense. It's a visual map of thousands of tiny temperature differences, which is why a warm animal stands out so vividly against its cooler background.
Seeing Through Visual Barriers
One of the most powerful advantages of thermal imaging is its ability to punch through environmental obstacles that would stop your eyes—and even standard night vision—dead in their tracks.
- Foliage and Brush: While it can't see through a solid tree, a thermal unit can easily spot the heat of an animal partially obscured by tall grass, light brush, or leaves.
- Weather Conditions: Thermal cuts through smoke, dust, fog, and haze like they're barely there. These particles scatter visible light but do a poor job of blocking infrared radiation.
- Total Darkness: As we covered, thermal shines in pitch-black conditions where there is absolutely no light for a traditional optic to gather.
This unique ability to detect heat instead of reflected light gives hunters an incredible advantage for spotting, identifying, and recovering game. If you want to dig deeper into the specifics, you can learn more about the differences between thermal and night vision technology in our full guide. Nailing down this core concept is the first step to truly mastering your gear.
Translating Tech Specs Into Field Performance
Looking at a thermal monocular’s spec sheet can feel like trying to decipher code. But once you learn the language, you can connect those numbers to what you’ll actually see in the field. This is the key to making a smart investment instead of an expensive mistake.
The goal isn't to buy the priciest unit—it's to get the right tool for your hunt. Let's break down the most important metrics so you know exactly what you’re paying for and how it will perform when a coyote is slipping through the brush.
First, here’s a quick visual on the basic process: how a thermal device turns an invisible heat signature into a clear picture on your screen.
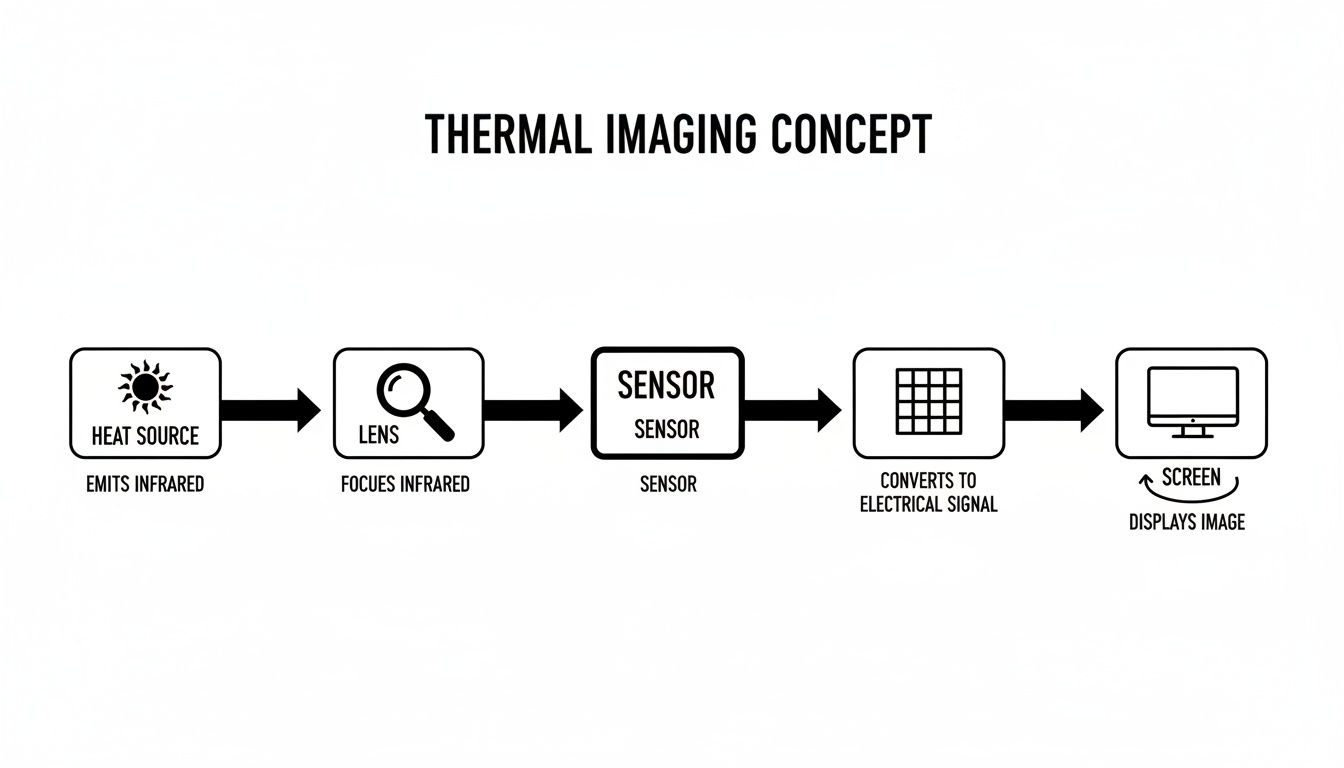
This simple flow—capturing infrared energy, converting it, and displaying it—is the magic that turns a dark field into a world of visible heat.
Thermal Monocular Spec Comparison and Hunting Impact
This table breaks down key specifications and explains their direct impact on different hunting scenarios, helping you prioritize features based on your needs.
| Specification | Low-End Range | High-End Range | Impact on Your Hunt |
|---|---|---|---|
| Sensor Resolution | 384×288 pixels | 640×480 pixels (or higher) | Higher resolution means a clearer image, better digital zoom, and more confident target identification. Essential for telling a coyote from a stray dog at a distance. |
| NETD | >40 mK | <25 mK | A lower number provides a sharper image in bad weather (rain, fog, humidity). High-end units cut through the muck while others show a muddy, low-contrast mess. |
| Refresh Rate | 30Hz | 50Hz / 60Hz | A higher rate gives you a smooth, fluid image. It’s critical for scanning and tracking moving targets like running hogs without a choppy, lagging video feed. |
| Field of View (FOV) | Narrow (e.g., 8°) | Wide (e.g., 12.5°) | A wider FOV is for scanning dense woods up close. A narrower FOV is for spotting game in open country at long distances, offering more base magnification. |
Each of these specs is a piece of the puzzle. Understanding how they work together is what lets you choose the perfect thermal for your environment and target species.
Sensor Resolution: Clarity Is King
If there's one spec to obsess over, it’s sensor resolution. Measured in pixels, common resolutions are 384×288 or the much sharper 640×480. More pixels simply mean a more detailed picture.
Think of it as standard definition versus high-definition TV. With a 640×480 sensor, you can actually see the individual tines on a buck's antlers or the bushy tail of a fox. That’s the kind of detail that lets you make a clean, ethical decision. It’s non-negotiable.
Higher resolution also dramatically improves digital zoom. When you zoom in on a low-res image, it quickly becomes a blocky, pixelated mess. A 640×480 sensor holds that clarity far better, allowing you to identify targets at much greater distances.
The Three Tiers of Range Performance
Manufacturers love to advertise huge "detection ranges," but that number alone is almost useless. You need to understand the three distinct levels of range to know what a unit can really do.
- Detection Range: This is the absolute maximum distance where the sensor can pick up a heat blob. You'll know something is out there, but you won’t have a clue what it is.
- Recognition Range: Getting closer. At this range, you can start to make out general shapes. Is it a four-legged animal or a person? Is it big or small? You can recognize its general class.
- Identification Range: This is the number that matters. This is the distance at which you can positively identify your target—confirming it’s a hog, not a calf—and be 100% confident in taking a safe shot.
A monocular might detect a deer-sized heat source at 1,800 yards, but you might only be able to recognize it as an animal at 600 yards, and you might not be able to positively ID it as a mature buck until you’re inside 300 yards.
Pay less attention to the maximum detection range and more to the identification range. Knowing something is a mile away is useless if you can't tell what it is until it's right on top of you.
NETD: Spotting Subtle Heat Differences in Tough Weather
NETD, or Noise Equivalent Temperature Difference, is a measure of the sensor's sensitivity. It’s listed in millikelvins (mK), and with this spec, the lower the number, the better. A lower NETD means the sensor can distinguish between tiny variations in temperature.
Why does this matter? On a cold, crisp night, almost any thermal looks good. But throw in some fog, rain, or high humidity, and the temperature contrast between an animal and the background plummets.
That’s when a low NETD sensor (<25 mK**) shines, pulling a sharp, detailed image out of the muck. A unit with a high NETD (**>50 mK) will produce a washed-out, muddy image, making it nearly impossible to spot game. If you hunt in anything other than perfect weather, a low NETD is a game-changer.
Refresh Rate and Field of View (FOV)
Two final specs that directly affect how you use the monocular are refresh rate and field of view.
Refresh Rate, measured in Hertz (Hz), tells you how many times per second the screen updates. You want a high rate like 50Hz or 60Hz. This gives you a smooth, seamless image, which is absolutely vital for scanning or tracking a moving animal. A lower rate like 30Hz will look choppy and can even cause motion sickness.
Field of View (FOV) is simply how wide of a picture you can see. A wide FOV is perfect for scanning tight woods where an animal might pop out up close. A narrow FOV gives you more base magnification, making it better for spotting game across wide-open fields. It's a trade-off, so choose the one that best fits your hunting grounds.
Mastering Your Thermal Monocular in the Field
Getting your hands on a quality hunting thermal monocular is just the starting line. The real magic happens when you learn to use it effectively in the field—that’s what separates a successful hunt from a long, frustrating night. This tech peels back the curtain of darkness, but tapping into its full potential means blending smart tactics with a deep understanding of what it can and can't do. This is where your gear meets your skill.
And it's no secret how effective this gear is. The global market for handheld thermal monoculars hit $571 million in 2024 and is on track to reach $848 million by 2031. Why the surge? Because it works. Hunters consistently report 35% more sightings in heavy brush compared to just using their eyes and ears. With 14 million deer hunters in North America alone, the region is leading the way, accounting for 40% of all sales. You can dig deeper into these numbers over at Intel Market Research.
Effective Scanning Techniques
Just waving a thermal around is a great way to miss everything. To really cover ground and ensure nothing slips past, you need a system. A structured scanning pattern trains your eyes and brain to work in sync, turning you from a casual observer into a highly effective spotter.
Two of the most tried-and-true methods are the grid and the fan.
- The Grid Method: Picture the landscape in front of you as a giant checkerboard. Start in the top-left square, scan horizontally to the right, drop down a row, and scan back to the left. This methodical approach forces you to look at every single piece of the terrain.
- The Fan Method: Begin by scanning the area closest to you in a short arc, say, from left to right. Then, push your range out a bit further and scan back from right to left in a wider arc. Keep "fanning" out like this, covering more distant ground with each pass.
No matter which pattern you prefer, the key is consistency. Move slowly. Give the sensor time to refresh and your eyes a moment to register those faint heat signatures. A rushed scan is a useless scan.
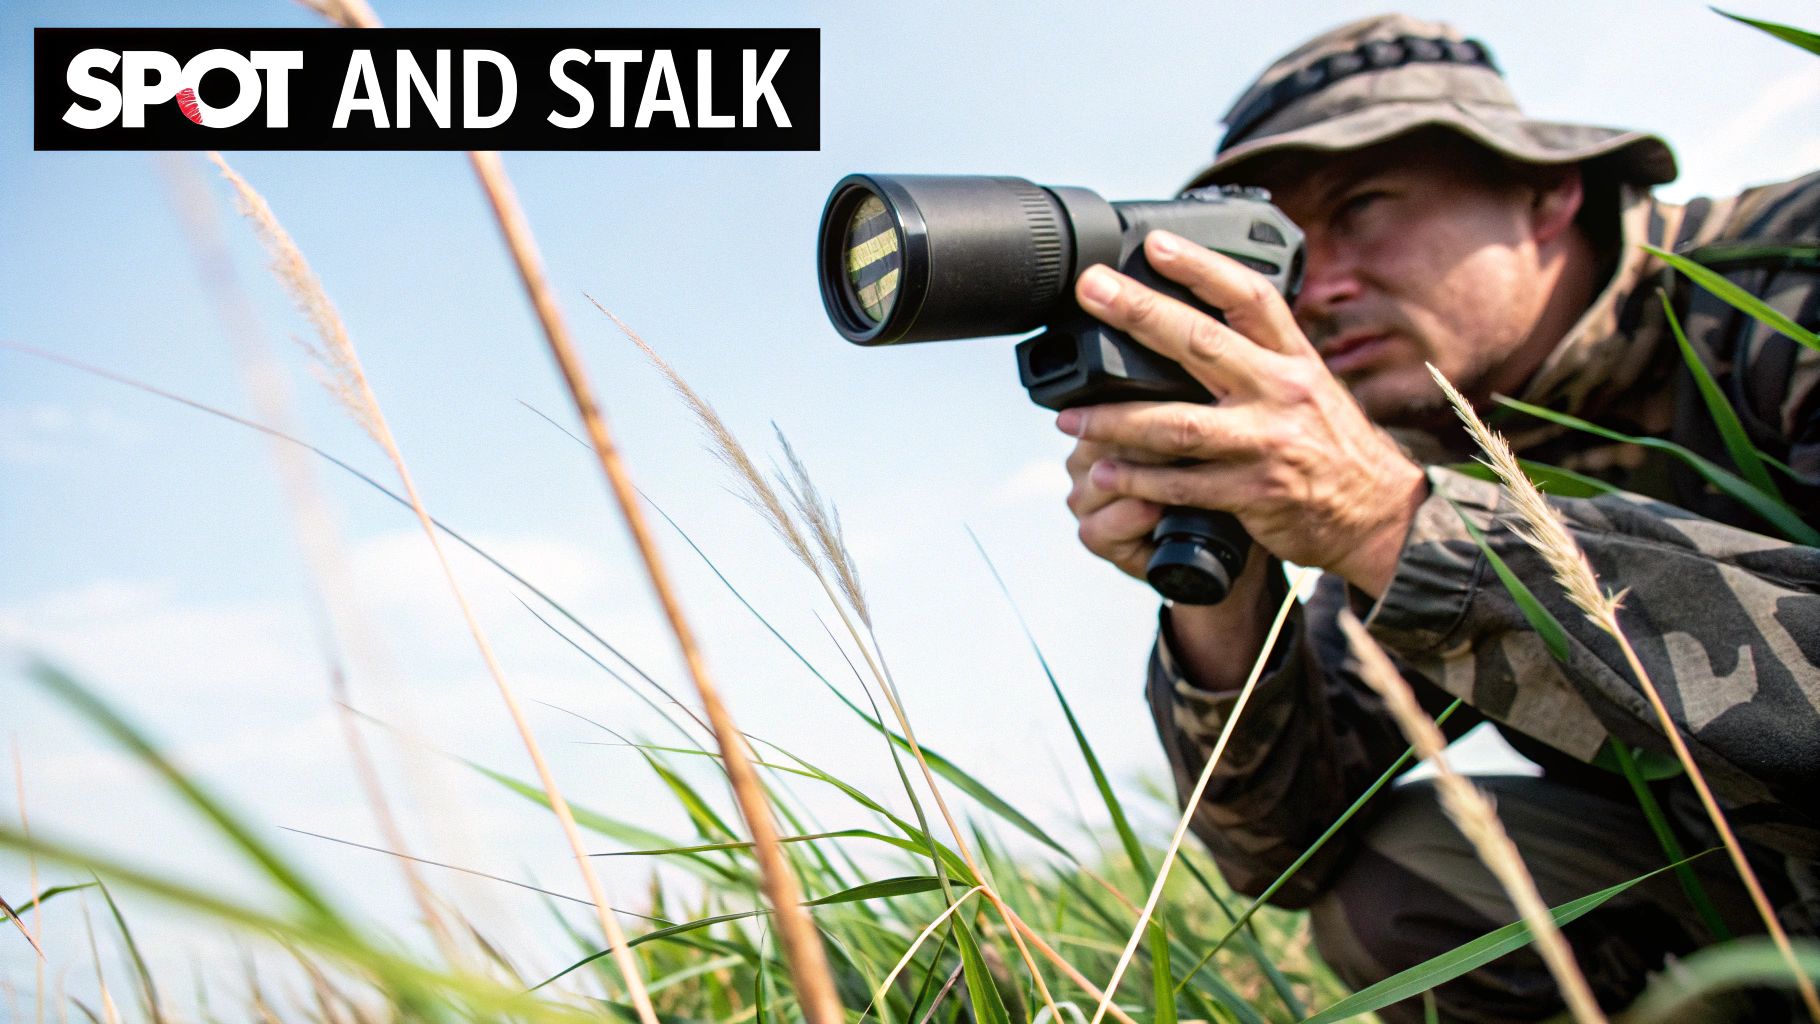
The Spot and Stalk Advantage
By far, one of the best ways to use a thermal monocular is for "spot and stalk" hunting. This tactic lets you use two different tools for what they do best, creating a system that’s both efficient and ethical. It’s a simple, two-step process that is absolutely deadly.
- Spot with Thermal: This is where your lightweight, handheld monocular does the heavy lifting. Its wide field of view is perfect for glassing huge areas to find game without flagging everything in sight with your rifle.
- Stalk and Shoot with Your Scope: Once you've got a heat signature, then you can transition to your rifle. Whether you’re running a traditional scope for a daytime stalk or a dedicated thermal scope for a night hunt, you can now focus on closing the distance for a clean shot.
This approach keeps you safer and less fatigued. You can scan for hours without the burn of holding up a heavy rifle, only shouldering your weapon once you've positively identified a target.
Think of your thermal monocular as your advance scout. It finds the opportunity, while your rifle and scope are the precision tools you use to close the deal.
Stability and Ethical Considerations
A shaky hand means a blurry image, and a blurry image can lead to a bad decision. Whenever you can, brace yourself. Lean against a tree, prop it on a tripod, or rest your elbows on your knees. A stable view is absolutely critical for telling the difference between a coyote and the neighbor’s dog.
This leads us to the golden rule of hunting with thermal: always be 100% certain of your target and what lies beyond it. Thermal imaging shows you heat, not necessarily the fine details a good day scope can. Never, ever take a shot until you have positive identification of the animal and a safe backstop. Responsible hunting is what ensures we’ll all be able to use this incredible technology for years to come.
Choosing the Right Hunting Thermal Monocular for You
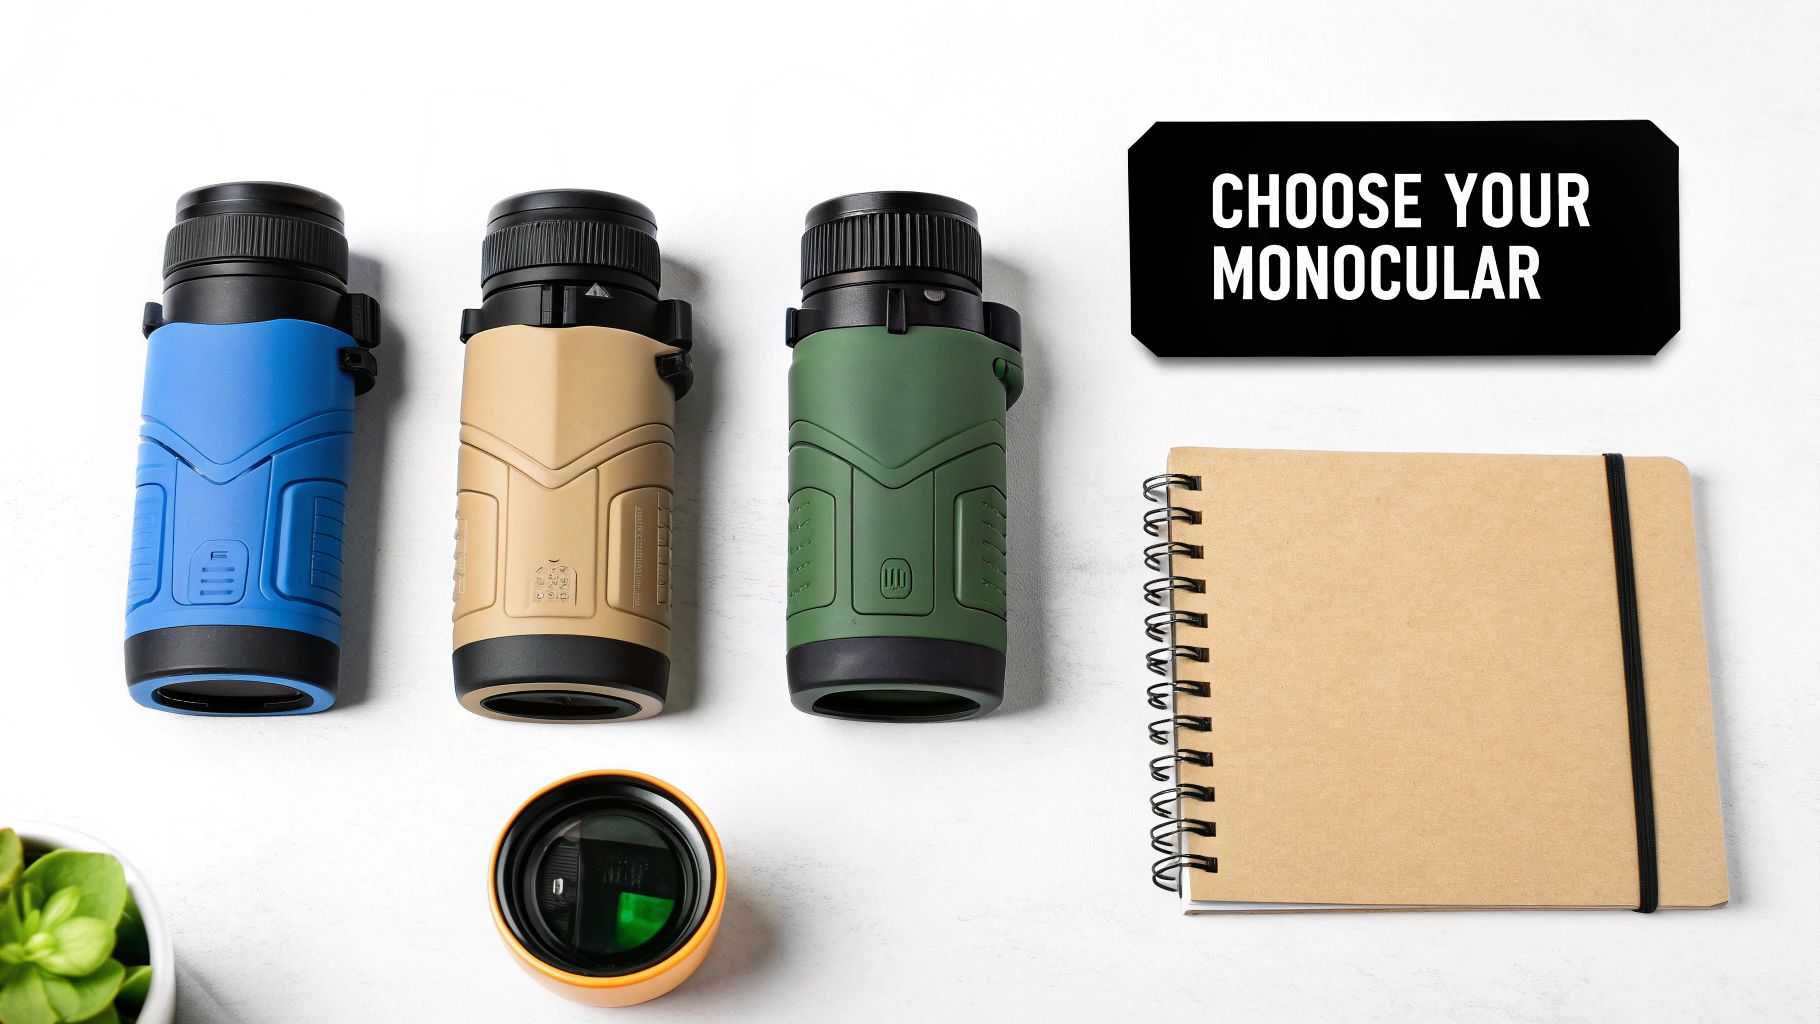
Alright, you've got a handle on the technology and how to use it. Now comes the fun part: picking the perfect unit for your hunts. Choosing a hunting thermal monocular isn't about grabbing the priciest model off the shelf; it's about matching its capabilities to your specific hunting style. Get it right, and the monocular will feel like an extension of your own senses.
The first step is the most critical: figure out what you really need. Just by answering a few honest questions, you can cut through the noise and zero in on a tool that will actually work for you in the field.
Define Your Hunting Environment
Where you hunt will make or break your decision. A thermal that’s perfect for one scenario can be next to useless in another, so think hard about your primary hunting grounds.
-
Open Country vs. Dense Woods: Are you glassing for coyotes across wide-open sagebrush or stalking hogs through a thick, swampy bottom? For those long-range, open-country hunts, you’ll want a tighter field of view (FOV) and more base magnification. But if you’re in the thick stuff, a wider FOV is non-negotiable for scanning effectively at close range.
-
Typical Engagement Distances: Let’s be realistic. How far are your typical shots? If most of your opportunities are well inside 200 yards, you probably don’t need to splurge on a top-tier model that boasts a 2,000-yard detection range. Match the monocular’s identification range to your effective shooting distance.
Prioritize Must-Have Features
Modern thermals are packed with extra features, and some of them can be genuine game-changers. Decide which of these are deal-breakers for you.
- Onboard Recording: Want to save footage from your hunts to review shot placement or share with your buddies? If so, make sure the model has built-in video and photo capability.
- Battery Life: Are you out for a few hours or pulling all-nighters? For long sits, you absolutely need a unit with a long-lasting internal battery or, even better, the ability to run off an external power bank.
- Connectivity: Features like Wi-Fi let you stream the live view to a phone or tablet. This is fantastic if you're hunting with a partner and want them to see what you’re seeing in real time.
There’s a reason the thermal market is blowing up. The entire thermal monocular sector was valued at $430.75 million in 2024 and is expected to keep climbing through 2032. While a big chunk of that is military and law enforcement, the hunting segment is huge, with over 50 million people worldwide depending on this tech.
Your budget is obviously a huge factor, but try not to shop on price alone. A slightly more expensive unit with a significantly better sensor or a key feature you need will provide far more value and less frustration in the long run.
By thinking through your environment, distances, and desired features, you’ll be in a great position to pick the right tool for the job. If you want to see how these features come together in a popular model, check out our review of the ATN BlazeSeeker thermal monocular. This careful approach ensures your new gear pays off with more successful and enjoyable hunts.
Protecting Your Investment with Proper Care
A good thermal monocular isn't just another piece of gear—it's a serious investment in your hunt. Like any precision instrument, it needs a bit of attention to keep it running flawlessly, season after season. A few simple habits will ensure it’s ready to perform the moment you need it.
The heart of your thermal is its objective lens, but it's not made of glass. It’s crafted from a special material called germanium, which is fantastic at detecting heat but is also surprisingly soft and easy to scratch.
Treating it like a regular rifle scope lens is the fastest way to ruin it. Never, ever use standard glass cleaners like Windex, paper towels, or the corner of your t-shirt. The ammonia in household cleaners will eat away at the delicate anti-reflective coatings, and a rough cloth will leave permanent scratches that wreck your image quality.
Lens Cleaning and General Maintenance
To clean the lens properly, you need to be gentle. First, blow off any loose dust, sand, or grit with a can of compressed air or a soft lens brush. This step is crucial—it stops you from grinding those abrasive particles right into the lens surface when you wipe it.
Once the loose stuff is gone, grab a dedicated microfiber lens cloth and put a few drops of 99% isopropyl alcohol on it. Don't douse it; just make it slightly damp. Gently wipe the lens in a slow, circular motion, starting from the center and spiraling outward. This lifts away fingerprints and smudges without leaving behind streaks.
Think of your thermal lens like the sensitive paint on a show car. You wouldn't use a rough sponge and dish soap on it. Give it the same delicate treatment with the right tools to keep it pristine.
As for the rest of the unit, a clean, damp cloth is all you need to wipe off any mud or dirt. Before you pack it away, always double-check that the battery compartment cap is screwed on tight to keep the seals doing their job.
Battery Health and Troubleshooting
Good battery habits are just as important. If you’re running a model with a rechargeable battery, try not to let it sit completely dead for weeks on end. That can shorten its overall lifespan. For thermals that use removable batteries, it's always a smart move to take them out if you're storing the unit for the off-season to prevent any chance of corrosion.
Every once in a while, you might notice the image seems a bit off—maybe it looks grainy or you spot a few pixels that aren't behaving. This is usually an easy fix. All you need to do is run a Non-Uniformity Correction (NUC). You’ve probably heard it—it’s the little "click" your thermal makes on its own from time to time. Most units also have a manual NUC option in the menu. Running this quick calibration refreshes the sensor and brings back that crisp, clear picture you expect.
Common Questions About Thermal Monoculars
Let's tackle some of the most common questions hunters ask about thermal optics. Getting these straight will clear up a lot of confusion and help you get the most out of your gear in the field.
Can a Thermal Monocular See Through Glass or Water?
Simply put, no. Thermal imaging can't see through glass or water because those materials block the long-wave infrared radiation that thermal sensors pick up. They’re essentially opaque to thermal energy.
So, if you point your monocular at a window, you won't see what's on the other side. You'll just see the heat signature of the glass itself. This is a huge difference from traditional night vision, which amplifies light and works just fine through a clear window. The same goes for a pond or creek—you’ll see the surface temperature of the water, not the heat from a deer wading through it or fish swimming underneath.
How Does Bad Weather Affect Performance?
While thermal gives you an incredible edge in poor conditions, it isn't completely immune to Mother Nature. Heavy rain, thick fog, and even extreme humidity can scatter the thermal energy coming off a target, which can reduce your effective detection range.
That said, a quality thermal unit, especially one with a low NETD rating, will still cut through the murk far better than your eyes or any other optic. You'll be spotting heat signatures that are totally invisible otherwise, giving you a serious advantage when the weather goes sideways.
Think of a low NETD rating as the sensor's ability to "punch through" bad weather. The lower the number, the better it can distinguish between tiny temperature differences, which is what you need for a clear image when it's raining or foggy.
What’s the Difference Between a Thermal Monocular and a Scope?
The biggest difference comes down to their job. A thermal monocular and a thermal scope are two distinct tools built for different tasks.
- Thermal Monocular: This is your spotter. It's a handheld device designed for scanning and observation. Being lightweight and compact makes it perfect for glassing a field or woodline to find game without having to point your rifle everywhere.
- Thermal Scope: This is your aiming device. It’s built to be mounted on a rifle, features an aiming reticle, and is rugged enough to handle the recoil from repeated shots.
A very common and effective setup is to use both. You can scan for hours with the lightweight monocular. Once you spot a target, you can switch over to your rifle with its thermal scope already mounted and ready to go.
Do I Need to Zero a Handheld Thermal Monocular?
Nope. There's no need to zero a handheld thermal monocular. Since it's a spotting tool and doesn't have an aiming reticle, there's nothing to align with your rifle's point of impact.
Zeroing is strictly for weapon-mounted optics, like a dedicated thermal rifle scope. That's the process you go through to make sure the crosshairs on the screen line up perfectly with where your bullet will hit at a certain distance.
Ready to gain a true advantage in the field? Explore the full range of high-performance thermal and night vision optics at Superior Tactical LLC and find the perfect tool for your next hunt. Visit us today at https://superiortac.com.