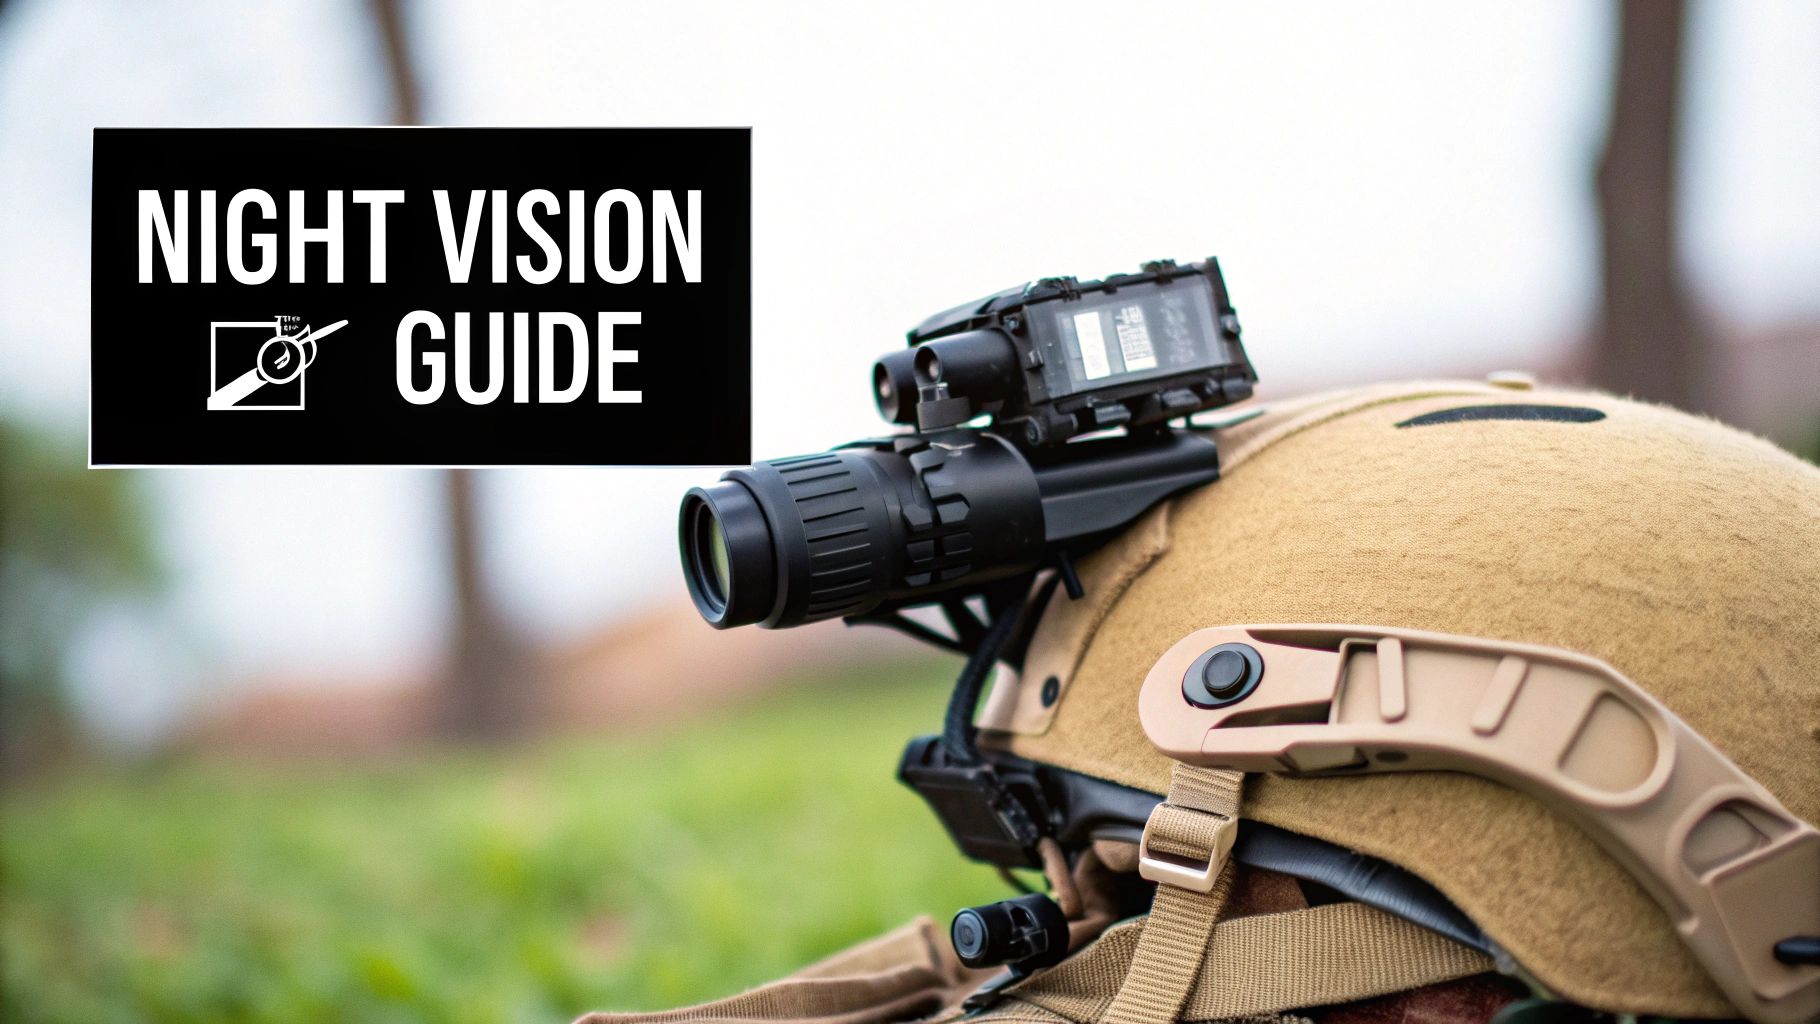
tactical gear reviews: Night Vision, Thermals & Lights
Picking the right tactical gear is never about the flashiest specs or the biggest price tag. It’s about one thing: choosing the equipment that won’t fail you when you need it most. Our tactical gear reviews are built on that principle, digging past the numbers on the box to show you how this gear actually performs in the field.
Understanding Your Tactical Gear Choices
When your gear’s performance is tied directly to mission success—and your own safety—making the right choice is everything. This guide is designed to cut through the marketing hype and give you honest, scenario-based breakdowns for operators and prepared citizens. We’re here to give you a clear map for the detailed comparisons that follow, so you can pick the tools that fit your exact needs.
The market for solid tactical equipment has exploded. Valued at roughly USD 14 billion, the global military tactical gear market is expected to hit USD 21 billion by 2032. You can dig deeper into these numbers in the full military tactical gear market report. All this growth is great for options, but it makes reliable, in-depth reviews more crucial than ever.
Core Gear Categories Explained
To make sense of it all, we’re breaking this guide into four essential categories: night vision optics, thermal scopes, tactical lasers, and weapon lights. Each one has a specific job, and knowing what they do best is the first step in building a system that works. Remember, the “best” gear is always the right gear for your mission, your environment, and you.
The single most important rule in gear selection is context. A high-lumen weapon light that’s perfect for clearing a room is the wrong tool for identifying a target at 100 yards. For that, you need a high-candela beam that can punch through the distance.
This guide gives you the foundation to make those context-driven decisions. We’ll show you how specs translate into real advantages—or disadvantages—in different situations.
To start, let’s get a high-level view of the gear we’ll be comparing. This table breaks down what each category is built for and where it shines. Think of it as your quick-reference guide before we get into the nitty-gritty of individual products.
Overview of Tactical Gear Categories
| Gear Category | Core Function | Primary Use Cases |
|---|---|---|
| Night Vision Optics | Amplifies ambient light to see in darkness | Navigation, target identification, surveillance |
| Thermal Scopes | Detects heat signatures to create an image | Detection in total darkness, tracking, spotting |
| Tactical Lasers | Provides a precise aiming point on a target | Aiming (visible/IR), signaling, target designation |
| Weapon Lights | Illuminates targets and surrounding areas | Target identification, threat assessment, navigation |
With this foundation set, we’re ready to dive deep. By putting these categories head-to-head, we’ll give you the insight needed to build a tactical loadout that’s not just effective, but perfectly cohesive.
A Comparative Analysis of Night Vision Optics
When you’re looking at night vision, it’s easy to get hung up on generational labels like Gen 2 vs. Gen 3. But the real story of a tube’s performance is in the numbers—the specs that tell you what you’ll actually see when the lights go out. Getting a handle on these metrics is the only way to pick a device that’s right for your mission.
Two numbers matter more than any others: resolution, measured in line pairs per millimeter (lp/mm), and Signal-to-Noise Ratio (SNR). Resolution is all about image sharpness and detail. SNR, on the other hand, tells you how “clean” that image will be by measuring the light signal against the tube’s own electronic noise.
To make things simpler, we multiply these two values to get a Figure of Merit (FOM). It’s a quick, at-a-glance score for an image intensifier’s overall capability. While a higher FOM is generally better, the secret lies in how resolution and SNR are balanced for specific situations.
Navigating Dense Environments
Picture yourself moving through thick woods on a starless night. Your world is close-quarters, maybe 10 to 50 meters. Here, the mission is navigation and spotting threats before you stumble over them. A wide field of view is great, but image clarity is everything.
In this scenario, a monocular with a 2200 FOM could be ideal, built from a high 72 lp/mm resolution and a solid 30.5 SNR. That high resolution gives you incredible detail. It’s the difference between seeing a “dark shape” and clearly identifying a tree root, a tripwire, or a person hiding in the brush.
For close-quarters work, high resolution is your best friend. It lets you process a cluttered scene instantly, which is critical when every second counts.
The slightly lower SNR is a perfectly acceptable trade-off here. In a dense environment, even a little ambient light bounces off nearby leaves and trees, giving the tube enough signal to work with. The priority is seeing exactly what is in front of you.
Long-Range Observation Scenarios
Now, let’s change the mission. You’re set up on a ridge, observing a target area 300 meters across an open field. You aren’t navigating; you’re looking for movement and trying to identify targets from a distance. The game has completely changed.
For this job, you might reach for a different optic—one with a 2400 FOM. Its resolution might be a bit lower at 64 lp/mm, but its massive 37.5 SNR is the real game-changer. A high SNR is an expert at grabbing a usable image out of the faintest light, which is exactly what you get in the middle of a dark, open plain.
A better signal-to-noise ratio cuts down on the “scintillation”—that grainy, sparkling effect you see in low light. This gives you a cleaner, more stable picture, making it far easier to spot that flicker of movement or identify a silhouette at range. You can find more details on how different optics perform by exploring the best night vision optics you can buy right now in our comprehensive guide.
Making The Right Choice For The Mission
This comparison drives home a critical point: specs mean nothing without context. There’s no single “best” night vision device—only the best one for the job at hand.
- Close Quarters (Woods, Urban): Go for high resolution (lp/mm). You need maximum detail for navigating cluttered spaces and identifying threats up close.
- Long Range (Open Fields, Surveillance): Prioritize a high SNR. You need to pull a clean image from minimal light to improve your detection range.
Ultimately, your choice has to start with an honest look at where you’ll be operating. When you look past the marketing hype and focus on the hard numbers like FOM, resolution, and SNR, you can choose an optic that gives you a genuine advantage in the dark.
Thermal Scopes: From Detection To Identification
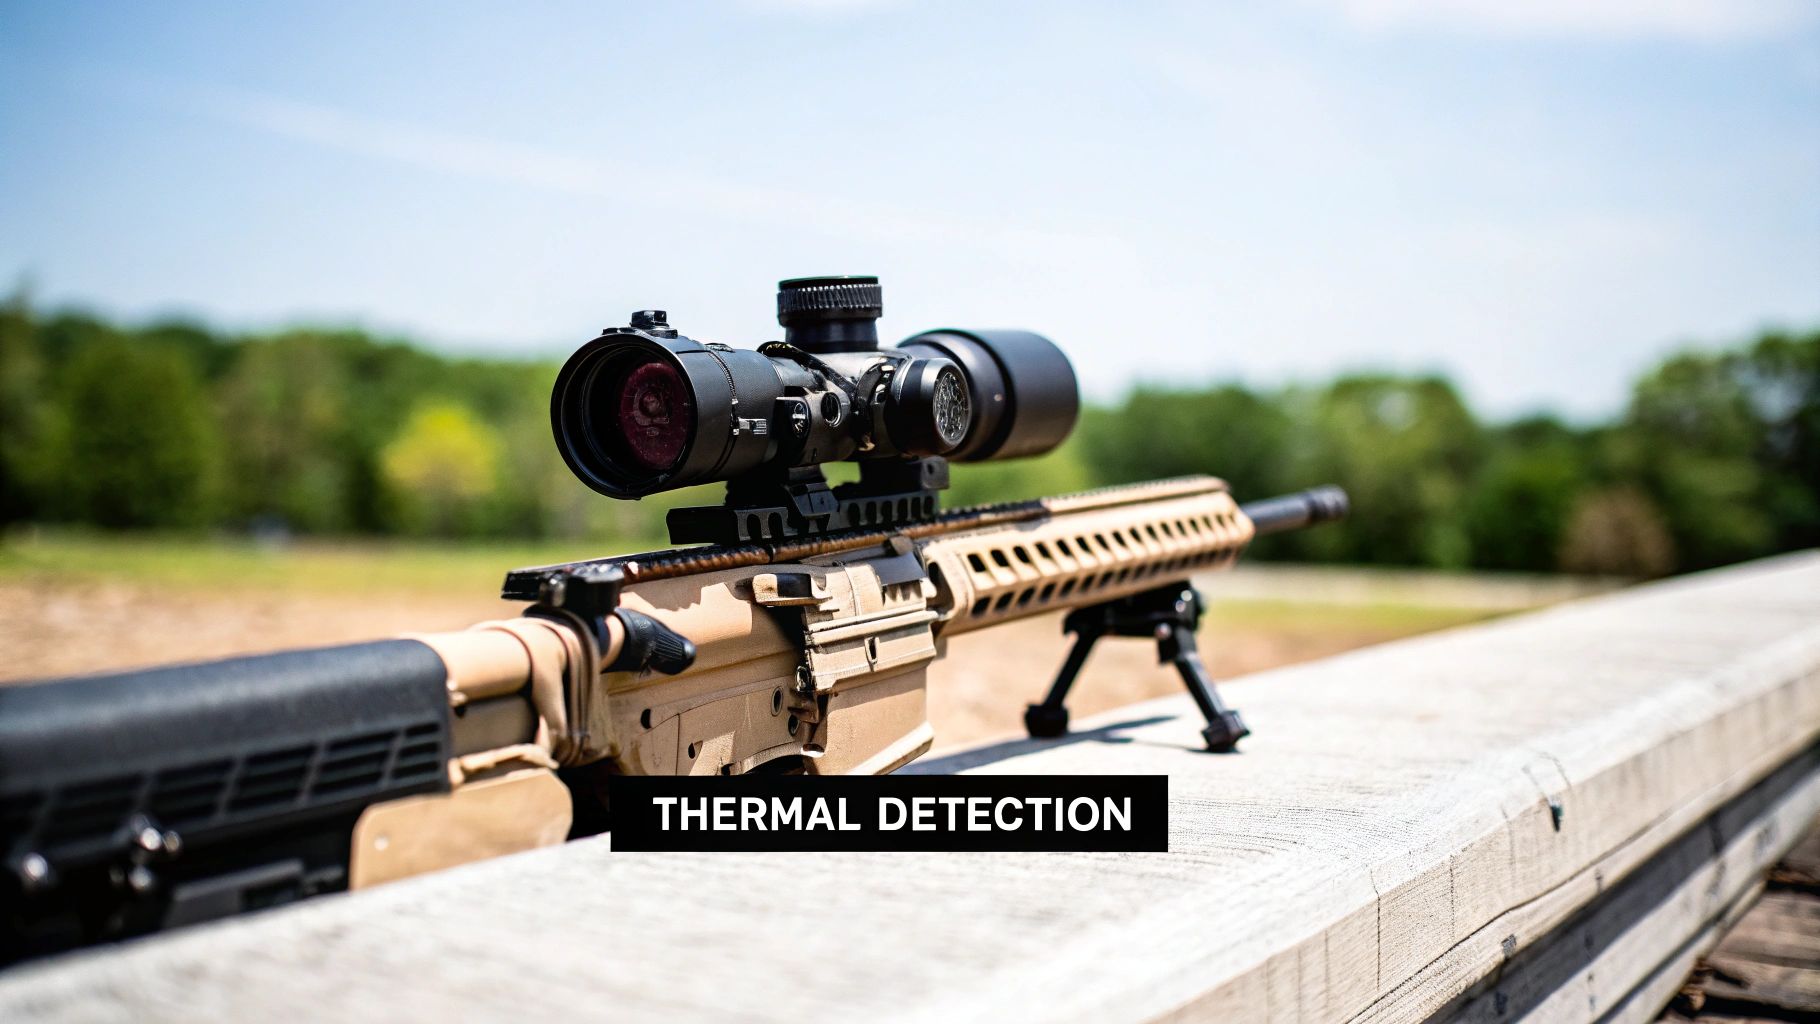
Unlike night vision, which just amplifies available light, thermal imaging operates on a completely different principle. It reads heat signatures, allowing you to see what’s out there in total darkness, through smoke, or hidden in thick brush. It’s a game-changer, but you have to know what you’re looking at when you compare models.
Two specs really drive a thermal scope’s performance: sensor resolution and refresh rate. Think of resolution as image clarity. A basic 320×240 sensor is good enough to pick up a man-sized heat blob a few hundred yards out. But a high-definition 640×480 sensor gives you the crisp detail needed to identify that blob as a person or an animal at the same range.
Refresh rate, measured in Hertz (Hz), is all about how smooth the image is. A 30Hz rate is fine for scanning a static field, but if you’re tracking anything that moves, you’ll see choppiness. A 60Hz rate delivers a fluid, almost video-like feed, which is critical for following a target without getting motion blur.
Mid-Range Rapid Acquisition Scope
Let’s talk about a compact thermal scope built for fast action inside 300 yards. These units are designed with a lower base magnification and a wider field of view. They usually pair a 320×240 sensor with a snappy 60Hz refresh rate. The goal here isn’t to count eyelashes at a distance—it’s to find and get on target, now.
Picture yourself tracking something through dense woods at night. This is where that scope shines. The wide view lets you scan your surroundings quickly, and the high refresh rate means you won’t lose a moving target to a jerky image. You’ll instantly see the heat of a body breaking cover long before you could with your eyes.
The constant battle with thermal optics is field of view versus magnification. A wider view gives you incredible situational awareness for scanning, but you need higher magnification to really identify targets way out there.
This type of optic is built for speed and awareness, not fine detail. It’s an aggressive tool for situations where the main objective is to locate and follow a target in a confined area. They also tend to be more affordable, making them a solid entry point into the world of thermal.
Long-Distance Surveillance Optic
Now, let’s shift to a high-magnification scope designed for long-range observation and securing a perimeter. This optic is all about its powerful lens and a top-tier 640×480 sensor. Its entire purpose is to give you a clear, positive ID on potential threats from 800 yards out and beyond.
Imagine you’re watching over a long, open fenceline. In this case, a narrow field of view is exactly what you want. It concentrates all those sensor pixels on a smaller area, which boosts your effective magnification and detail. That premium 640×480 resolution turns a distant, fuzzy heat source into a distinct figure. You can see what they’re carrying, their posture, and their direction of travel—all crucial intel for making decisions from a safe distance. If you want a deeper dive into how these sensors work, our breakdown on the science behind the AGM Rattler thermal rifle scope is a great resource.
Matching The Optic To The Operation
The right choice between these two thermal scope philosophies boils down to your mission. There’s no single optic that does it all perfectly, and anyone who tells you otherwise is selling something.
Here’s the bottom line:
- For Close to Mid-Range Tracking: Go for a compact scope with a wide field of view and a 60Hz refresh rate. It’s built for tracking moving targets in dynamic environments.
- For Long-Distance Identification: You’ll need a high-magnification optic with a 640×480 sensor. This is for gathering intel and making positive IDs from a safe standoff distance.
In the end, the mission dictates the gear. A perimeter security detail absolutely requires the identification power of a high-res sensor. But a manhunt in the woods benefits far more from the fast-scanning capability of a wider-view unit. Figure out your needs first, and you’ll choose a thermal scope that gives you a real-world advantage.
Selecting The Right Tactical Illumination Tools
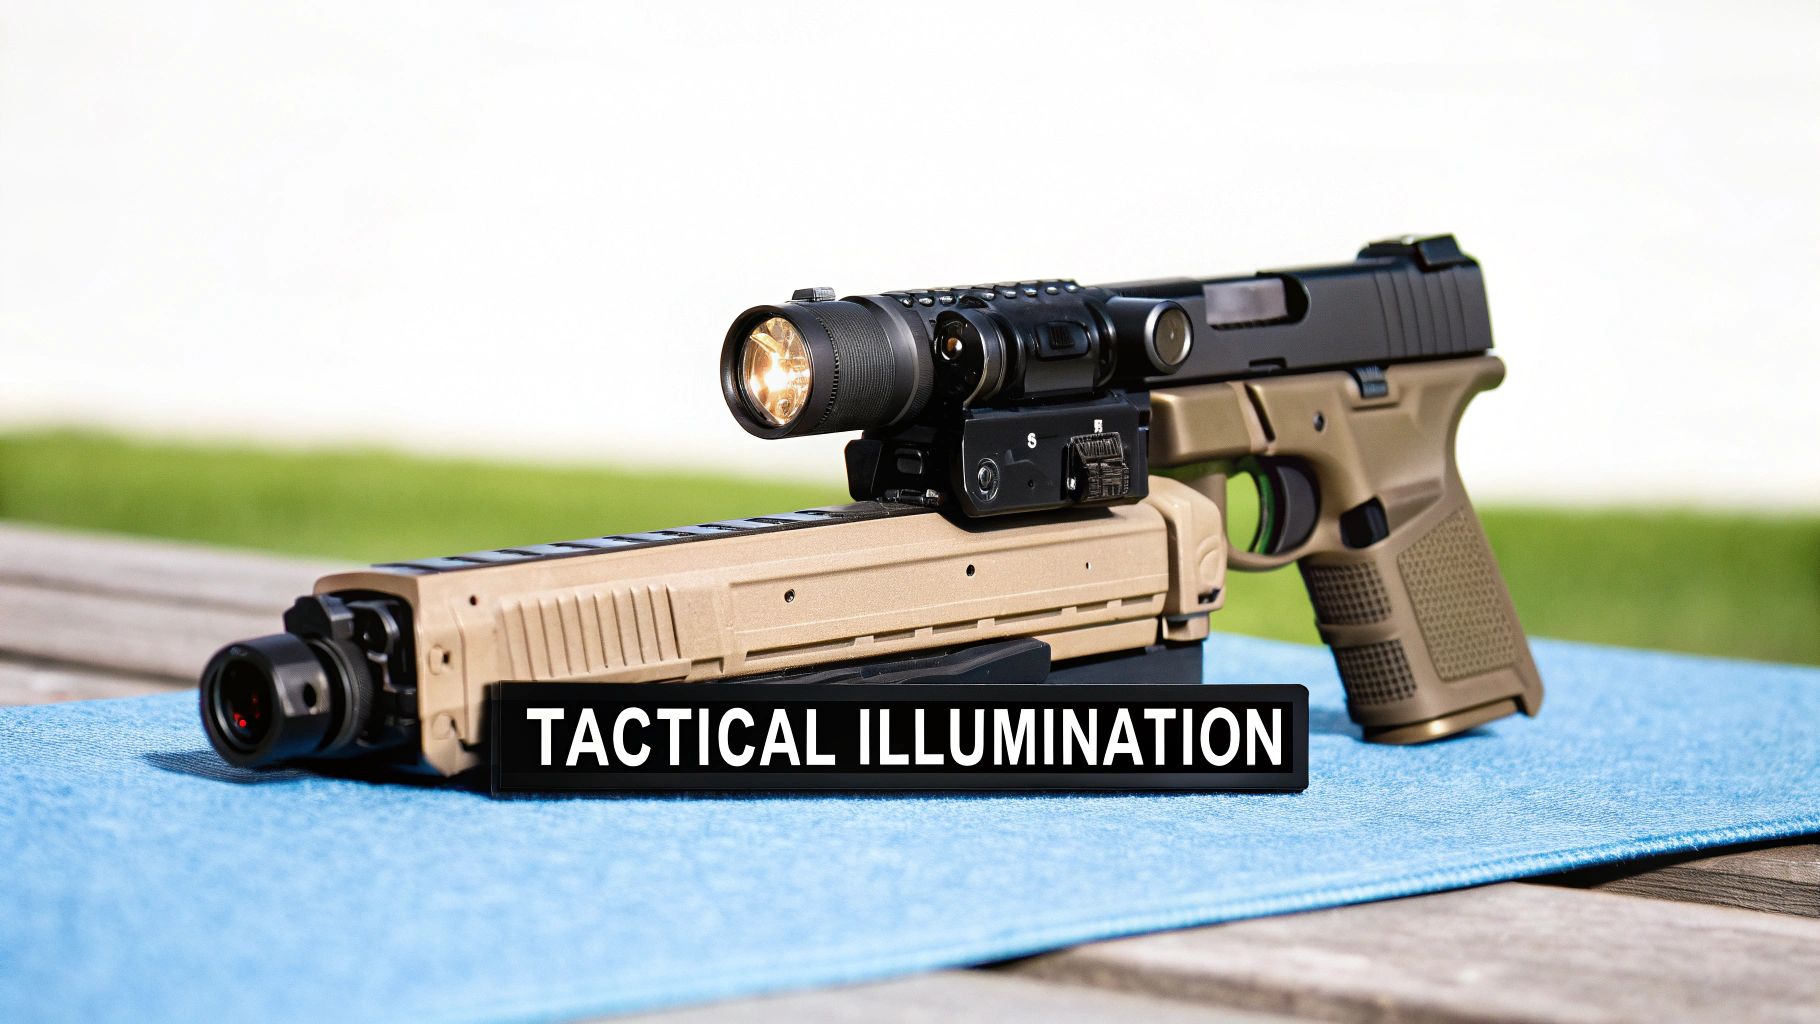
In any serious tactical setup, illumination tools are non-negotiable. But picking the right one isn’t as simple as grabbing the brightest light off the shelf. You need a clear understanding of its intended role. A weapon-mounted light and a laser do very different jobs, and even within those categories, the specs can lead you down completely different paths.
The key is matching the tool’s specific strengths to your most likely operational environment.
Lumens vs. Candela: The Great Debate
When you dive into weapon lights, the conversation always comes back to two numbers: lumens and candela. Think of lumens as the total raw output—the big, wide “flood” of light. Candela, on the other hand, is all about intensity. It measures the beam’s focused power and determines how far that light will travel.
There’s no “better” option here. They’re just designed for different missions. This is a core concept in any legitimate tactical gear reviews—a high-lumen, low-candela light is a master of indoor spaces, while a high-candela light absolutely owns the outdoors.
Visible and IR Lasers for Aiming and Designation
Tactical lasers are all about speed, giving you a precise aiming point that dramatically cuts down the time it takes to get on target. The fundamental choice is between visible lasers (usually red or green) and infrared (IR) lasers.
A visible laser is a straightforward aiming tool you can see with the naked eye. It’s perfect for rapid target acquisition, especially in low-light situations where getting a sight picture can be slow and clumsy.
An IR laser, however, is a true force multiplier built to work with night vision. Because it’s invisible without NVGs, it’s an incredibly powerful tool for covert operations. You can aim with precision without giving away your position with a visible beam, a critical advantage for maintaining stealth or coordinating with a team that’s also running night vision.
High Candela Lights for Positive Target Identification
Picture this: you’re scanning a perimeter or an open field at night. You hear something 100 yards out. In this situation, a high-lumen floodlight is useless. Its wide, soft beam will just dissipate into the darkness, leaving you with a washed-out, ambiguous view.
This is exactly where a high-candela weapon light shines. A light pushing 60,000+ candela projects a tight, intense beam that slices through darkness, smoke, and even photonic barriers like streetlights or an opponent’s headlights. Its entire purpose is to give you positive target identification (PID) at a distance, so you know exactly what you’re dealing with before making a life-or-death decision.
A high-candela light isn’t about lighting up a room; it’s about controlling a single point at a distance. It delivers the information needed to act or not act—the absolute cornerstone of responsible engagement.
This tool is perfect for law enforcement on traffic stops, military personnel on overwatch, or a homeowner checking out a potential threat at their property line. The intense hotspot can also disorient a target, buying you a crucial tactical advantage. For anyone serious about their gear, knowing how to spot genuine tactical flashlights when buying online is a great place to start.
High Lumen Lights for Clearing Structures
Now, let’s take the fight indoors. You’re clearing a building, moving from room to room where threats could be anywhere from 5 to 15 yards away. Here, that high-candela beam becomes a massive liability. Its tight hotspot creates tunnel vision, and the intense reflection off light-colored walls can easily compromise your own vision.
In this close-quarters battle (CQB) environment, a high-lumen light is king. A light with 1,000+ lumens and a generous spill will illuminate the entire room, wiping out shadows in corners, doorways, and anywhere else a threat might hide. It gives you immediate situational awareness.
This “wall of light” is overwhelming for anyone on the receiving end and helps you process the whole space in a split second. Its job is less about pinpoint identification and more about broad threat assessment in a confined area. For anyone focused on indoor defense, a high-lumen, lower-candela light is the undisputed choice for dominating interior spaces.
Scenario Based Gear Recommendation Matrix
The sheer number of options can feel overwhelming. To cut through the noise, use this matrix to quickly match common operational scenarios with the most effective tactical gear. It’s a quick reference guide to help you make an informed choice based on your specific needs.
| Mission Scenario | Recommended Primary Gear | Alternative Gear Option | Key Performance Factor |
|---|---|---|---|
| Close-Quarters Battle (CQB) | High-Lumen Weapon Light | Visible Green Laser | Situational Awareness |
| Outdoor Perimeter Defense | High-Candela Weapon Light | Thermal Scope | Target Identification |
| Covert Night Operations | IR Laser/Illuminator Combo | Gen 3+ Night Vision | Stealth & Precision |
| Long-Range Target ID | High-Powered Thermal Scope | High-Candela Spotlight | Detection Distance |
| Rapid Target Acquisition | Visible Laser (Red/Green) | Red Dot Sight + Light | Speed & Accuracy |
Ultimately, the right tool is the one that gives you a distinct advantage in the environment where you’re most likely to operate. Analyze your needs, understand the technology, and choose the gear that will perform when you need it most.
Integrating Your Gear Into A Cohesive System
Having outstanding individual pieces of gear is a great start, but it’s only half the battle. The real measure of a loadout, and something that gets glossed over in a lot of tactical gear reviews, is how well it all works together. A high-end light, a state-of-the-art laser, and the best night vision money can buy are all just dead weight if they get in each other’s way.
What you’re aiming for is true operational effectiveness, and that comes from deliberate, thoughtful integration. You have to think carefully about how every single component fits and functions on your platform. This is a game of inches where a misplaced pressure switch or an off-balance rifle can cripple your performance when it matters most. The goal is a system where every piece of equipment makes the others better, turning your firearm into a seamless extension of your will.
This is about more than just bolting on accessories. It’s about building a functional ecosystem where your tools feel intuitive, the setup is balanced for long-term use, and everything is configured for synergy.
Managing Rail Space And Ergonomics
The first hurdle is always the limited real estate on your firearm’s rail. Every device—your optic, laser, light, and switches—needs a spot, and where you put them directly impacts how naturally you can run the weapon. The main objective is to place your controls exactly where your hands already want to be, so you never have to break your grip to activate something.
This is absolutely critical for your light and laser. Pressure pads need to be placed for immediate, subconscious activation. A common and effective setup, for example, is to place the light switch where your thumb can easily press it and the laser switch where your index finger can do the same. This kind of arrangement helps prevent you from hitting the wrong button under pressure.
The concept of “economy of motion” is paramount. If you have to break your master grip to turn on your light, your system has failed. Every action should be instinctive, fluid, and repeatable under duress.
You also have to think about the physical size of each piece of gear. A bulky laser unit might block the view through your primary optic or mess with your support hand’s grip. What you want is a streamlined setup that feels balanced and doesn’t snag on everything.
Balancing Weight And Capability
Every single ounce you add to your rifle affects your mobility, how quickly you get tired, and how fast you can switch between targets. Tacking on a thermal optic or a high-candela light gives you more capability, sure, but it also adds weight and can shift the rifle’s center of balance forward. This makes the weapon feel much heavier than it actually is and can make you feel sluggish.
A properly integrated system strikes a smart balance between what it can do and how easy it is to handle. Sometimes, that means picking a lighter, smaller version of a device, even if you give up a tiny bit of performance. For a short-barreled rifle built for close-quarters, a compact weapon light is often a much better call than a bigger, heavier light with more throw.
This thinking should extend to your entire kit, right down to what’s on your feet. Even the foundation of your setup, like your boots, plays a huge role. The tactical boots market, valued at USD 2,010.7 million, is expected to keep growing as operators demand gear that enhances mobility and fights fatigue. You can dive deeper into these trends by exploring the latest findings on tactical boot trends. Taking this holistic view ensures your entire system, from your boots to your rifle, is working in concert.
Your Final Tactical Gear Purchase Checklist
We’ve picked apart a lot of individual gear, but now it’s time for the final, most important step: putting it all together into a smart purchase. The goal isn’t to find the single “best” piece of kit on the market. It’s about finding the right gear for your world. A truly effective system is built by asking the right questions before you even think about pulling out your wallet.
This isn’t about getting swayed by cool-looking specs or marketing hype. It’s a deliberate process that forces you to think about how everything—your budget, your primary mission, and your existing equipment—will work together. A well-thought-out loadout should make you more capable, not weigh you down.
Key Self-Assessment Questions
Before you click “buy,” take a moment and be brutally honest with yourself by running through this checklist. Answering these questions will point you toward gear that gives you a real-world advantage.
- What’s the Mission? Think about the single most likely scenario you’re prepping for. Is this for home defense? Long-range hog hunting? A professional duty setup? The answer changes everything, from the optic you need to the intensity of your weapon light.
- Where Will You Use It? A high-candela light that’s a beast in an open field can be a massive liability indoors, washing out your vision. Be specific. Think about your terrain and the distances you’ll most likely be working with.
- How Does It Fit? How will this new piece of gear play with your current setup? You need to consider rail space, how it affects the balance of your weapon, and where the controls will sit. Adding a new gadget shouldn’t wreck the ergonomics you’ve already established.
- Budget vs. Performance? What’s the sweet spot between what you can afford and the performance you actually need? Often, you’re much better off with a top-tier product from a reputable mid-range brand than a cheap imitation of a high-end item with features that are bound to fail.
This shift toward practical, high-performance gear isn’t just a niche trend. The global market for tactical and outdoor clothing is expected to hit USD 2,452.63 million by 2026. This growth is fueled by both pros and everyday folks who demand equipment that’s built to last. You can read more about this trend in this outdoor and tactical clothing analysis.
Visualizing Your Integrated System
This decision tree helps visualize how all the pieces—ergonomics, balance, and integration—have to work in harmony to create a system that just works.
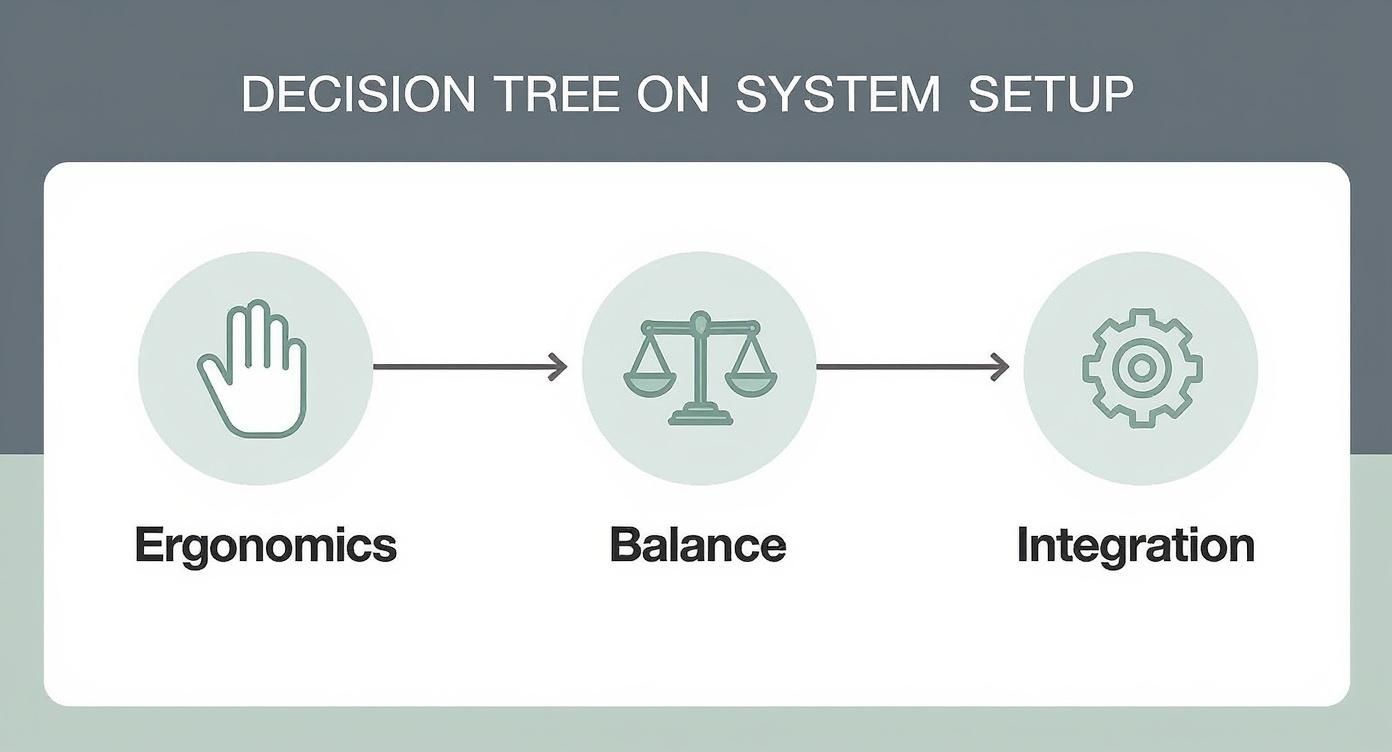
It’s a good reminder that a successful loadout is a balanced ecosystem, not just a pile of expensive parts.
The most effective tactical system is one that feels intuitive under stress. If you have to consciously think about activating a light or laser, the integration has failed. Your gear should become a seamless extension of your actions.
By using this checklist and thinking about your gear as a complete system, you stop being a consumer and start being a strategic builder. This mindset helps you make confident, informed decisions, ensuring every single component you choose acts as a force multiplier for what you do.
Common Questions About Tactical Gear
It’s natural to have questions when you’re looking at serious tactical equipment. Getting the right answers is essential before you put down your hard-earned money on gear that you might one day depend on for your safety. We’ll go through some of the most frequent questions we hear and give you the straight scoop, based on years of real-world experience.
Think of this as the final check before you commit. Making sure you understand these concepts will help you choose gear that’s actually right for the job.
What’s The Real Difference Between Night Vision And Thermal?
The simplest way to think about it is that they “see” in completely different ways. Night vision takes what little light is available—starlight, moonlight, even distant city glow—and amplifies it thousands of times so you can see a detailed image. The key here is that it needs some light to work with.
Thermal imaging, on the other hand, doesn’t see light at all. It sees heat. It reads the infrared energy an object gives off and builds a picture from those temperature differences. This means it works in absolute, pitch-black darkness, making it incredible for pure detection.
Here’s a classic example: a guy is hiding in a thick bush on a moonlit night. With good night vision, you might be able to pick out his shape and identify him. But a thermal scope will light him up like a Christmas tree, seeing his body heat right through the leaves, even if he’s totally hidden from sight.
In short, night vision is for identification, and thermal is for detection.
How Important Are Those Durability And Water Resistance Ratings?
They’re not just specs on a box; they are one of the most important things to look for. You want to see standardized ratings like the Ingress Protection (IP) code. A rating like IP67, for example, tells you the gear is totally sealed against dust and can handle being submerged in water for a short time.
The real question is, how much durability do you need? If you’re using it for casual weekend trips, you probably don’t need the same battlefield-ready construction as a law enforcement officer, where equipment failure is not an option. Always match the gear’s toughness to the environment you plan to operate in.
Can Civilians Legally Own This Kind Of Advanced Gear?
Yes, for the most part. In the United States, it is generally legal for a U.S. citizen to buy and own high-end equipment like Gen 3 night vision and top-tier thermal scopes. However, this gear comes with some very strict rules attached.
The big one is the International Traffic in Arms Regulations (ITAR). This is a set of federal regulations that controls the export of defense-related technology, which includes high-performance night vision. While you can own it, you can’t just sell it, ship it, or even let a non-U.S. person look through it without breaking federal law. It’s on you to know and follow all the federal, state, and local laws that apply.
For over a decade, Superior Tactical LLC has been a trusted U.S. source for mission-ready gear. We provide straightforward guidance and a comprehensive catalog of night vision, thermals, and accessories backed by a 10-year warranty on Gen 3 systems. Explore our curated selection of trusted brands and find the equipment you need at https://superiortac.com.